Our recommendations are made independently through Research & Testing. We may receive commissions from purchases made via our links.
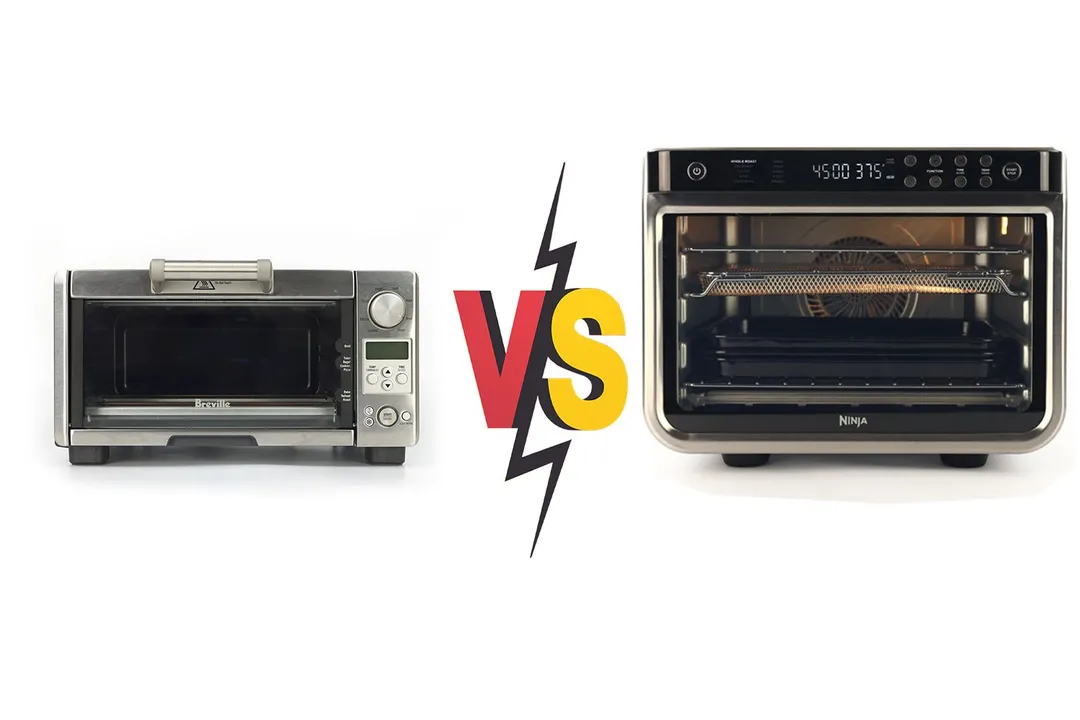
Ninja Foodi XL Pro vs Breville Smart Oven Pro Side-by-Side Comparison
Ninja Foodi XL Pro vs Breville Smart Oven Pro. Two different large digital convection toaster ovens, both have the word ‘pro’ in their names.
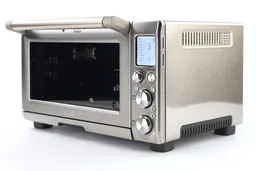
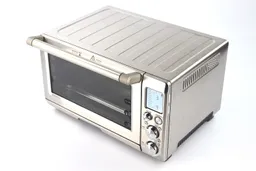
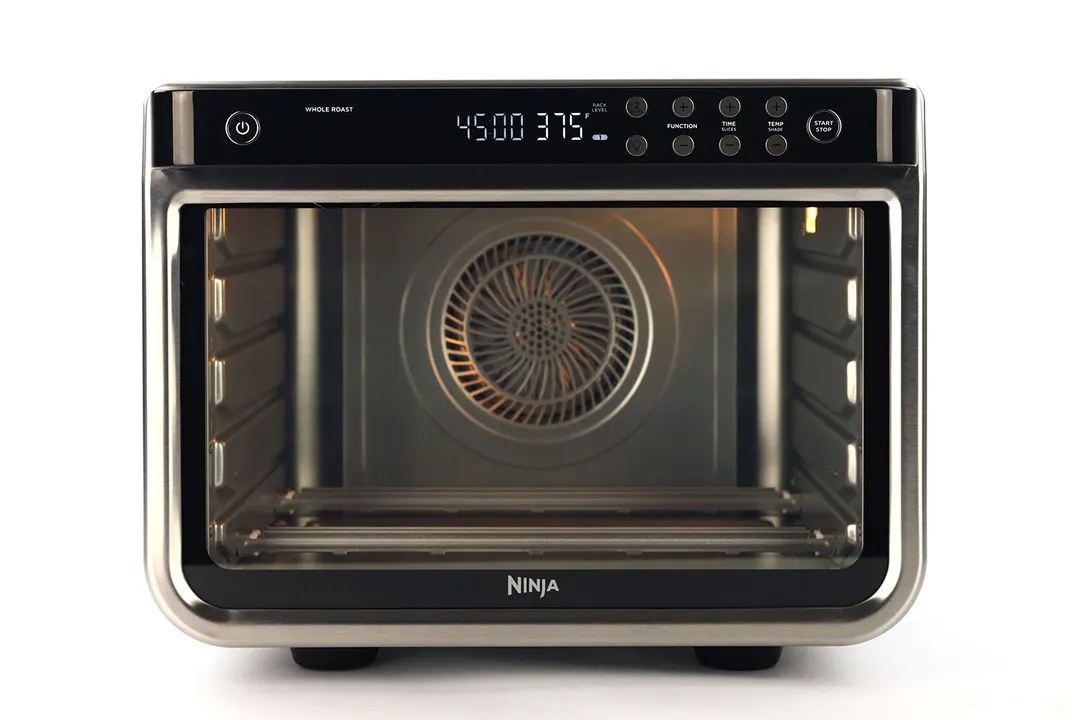
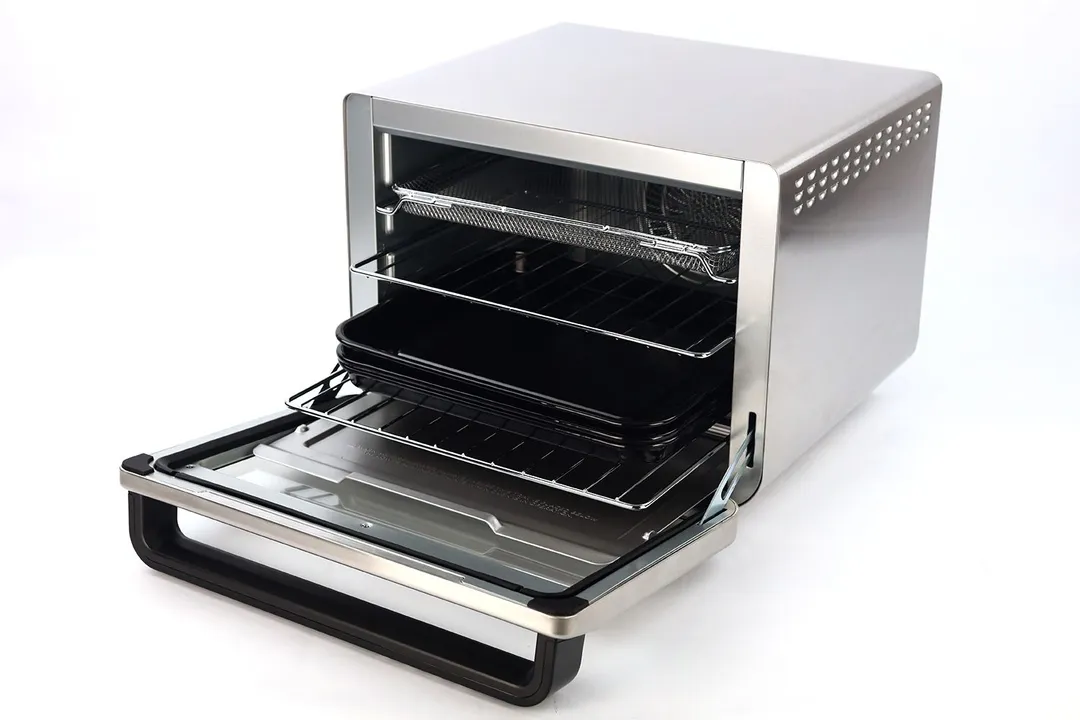
Ninja Foodi XL Pro
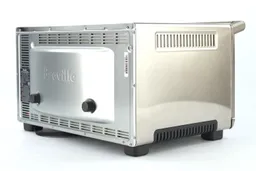
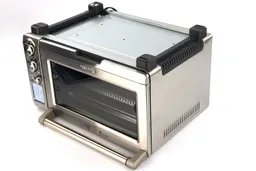
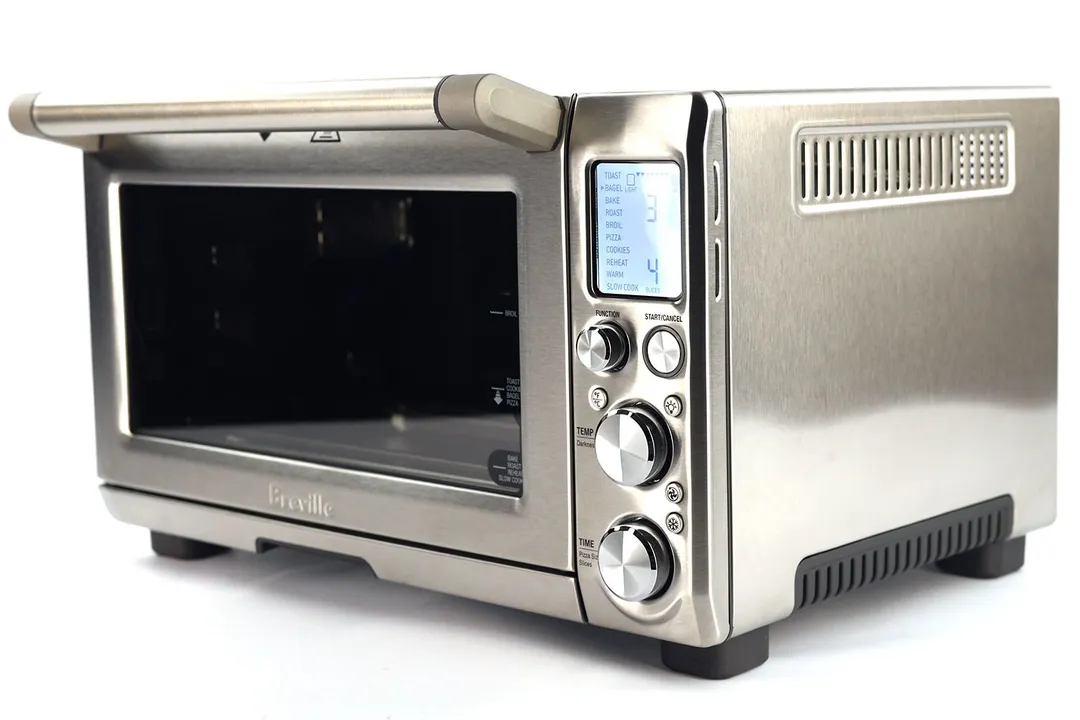
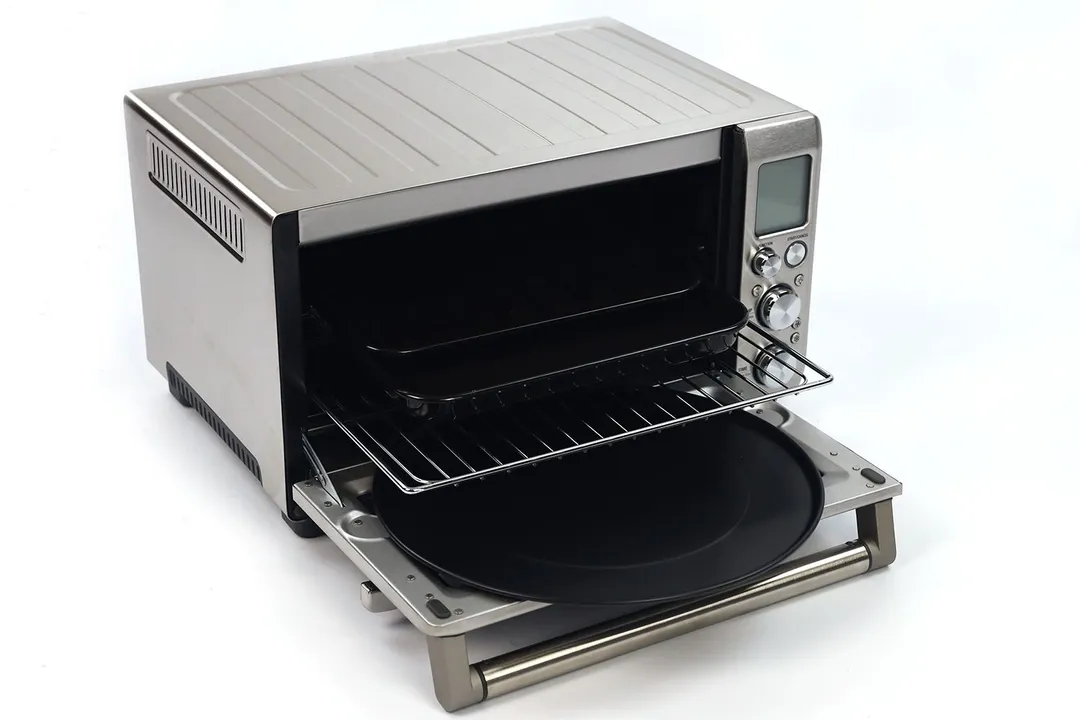
Tested Using Methodology v1.0Breville Smart Oven Pro
Tested Using Methodology v1.0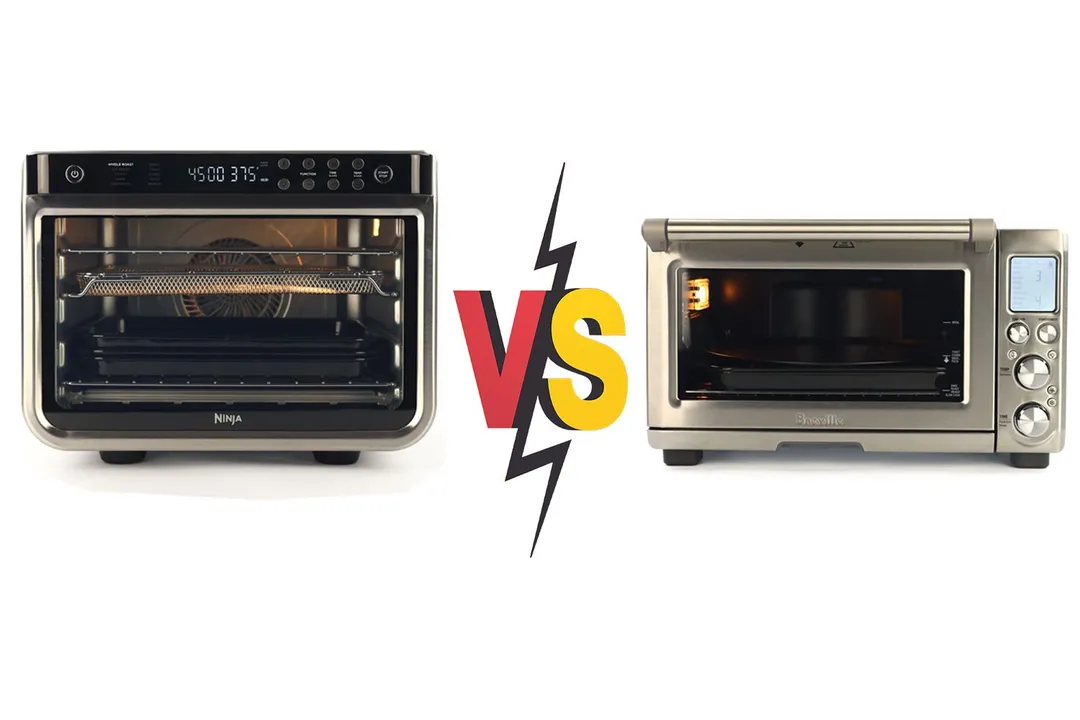
Overall Verdict
It’s interesting to compare two different large digital convection toaster ovens that both have the word ‘pro’ in their names—the Ninja Foodi XL Pro (DT201) and Breville Smart Oven Pro (BOV845BSS). Let’s see who is the actual pro and who is the amateur.
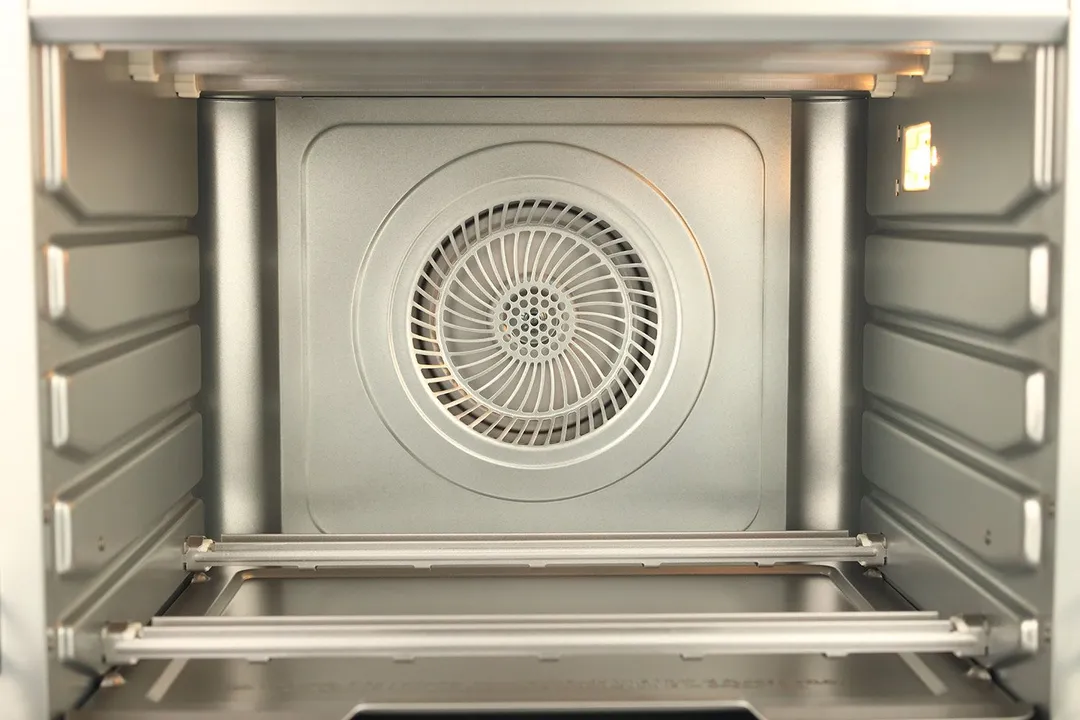
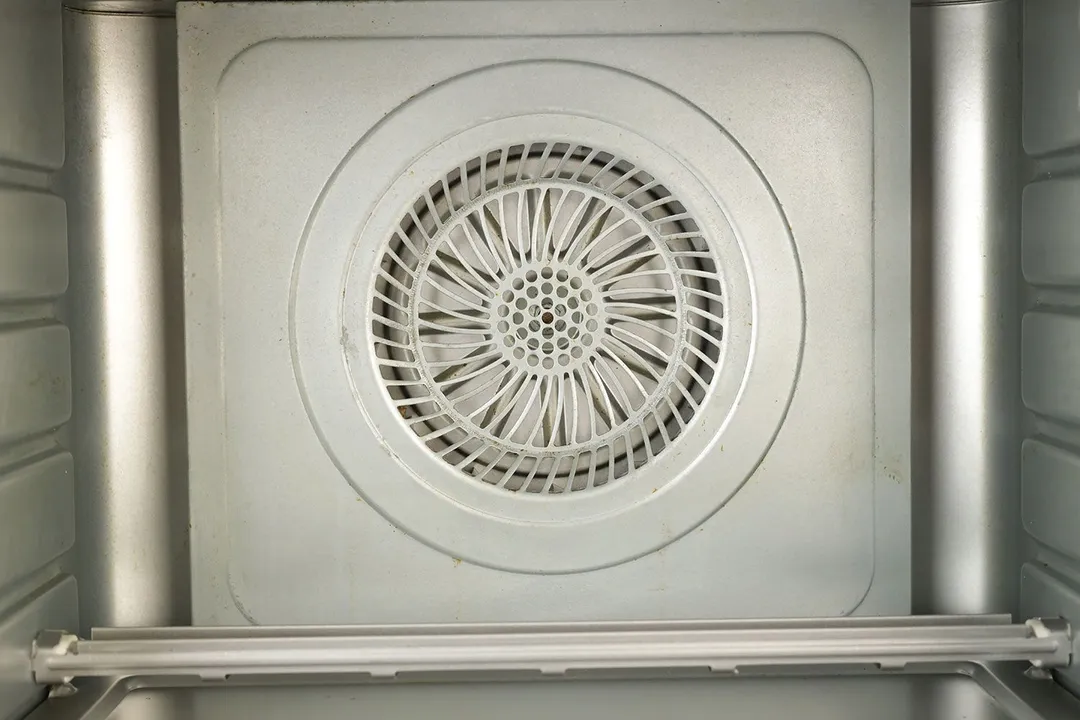
The two toaster ovens are equal in terms of interior features—both having an interior light, a convection system, and more than 4 quartz heating elements. They also go toe-to-toe in their build quality with their responsive control panel and well-insulated stainless steel casing.
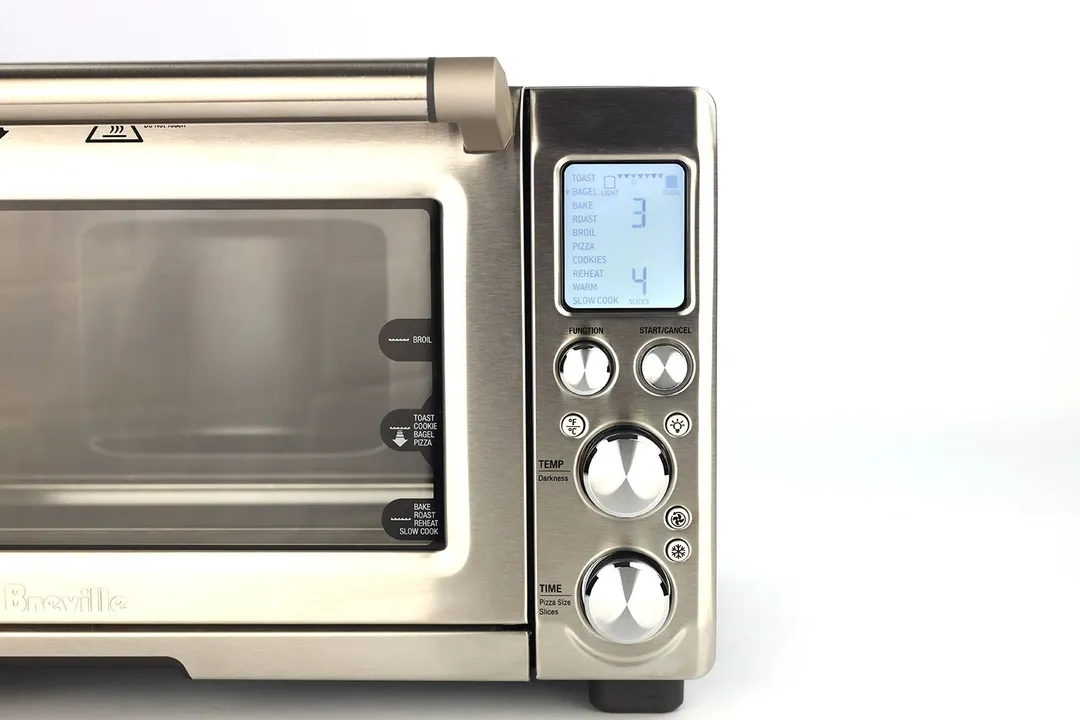
Both machines are easy to use, having well-designed cooking functions and an informative digital display. However, the extra toggle switches of the Breville failed to actually increase ease of use, as opposed to the Ninja.
The Breville’s performance scores aren’t as high as the Ninja’s despite also having a convection system and the same power output. The key differences can be boiled down to the Breville not being able to maintain the temperature as constant and distribute the heat as evenly as the Ninja.
Pros & Cons
- Straightforward and informative control panel
- Tailored cooking functions
- Family-sized capacity
- Tray-level suggestions
- Sturdy construction
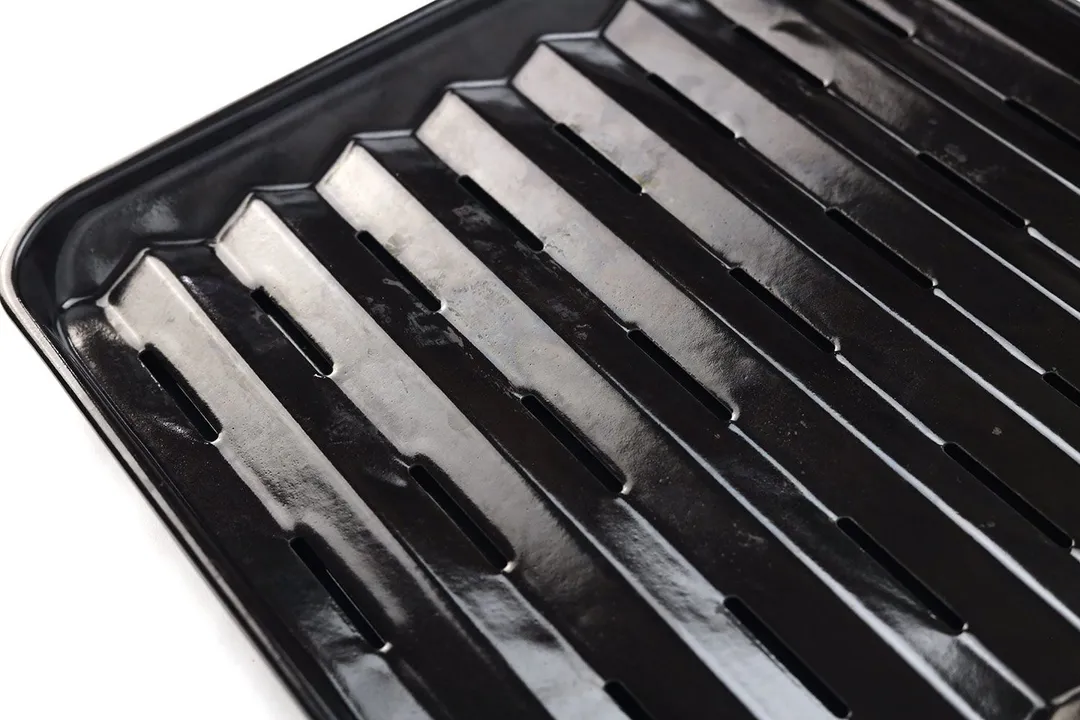
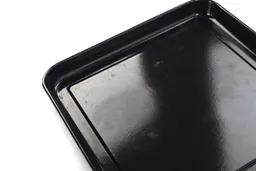
- Well-designed accessories
- Easy-to-clean stainless steel exterior
- Cool-touch door handle
- Useful toggles
- High-contrast digital display
- Non-stick interior
- Sturdy construction
- Easy-to-clean stainless steel exterior
- Cool-touch door handle
- Convenient slide-out crumb tray
- No safety mechanism for the door
- Faulty interior light upon received
- No safety mechanism for the door
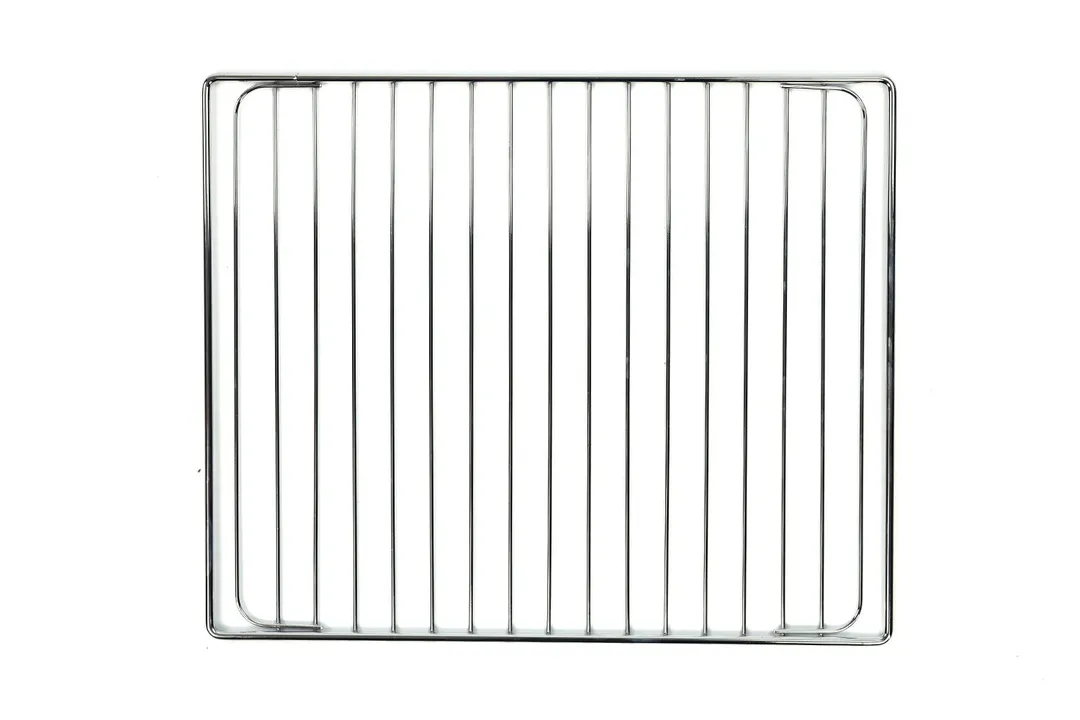
- In need of an additional oven rack
- Not very budget-friendly
Key Specs
Where to Buy
*You help support HealthyKitchen101's product testing and reviews by purchasing from our retail partners.
Analysis and Test Results
Performance
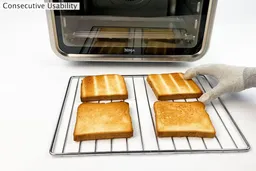
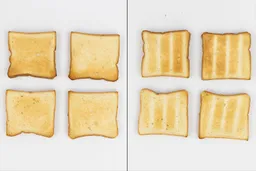
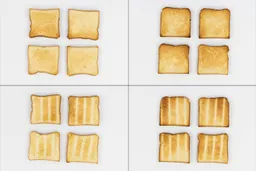
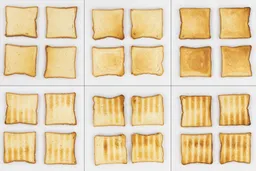
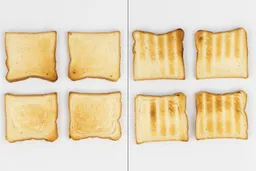
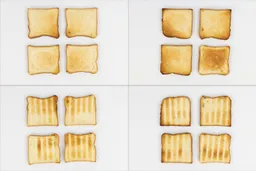
Toast


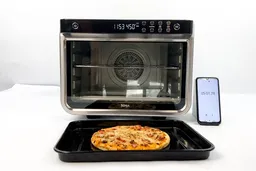
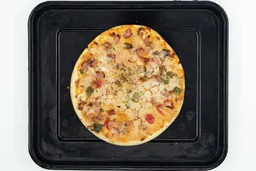
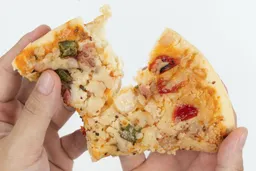
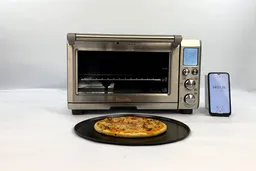
Pizza


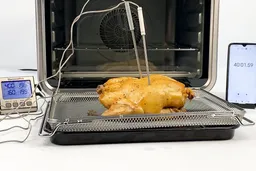
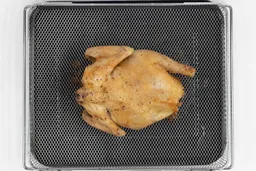
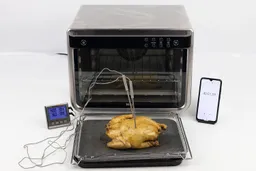
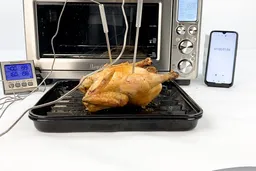
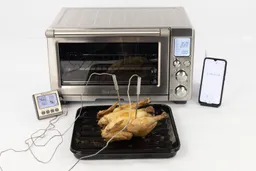
Whole Roasted Chicken


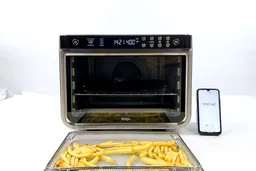
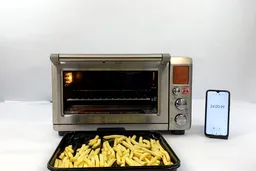
Baked French Fries


Design
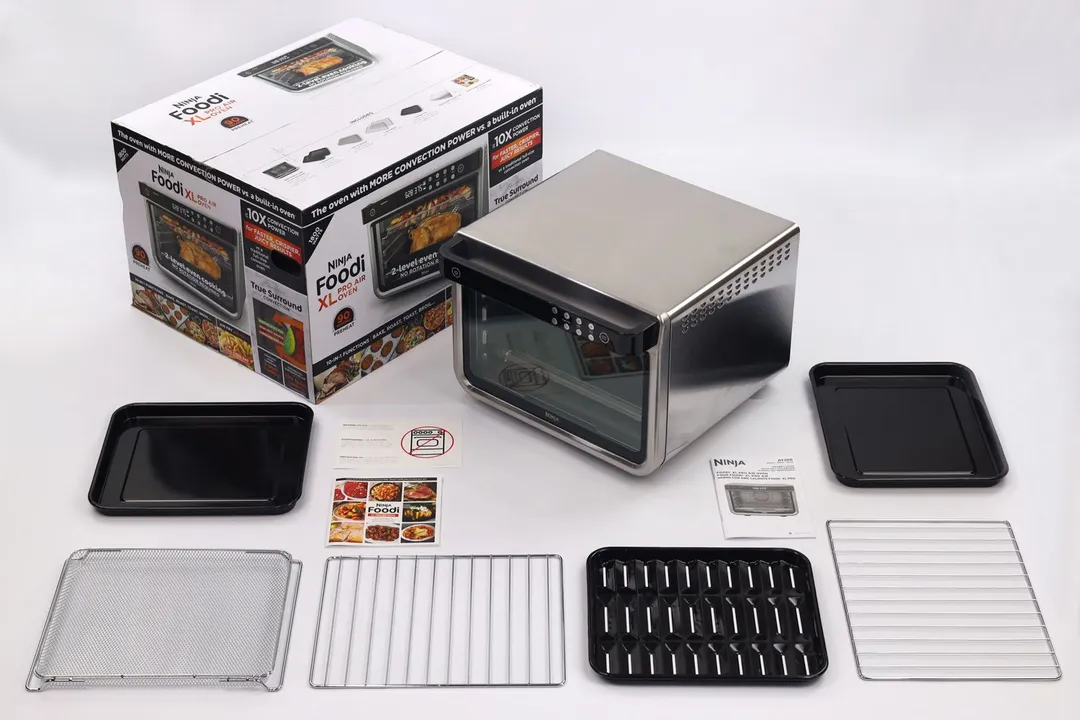
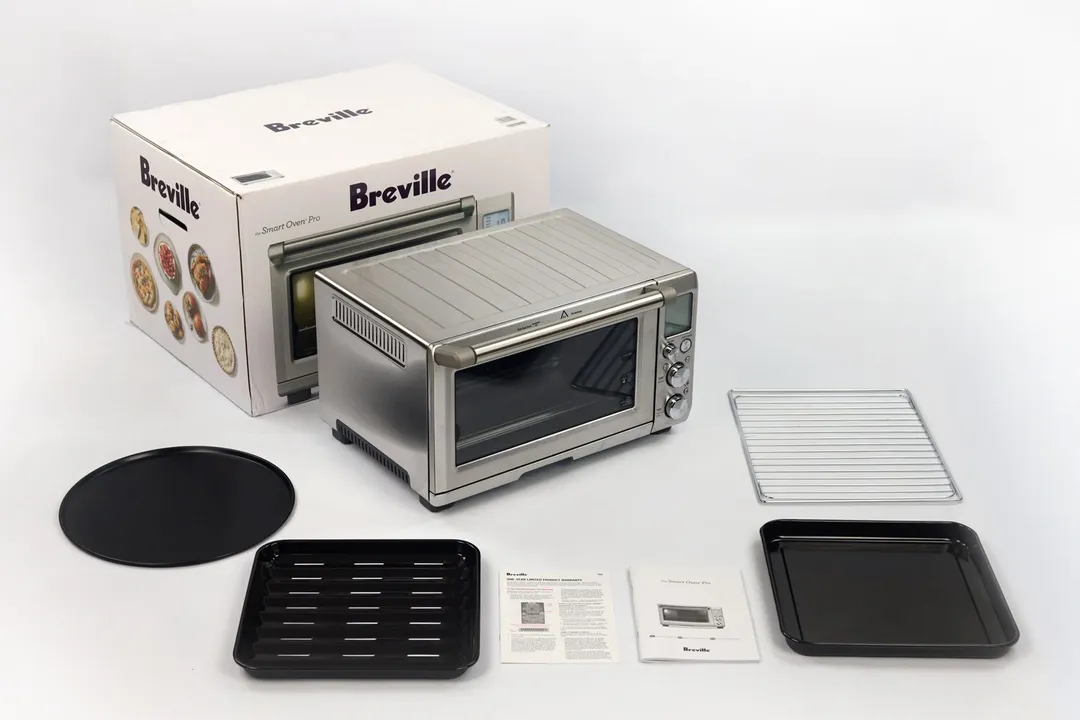
In the Box
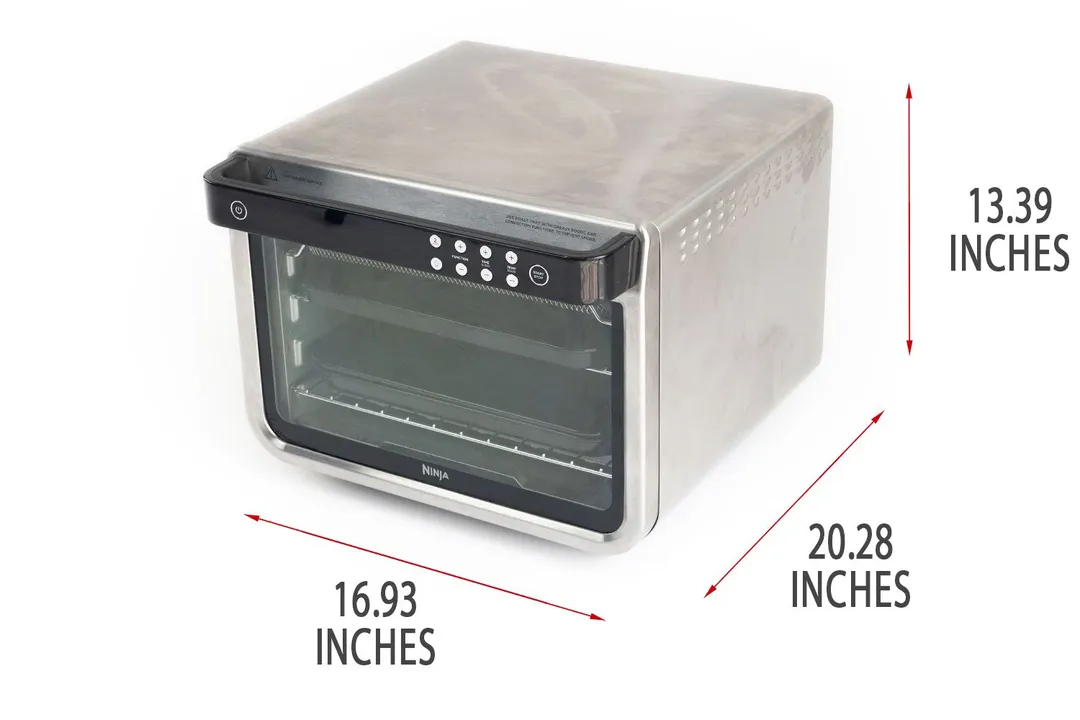
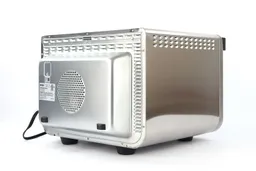
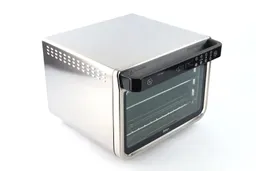
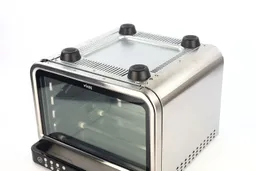
Exterior


Control Panel
Cooking Functions
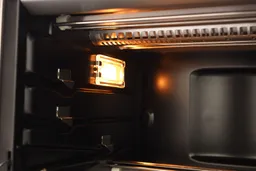
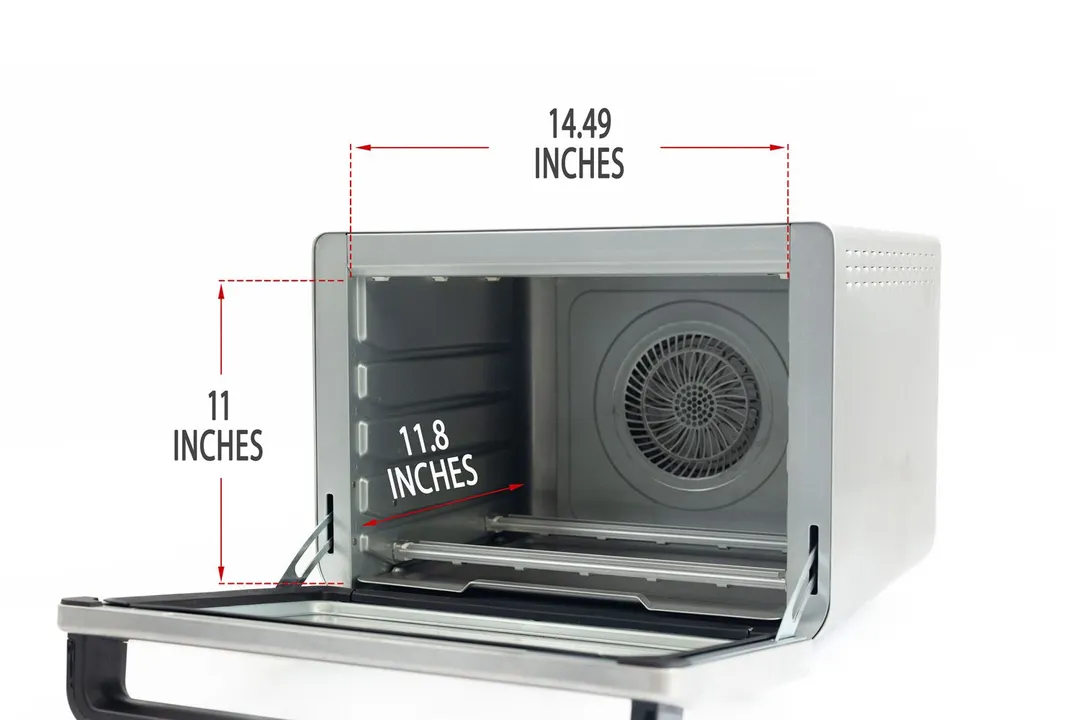
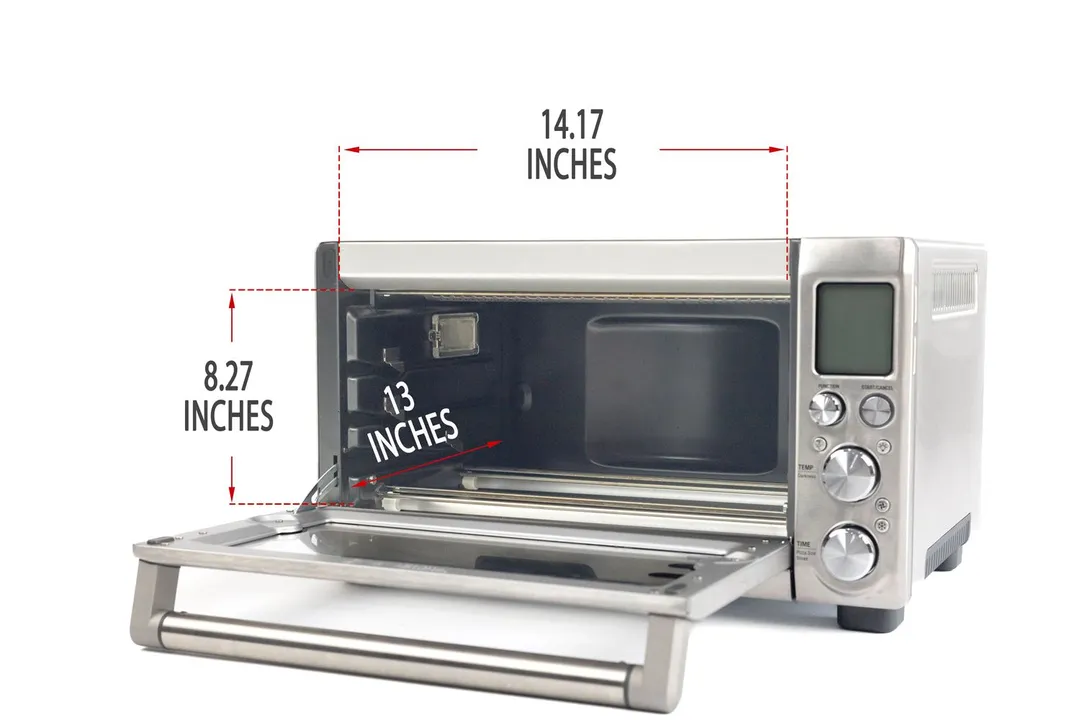
Interior


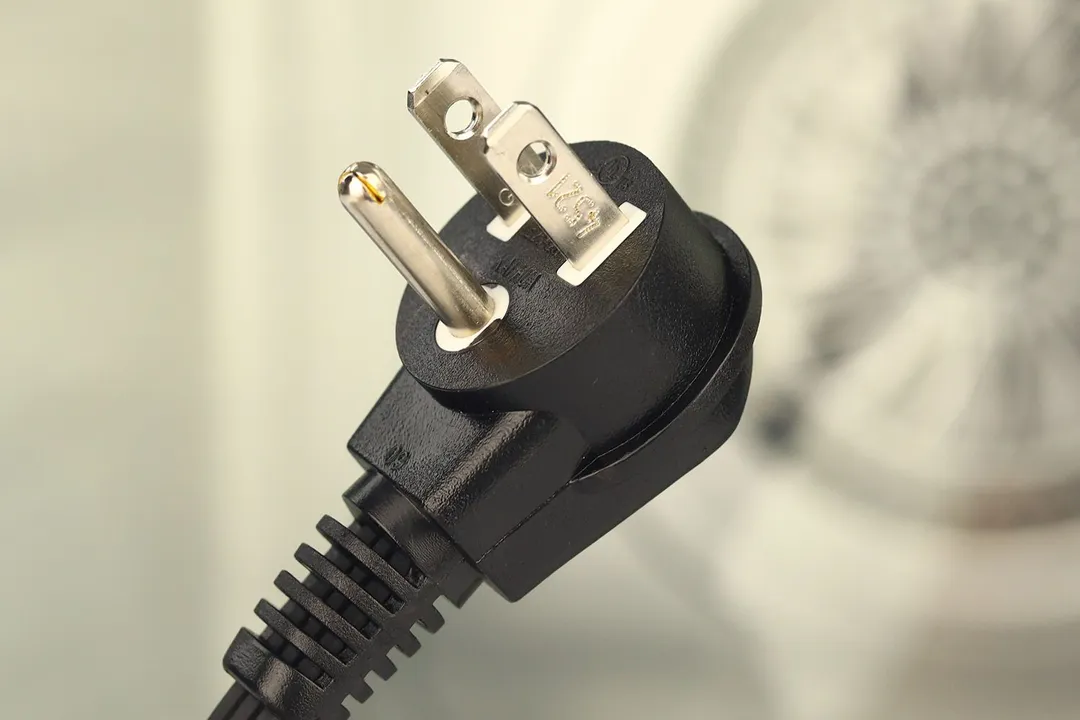
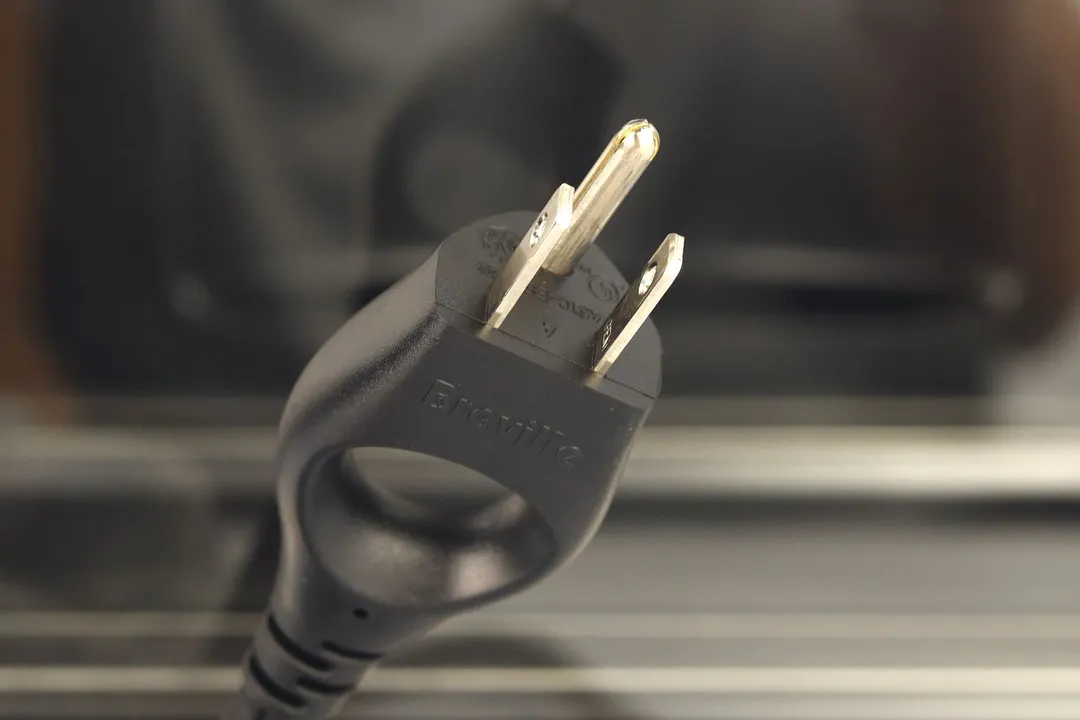
Power Cord
Accessories

Build Quality
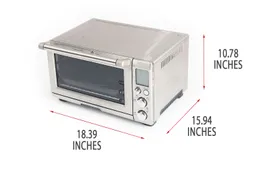
Capacity
Usability
User Control
Ease of Use
Cleanability


Behind the Comparison

Alan Nguyen is a writer and product reviewer at HealthyKitchen101. His major in English language teaching taught him to present concise information. In addition to his cooking hobby, he values the practical aspects of household appliances.

Lap is Head of the Research, Testing, and Review Team (RTR Team) at HealthyKitchen101.com, where he directs and supervises the testing of kitchen gadgets and appliances.

Tuyet Pham is an award-winning Saigonese chef passionate about delicious and healthful foods. At HealthyKitchen101, she develops recipes and collaborates with our Research, Testing, and Review lab to evaluate the performance of cooking appliances. Her assessments add a strong authoritative voice to our product scoring process.

Nguyen Ntk is a graphic designer, photographer, and videographer whose philosophy centers around respecting and celebrating the beauty of reality. Through his lenses, Nguyen strives to capture the true essence of objects and events, showcasing and highlighting authentic features without distortion or exaggeration.