Our recommendations are made independently through Research & Testing. We may receive commissions from purchases made via our links.
How to Clean a Grill: Going from Greasy to Squeaky Clean in a Few Steps
A clean grill is a happy one. In this post, we'll show you how to clean a grill properly, with instructions for certain parts and materials.
The flame’s out, the last of the diners are well-fed and satisfied. Your BBQ party has been nothing less than a resounding success. As the guests shake your hand, thank for the meal and clear the site, you aren’t off the hook just yet. Roll up your sleeves, take off the apron, and put on the gloves, because you’re about to get down and dirty, quite literally. And that brings us to this article today: it’s on how to clean a grill properly.
Manning the grill station means missing out on all the fun while everyone was having a blast. And of course, after cooking non-stop for multiple hours, you’d rather reward yourself with a cold beer and a good night’s rest. But all of that will have to wait until the grill is spotless. Cliched as it is, a clean grill truly is a happy and healthy grill. If routinely cleaned and serviced, a grill can prolong its longevity considerably and perform at the optimal level on a regular basis.
How to Clean a Gas Grill
1. Burn off the remaining gas within the grill, or at least 15 minutes on high after cooking. This will alleviate the burden of cleaning the grate later, as the remaining residues — grease and charred bits stuck on the grate — are carbonized and easier to scrub.
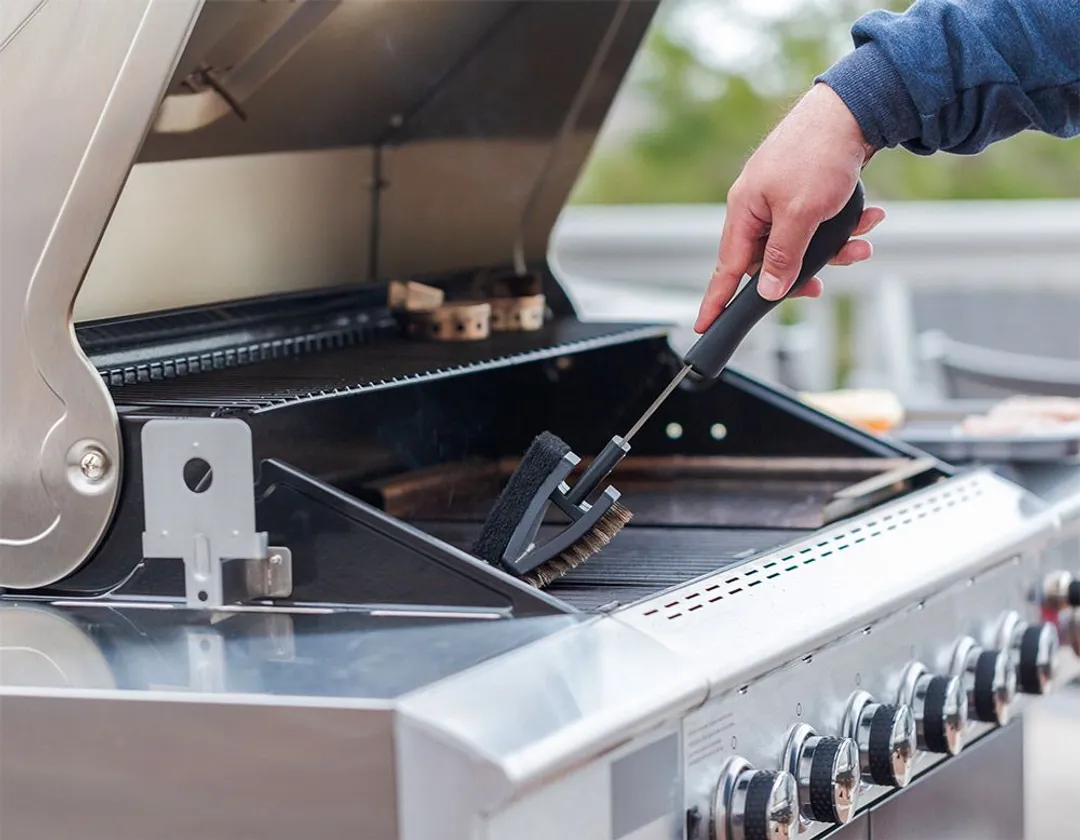
Understandably, no one likes manual labor, especially after having cooked for a lot of people for multiple hours on end. That’s why a motorized hand-held grill brush or an automatic cleaning robot feels appealing to certain grillers. Be that the case, but we doubt their effectiveness and thoroughness live up to advertisements. Certain angles and the edge of the grate can only be reached using a smaller brush or a chainmail scrubber.
2. Disconnect the grill from the heat source.
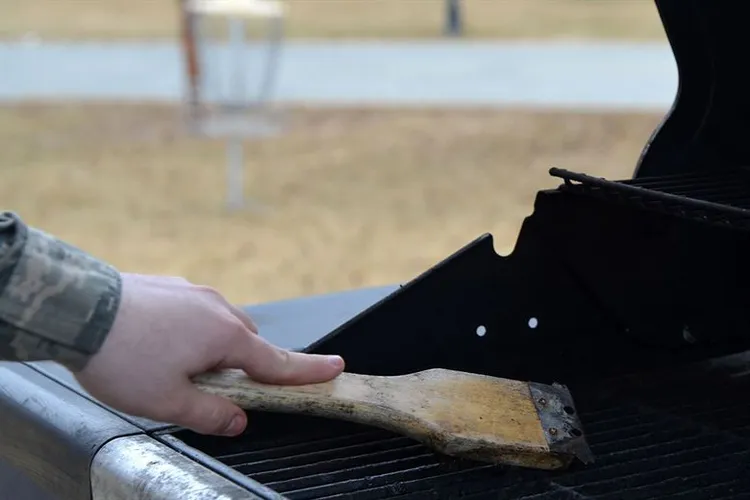
3. Scrub the grate while it’s still warm and on the grill. The burned bits should fall off the bars and into the bottom of the grill or the grease tray.
4. Take out the grate. Soak in a container with warm water and dish soap — or a tightly sealed plastic bag if the grate is way too large, with the opening tightly secured with rubber bands or plastic fasteners. The soaking shall loosen the gunk’s grip on the bars.
For better effect, add detergents like degreasers or solvents, but with the exact amount as instructed on the label. Soak overnight as needed, then rinse off the next day.
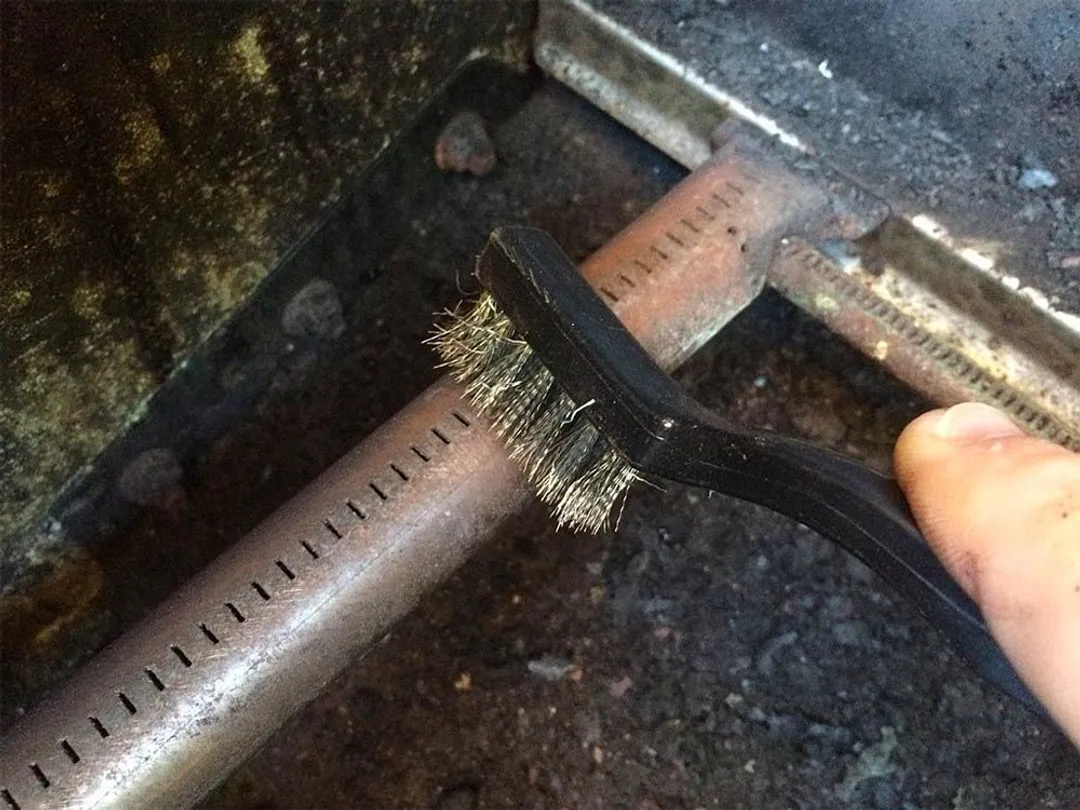
5. As for the burners: disassemble these parts from the grill carefully. Use a toothpick to poke through each and every hole along the burners. Wipe their exterior with a clean rag lengthwise. Conventional wisdom and sudden impulses would urge you to shove a small brush inside the tubes and scrub to your heart’s content, but this is actually counterintuitive: the bristles may fall off and get lodged deep within, further clogging the tubes.
After many cookouts, grease and charred food will fall through the holes and coagulate within the air vents, turning into clumps. Or, if the grill is in disuse for an extended period, mold and spider webs can also block the airpath. A tell-tale sign that indicates a blocked burner is a flickering and yellow burst of flame instead of constant and blue. By clearing the holes with a toothpick, you’ll clean and clear the path for the gas to travel through the burners, allowing the grill to operate at the optimal level.
To minimize the blocking of the burner tubes as well as the cleaning hassle, consider using a heat tent; also referred to as a heat shield or flavorizer bars by certain manufacturers. These metal plates shield the burners off dripping grease and juices from the grate above, while ensuring powerful heat distribution within the cookbox.
6. For the other removable parts – namely the heat tents, grease tray – you can hand wash them with regular dish soap or place inside a dishwasher, provided they are of the right size and compatibility. In the case of a grease tray, consider covering its surface with a thin sheet of aluminum foil to lessen the cleaning burden at the next cookout.
7. Use a bidet or hose to flush gunk trapped under the grill hood and the bottom of the grill. Either air-dry the whole unit or wipe with a clean rag.
8. Use a clean rag to wipe the exterior of the grill before reassembling the unit as a whole.
Read more: How to Clean a Gas Grill: A Guide to Keep Things Spotless
How to Clean a Charcoal-Fueled Grill
If the main criticism with gas grills lies in the complications of cleaning small details, then it’s the residues for charcoal grills. Each has its own cleaning eases and difficulties, and here’s how you clean a charcoal grill.
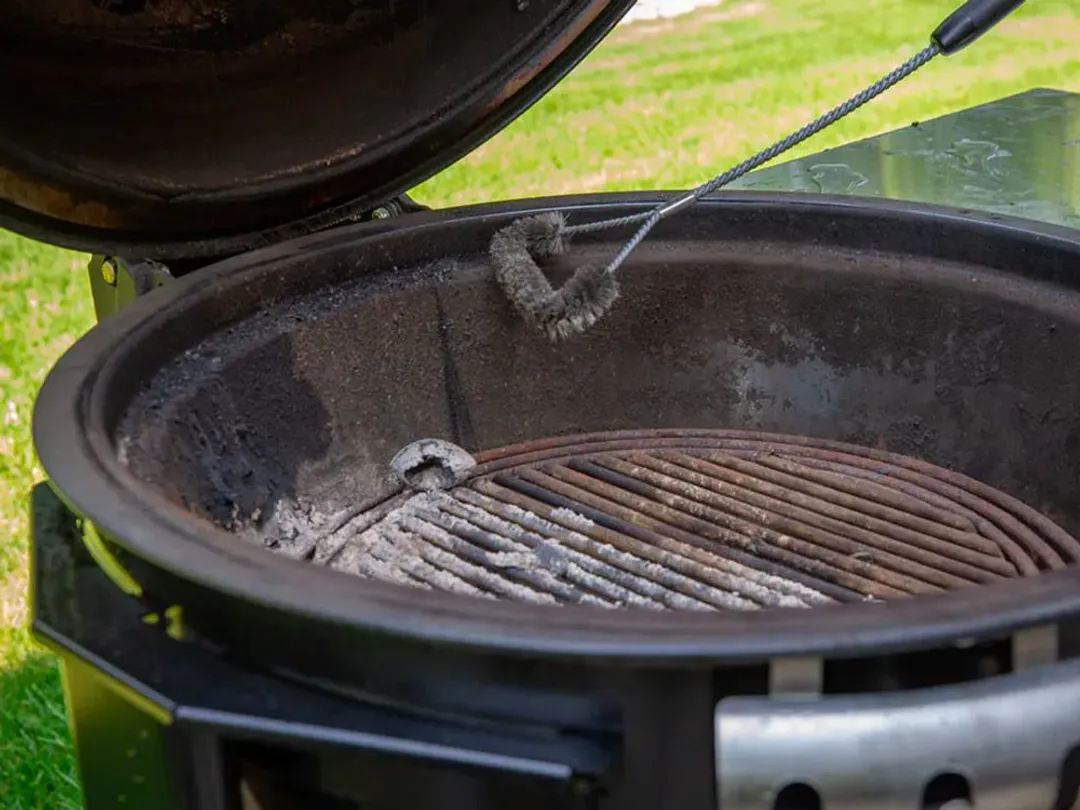
1. As the fire extinguishers and lumps of coal start cooling off, scrub the still-warm grate with a grill brush. The remaining burnt bits and residues will fall to the coal bed right below. For good measure, scrub the inner cooking chamber as well.
2. As the grill completely cools off, scrape the grill’s bottom with an ash rake or use a vacuum cleaner. Any fine ash, cinder, and soot are prone to scatter when there’s a gust of wind, so if you can, put on protective goggles.
3. For the unburnt chunks of coal, you can either keep them for the next cook inside a container or discard as you see fit.
4. Remove the grate. Normally, hand-washing using a sponge with dish soap should suffice. However, it may not be true for all cases. For older grates and stubborn stains, an overnight soak is in order. You may use additional specialized cleaning solutions as needed. After soaking, scrub well, then rinse multiple times with clean water. Flip the grate, and repeat.
5. Clean under the lid as well.
6. Dry the grate, put it back inside the grill, and cover with a lid to prevent mold and rust.
The same cleaning method applies for kamado grills as well, with further instructions for kamado cookers-exclusive components.
7a. As for the grate and pizza stones, place these grease-stained parts inside the grill itself and turn up the heat, since these parts are self-cleaning using high temperature.
7b. Under no circumstance should you let ceramic submerge, soak, or even contact fluids: lighter fluid, cleaning solution, and not even water.
Ceramic has a porous structure, meaning there are voids within where water will take place. Under high temperature and pressure – as is the case with ceramic cookers, also known as kamado grills – these droplets expand, building up steam and pressure like your regular pressure cooker. Imagine it’s a ticking time bomb, and every second passes, more and more steam builds up, as the pressure mounts. Without proper burping technique, you could be subjected to severe burns.
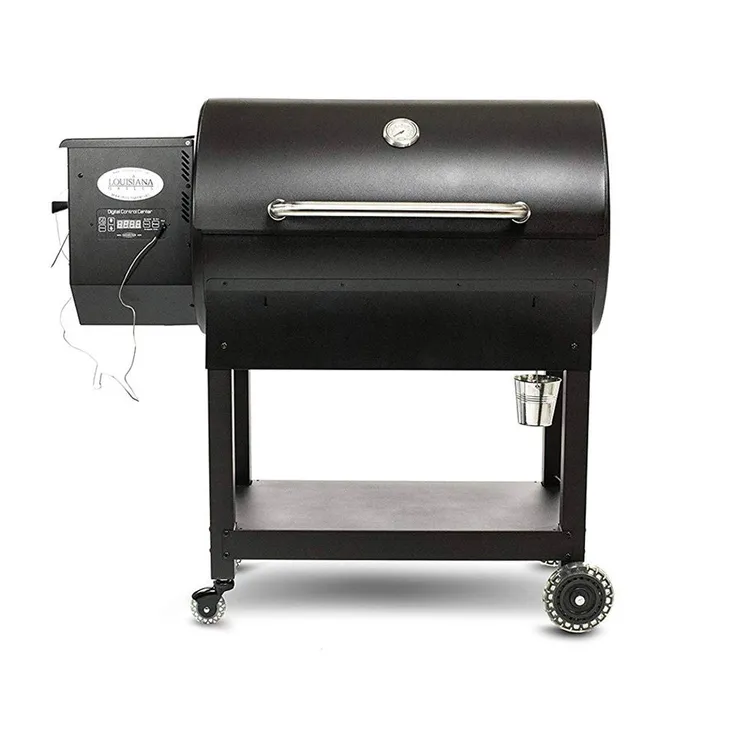
The general instructions for cleaning charcoal-fed grill still apply for pellet grills, with the exception of the for certain parts.
8a. Pellet grills use a programmed thermostat to calculate the amount of pellets needed to cook; they thus leave less residue compared to regular charcoal grills. But that’s not to say it’s any less messy. A vacuum cleaner should be enough to deal with the fine soot gathered near the burning chamber.
8b. Pellet grills incorporate a grease drainage right under the grate that will guide droplets of juices and fat out of the cooking chamber and into the grease bucket dangling on the outside. For droplets luckily escaping the exile from the grill, they will still fall on the grease tray/pan right under the grate. Handwashing the bucket and the grease tray shouldn’t be too troubling.
A small hint to save time cleaning the grease tray and grease bucket: use aluminum foil and liner cups— aluminum foil-shaped cups placed inside the bucket for easy cleanup. Our tip: place multiple cups inside instead of one. That way, by the end of the cook, take the top one out, and then the grill is ready again for the next party.
8c. The pellet container— also named a hopper— is accessible via a side door or top lid. You can either empty the container through these accesses or a vacuum cleaner.
How to Use a Charcoal Grill: Best User’s Guide to Charcoal Grills
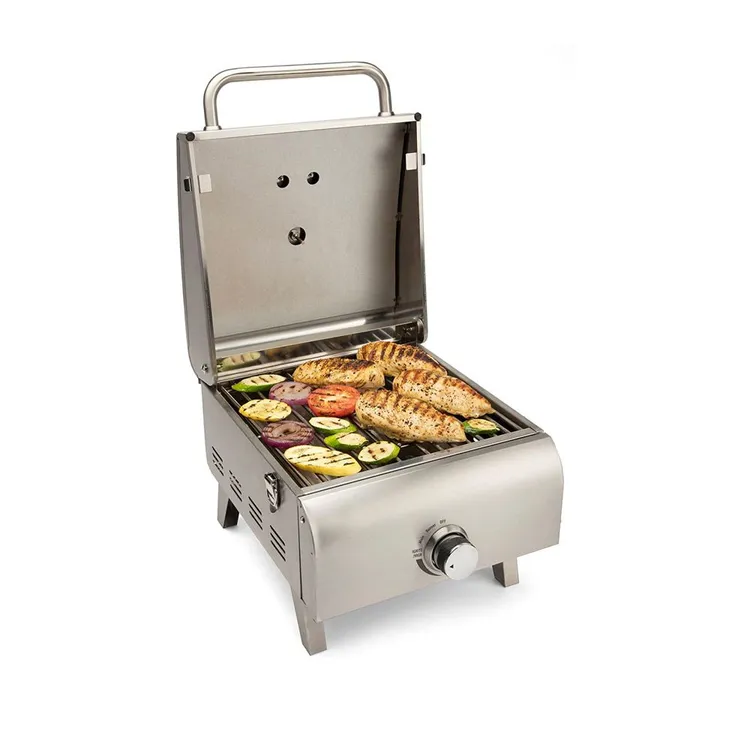
How to Clean an Electric Grill
Electric grills may lack the firepower that their charcoal-fed and gas-fueled counterparts possess, they make up with their portability and ease of cleaning. The majority of electric grills have detachable components, which make it easy to place with a sink and wash manually. Furthermore, some models are compatible with a dishwasher, saving a considerable amount of cleaning time and effort.
1. Unplug the unit from the socket
2. Detach the grilling surface, grease tray, and lid.
3. Since most electric grills are tabletop models, their component should sit nicely within a sink. Regular dish soap and warm water should be enough to remove ordinary stains and grease. Instead of a grill brush, a sponge or metallic scrubber should suffice.
Unless specifically noted in the manual by the manufacturer, we advise against the use of a dishwasher. There are grills whose certain parts are dishwasher-friendly while others are unfortunately not.
4. Keep the heating element away from water. If cleaning is required, use a damp piece of cloth or paper towel to wipe.
5. Wipe the grill’s exterior with paper towels as needed.
How to Clean a Grate (Made of Different Materials)
Generally, a grate can be made from various materials, the most popular of which are: stainless steel, cast iron, and coated steel.
How to Clean a Coated Steel & Stainless Steel Grate
Coated steel is a popular choice for many manufacturers: it conducts heat well and resists well against rust, as long as the longevity of the coating layer. Not to mention, it’s an economical option compared to other materials. Eventually, that coating’s going to lose its magic, exposing the grilling surface to corrosion. The coating layer varies from manufacturer to manufacturer, but the most common of which is porcelain-enamel and weather-shield paint.
Stainless steel is impervious to rust and corrosion on its own, so there’s no need for any protective coating. More often than not, it’s commonly used on more high-end grills of the spectrum, because it’s lightweight, durable, and easy to hand wash— dishwasher-friendly, even, provided the parts can fit in one. Outdoor grills made of stainless steel can survive moisture from rain, dew, and snow, as well as extreme heat from the sun during summer, and the winds.
Normally, casual grillers opt for coated steel mainly because it’s inexpensive and it gets the job done, which is a fair point, by all means. For those who choose stainless steel, it’s a worthwhile investment that will make your outdoor kitchen the envy of others. Both are easy to wash, though in the case of coated steel, the durability of the protective layer varies.
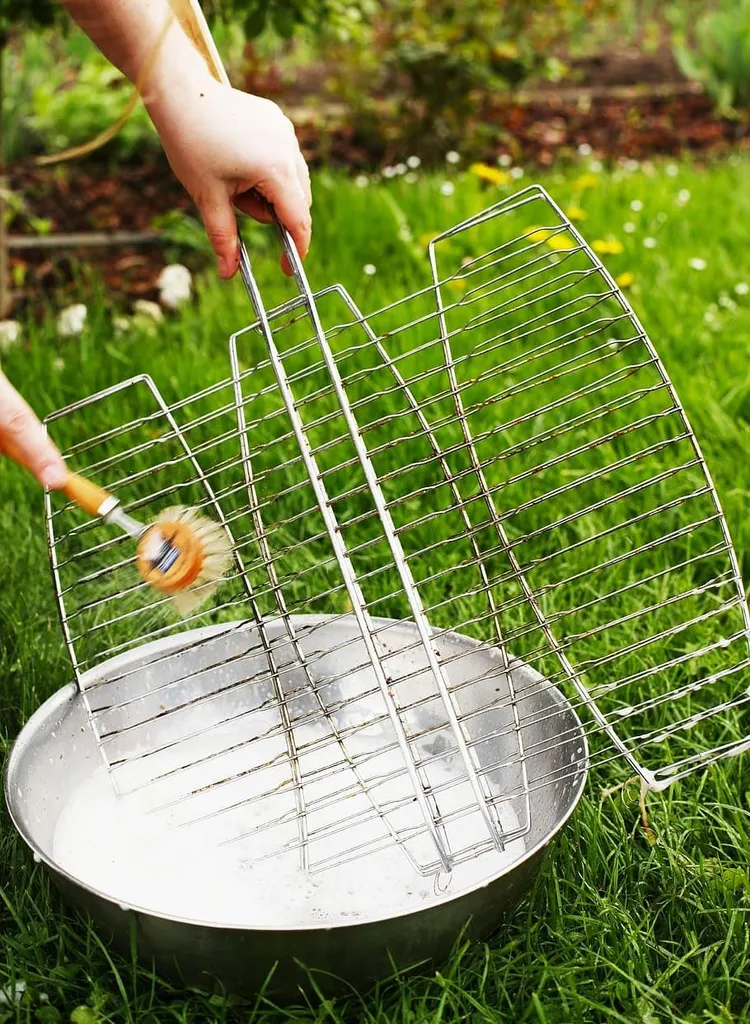
1. After the cooking is finished, scrub the still-warm grate while it’s still on the grill. This is the ideal to eliminate grease, charred bits, and burnt pieces off the grate. A grill brush or scraper are the norms, but if they’re not available, a sheet of aluminum foil rolled up as a ball works as a substitute just fine.
2. And it’s not just going back and forth: go around the clock and between the grate bars as well. We don’t want to leave any spot unchecked.
3. Most people tend to forget, but a grate has two sides. Flip the grate and repeat the same steps once again.
4. Take the grate out of the grill, soak it in warm soapy water— the duration can vary from an hour to overnight, depending how caked-on the grate is. This process loosens the grips of unwanted debris that overstays its welcome on the grate.
Most food would release its latch on the grate once it’s thoroughly soaked with dish soap. However, that may not be true for certain grates. Grease, gunk, charred food, and rust can be stubborn and resistant to regular cleaners. For such instant, specialized cleaning solutions like degreasers, vinegar, baking soda and lime are the proven methods that should be effective in eliminating the undesirable elements. Rinse and repeat as needed with warm water, and we mean it literally.
5. After soaking, take the grate out, scrub again, and rinse multiple times with water. Dry well before storing inside the grill.
Normally, a regular grill brush should suffice, but we strongly advise against it for a multitude of reasons:
6. While impervious to rust, stainless steel can suffer from scratches and discoloration.
7. Bristles can fall off the brush and get caught between the grate bars. Metallic bristles can latch on to food and upon ingestion, they can cause gum bleeding, choking, and puncture vital organs. Meanwhile, nylon bristles can catch fire.
However, it’s easy to avoid these scenarios: rinse the grate multiple times with water after scrubbing, and inspect between the bars to make sure there’s no loose bristle. In order to avoid discoloration, the use of strong detergents like stainless steel polishers and acidic cleaning solutions should be kept to the minimum and reserved for stubborn stains. If you absolutely have to use specialized cleaning solutions, always follow the instructions on the label and use the right amount as suggested.
To minimize scratching and preserve the longevity of the protective coating, alternatives to a grill brush include a bristle-free grill brush and a grill scraper. One cleaning tip we found commonly shared among the grilling community is during preheating, applying a thin layer of natural oil on the grate before cooking, or rubbing raw halved onions across the surface prevents food from sticking to the surface.
How to Clean a Cast Iron Grate
While stainless steel and coated steel are easy to hand wash with regular dish soap, unfortunately, the same cannot be said for cast iron. Normally, cast iron grates either come uncoated or precoated, depending on manufacturers. Either way, although cast iron is highly lauded for its life-long durability and prestige heat retention, it’s not completely faultless: it requires gentle hand washing and meticulous preservation to retain its longevity and overcome rust.
1. Unlike coated steel and stainless steel grates, you aren’t supposed to scrub the food debris off a cast iron grill while it’s still on a grill. Take the grate out and put it in the sink or near a hose if it’s oversized.
2. Gently scrub the surface with warm water and a soft-bristled brush— preferably nylon. But as we expressed our concern above, falling bristles may cause more damages than just unpleasant grilling experience. So, a popular alternative is a chainmail scrubber. It’s particularly designed to clean cast iron surfaces while maintaining their integrity and smoothness.
Many grillers strongly refuse to use cleaning solutions when cleaning cast iron grates, arguing that the absorption of chemicals into cast iron will compromise the grate’s integrity and possibly taint the food. While this belief has been circulating among BBQ communities and passed down from previous generations to the next, it’s actually okay to use dish soap to clean cast iron cookware, as noted by Lodge, a prominent cast iron cookware manufacturer.
If the use for dish soap emerges— after all, not all stains come off with warm water and brute force— you can add a few drops, mix well with water, and scrub away. But abstain from doing this routinely, and use this as the last resort to deal with stubborn stains. If you’re still hesitant about using this soap, consider combining baking soda and salt into a cleaning paste as an alternative. Put the paste on the cast iron surface and scrub well as the foam surfaces.
3. Once done, dry the grate with towel papers or a clean rag instead of air-drying. Cast iron will succumb to rust if exposed to moisture and air for too long, whether coated or uncoated.
4. Once dried, apply a thin layer of vegetable oil on the surface. This method is the seasoning of the cast iron, which protects the grate from rust buildup, prevents food sticking, and intensifies the flavors for the next cook. Wipe the surface with paper towels until there’s no oil residue left.
5. Store in a dry place, preferably indoors, or cover well if placed outdoors.
In case we haven’t made it clear enough, dishwasher-compatibility is definitely out of the equation.
Read more: How to Clean Grill Grates: Instructions to Spotless & Gunk-Free Grates
How to Clean a Grill Pan
While not exactly a part of a grill, a grill pan, or skillet, is still a resourceful and versatile cookware that everyone should have. Most of these pans have some sort of protective coating against food sticking, the most common of which are porcelain-enamel, ceramic, teflon, and oil. These coatings aren’t permanent, and eventually their effectiveness will wear off over time. And although their dishwasher-friendliness varies from model to model, these pans are relatively easy to hand wash with regular dish soap and all-purpose cleaners.
1. Gently scrub the surface with warm soapy water and a sponge. Normally, these pans come with their own cleaning kits and tools, but if that’s not the case, you can easily find one online or use a chainmail scrubber instead.
In cases where stubborn stains persist, degreasers and other specific cleaning fluids may come in handy. But these solutions are highly concentrated, so you need to dilute it or mix with the right ratio instead of using liberally, or you’ll risk damaging the protective coating or discolor the pan.
2. Rinse with water several times to wash off any remaining residues.
3. Air-dry or dry with a dishtowel. Store away in a dry place.
Conclusion
Now that’s all there is to know about how to clean a grill properly. Hopefully this article has been helpful and informative. If there’s anything that we missed out or if you have a tip you feel like sharing with us, please head straight to the comment section right below this article.
Authors

Luna Regina is an accomplished writer and author who dedicates her career to empowering home cooks and making cooking effortless for everyone. She is the founder of HealthyKitchen101.com and HealthyRecipes101.com, where she works with her team to develop easy, nutritious recipes and help aspiring cooks choose the right kitchen appliances.