Our recommendations are made independently through Research & Testing. We may receive commissions from purchases made via our links.
How to Clean a Toaster Properly from Top to Bottom
A dirty toaster can fill your kitchen with a noxious, irritating burnt scent. This guide can show you how to clean a toaster and keep your space healthy.
If you can’t remember the last time that you cleaned your toaster (or don’t know how to clean a toaster altogether), it’s time to fix that.
Over time, bread crumbs will collect in all nooks and crannies of your toaster. If they aren’t cleared out, the high heat from the toaster will eventually burn them up and fill your kitchen with an acrid smell. Besides smelling horrible, the fumes aren’t great for your lungs, either.
Follow this guide to properly tidy up your toaster.
How Bad Are Burnt Bread Fumes?
Like we said earlier, the fumes produced by burnt bread is noxious not only to your sense of smell, but also to your health.
According to one experiment, the fumes from burnt bread can briefly alter the indoor air quality index to unhealthy levels. Prolonged exposure has been shown to increase risks of respiratory issues, heart attacks, and strokes.
Not only that, but a lot of people also have the habit of placing buttered bread in the toaster. The melted butter will drip down to the bottom of the toaster and stay there along with any fallen crumbs.
Oil fumes aren’t healthy, either. They are notorious carcinogens that can contribute to lung cancer along with other immediate complications.
For this reason, if your toaster suddenly begins to smoke and gives off a burning scent, don’t just leave it be. Clean it out immediately. Even if it doesn’t eliminate the smell, at least it may protect your lungs from some of the more toxic fumes.
How Often Should I Clean My Toaster?
This depends on how frequently you use the toaster. We recommend doing it weekly if you use your toaster often. If you only use it once or twice a week, you can get away with cleaning every two weeks.
If you smell a burning scent wafting from your toaster while it’s working, pause, unplug, and clean it out before continuing.
The Best Way to Clean a Toaster
We will separate this segment into two parts: cleaning the interior and the exterior of the toaster. Both only take a few minutes, so do both parts each time you set out to clean the toaster.
How to Clean the Toaster’s Interior
Step 1: Unplug the Toaster
Never attempt to clean a toaster that is still plugged in, especially if it has just recently been used. If you try to put anything inside of a plugged-in toaster, you risk electrocution or starting a fire.
Step 2: Remove the Superficial Crumbs
If your toaster has a removable crumb tray at the bottom, take it out and clean it thoroughly with a brush. If the tray is filled with grease or food stains, don’t worry about those for now.
Grab the whole toaster and move it to a trash can. Turn it upside down and give it a couple of good shakes. Loose crumbs should fall from out of the toaster and into the trash.
Use a dry cloth to take care of any debris or gunk that still remains on the toaster.

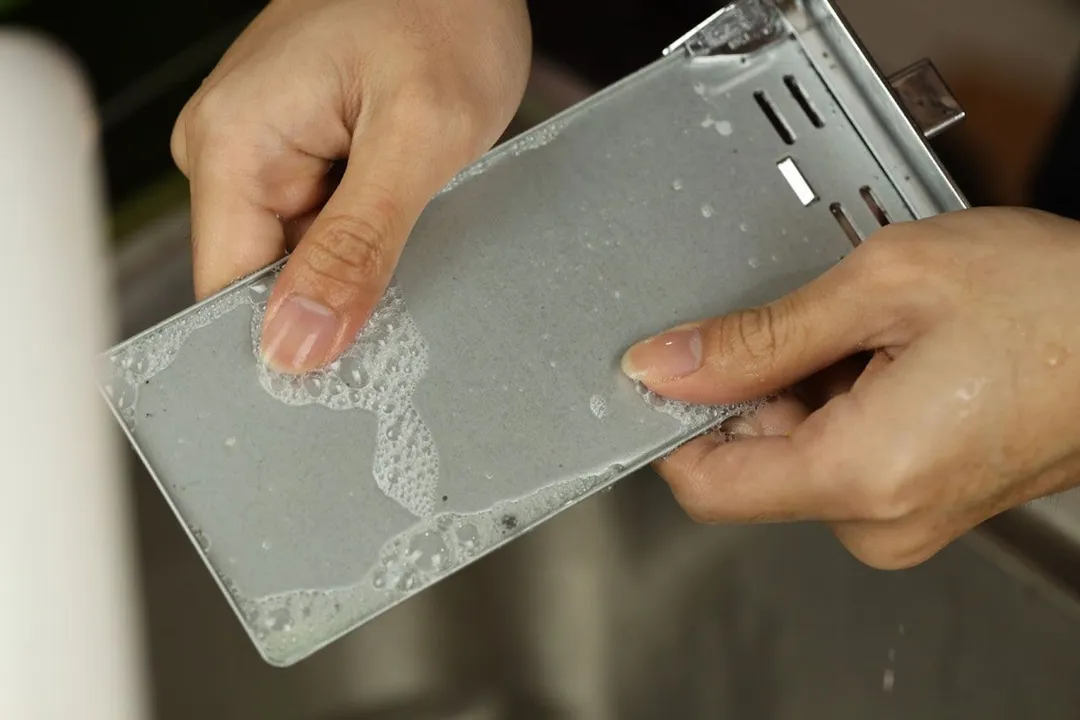
Step 3: Mix the Cleaner
Fill your sink or a large bowl with warm water. After that, add a couple droplets of dishwashing liquid (with added degreaser). Mix well.
Submerge the crumb tray (not the toaster itself!) in the cleaning liquid. Wash thoroughly, then scrub away the stains using a sponge.
Rinse well in clean water to wash off all the soap. Dry with a cloth.
Step 4: Remove the Crumbs from the Interior
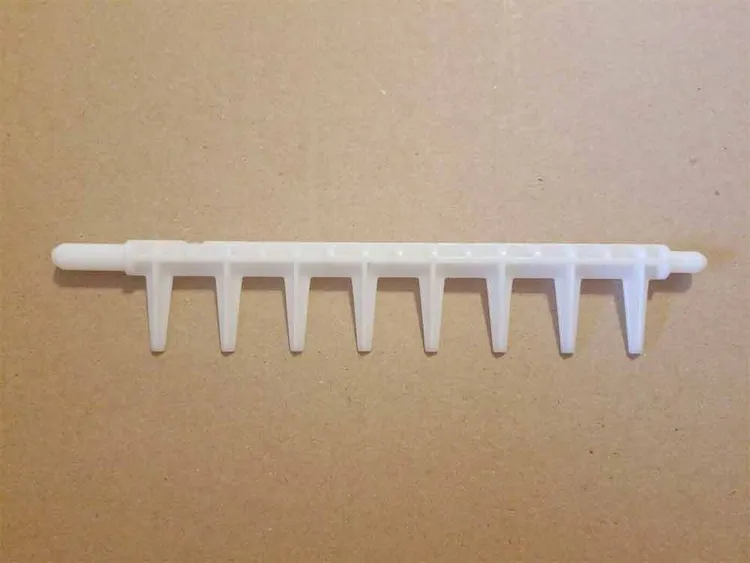
For this step, you will need an old toothbrush. Add a few droplets of white vinegar onto the bristles. Give the brush a few vigorous shakes so that it’s only slightly damp.
Place the toaster on its side with the slots facing toward you. Insert the toothbrush into the slot and sweep out the accumulated debris inside. Repeat with the other slot until both are clean.
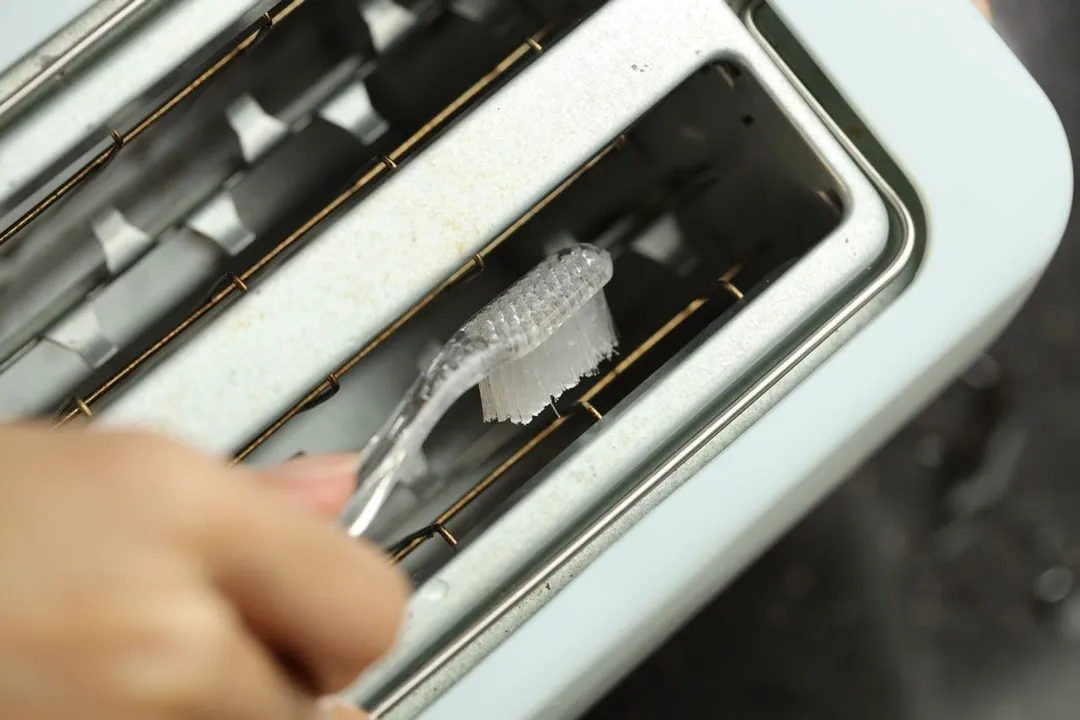
Do not use your fingers to clean the slots. You will only injure yourself and damage the toaster’s internal components.
If the crumbs are stuck too deep inside the toaster and the toothbrush is unable to reach them, you can use a can of compressed air to blow them out.
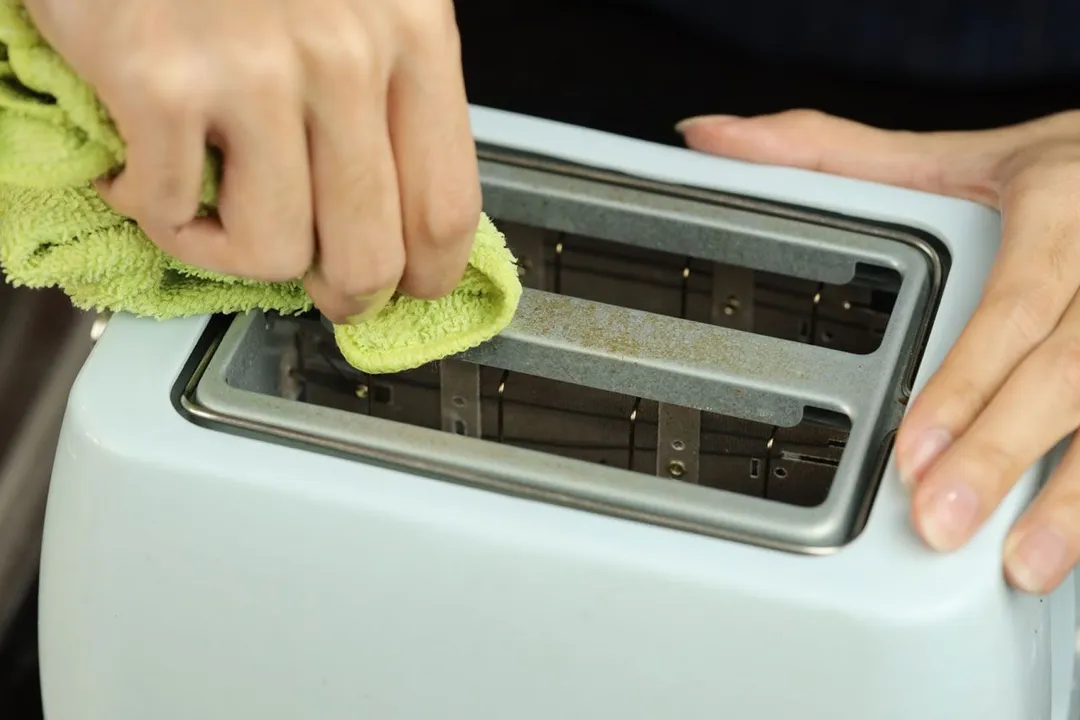
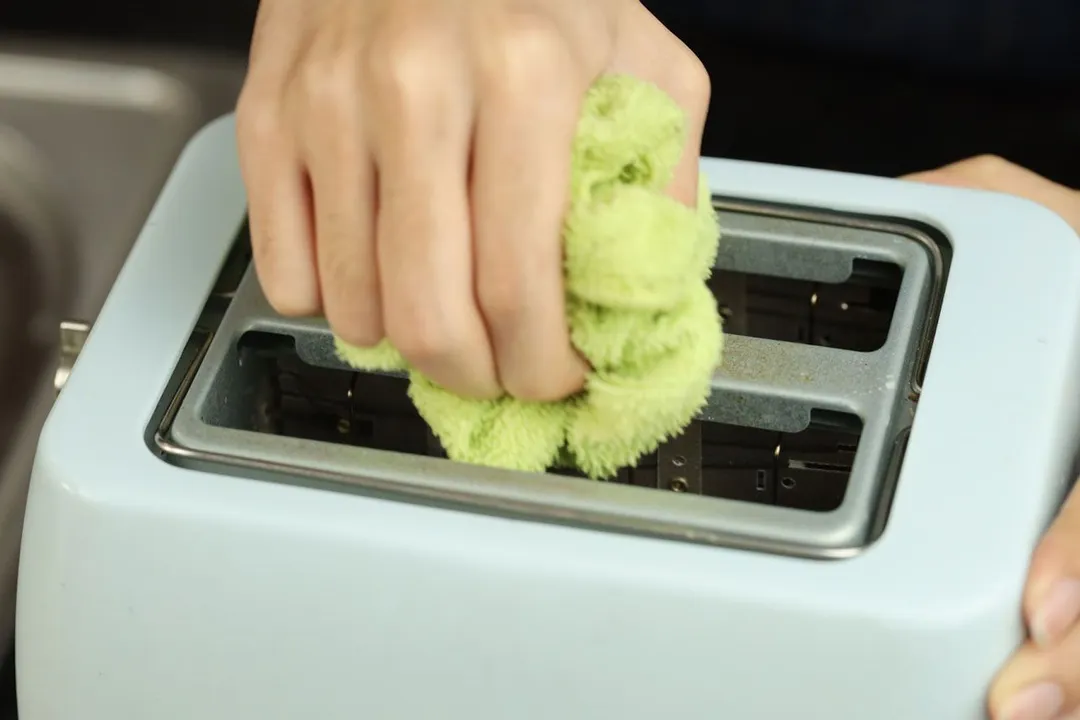
Step 5: Wipe the Interior
After the crumbs are eliminated, it’s time to deal with the greasy stains. Unfortunately, it is very difficult to reach deep into the interior. So, you will only be able to wipe the slots’ upper portions.
Dampen a cloth with some white vinegar. The keyword is dampen. Do not soak the cloth in vinegar. Excess vinegar moisture inside of the toaster won’t dry properly.
Wipe the slots of the toaster. Don’t try to reach too deep into the toaster.
How to Clean the Toaster’s Exterior
Step 1: Wipe Down the Exterior
Submerge a sponge or a dry cloth in the cleaning liquid that you mixed earlier. Wring it thoroughly so that the sponge or cloth is only slightly damp. It should not be soaking wet.
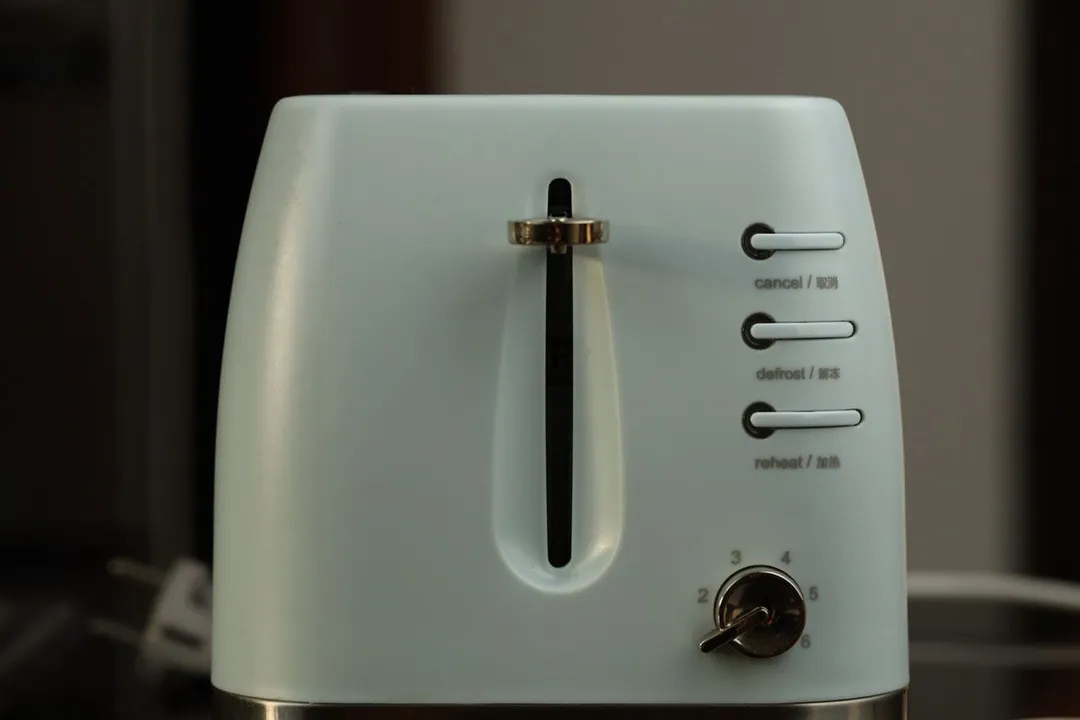
Begin to work from the top all the way to the bottom of the toaster. Pay special attention to the control panel with all the buttons, dial, and lever.
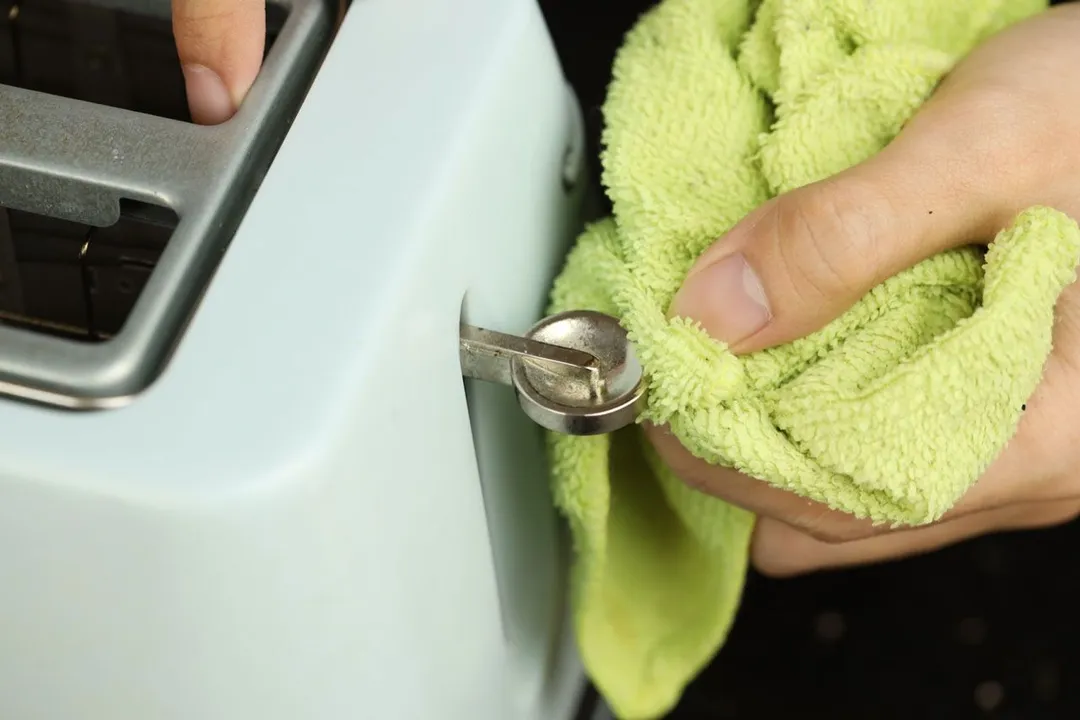
Use a second sponge or cloth (dipped in clean water) to clean up the soap. Then, dry with a microfiber cloth.
Step 2: Clean the Stainless Steel Details (Optional)
Premium toasters will typically have a stainless steel casing or detailing on the exterior. Over time, it may become quite dull or scratched-up. If you want, you can touch it up with a simple off-the-shelf stainless steel cleaning solution. It’s cheap and quite easy to use. Just dab a bit on a cloth and wipe down the stainless steel surfaces of the toaster.
Alternatively, you can mix equal parts baking soda and dishwashing liquid to create a DIY cleaner. Put a bit onto a sponge or cloth, then wipe down the steel.
How to Clean Melted Plastic From the Toaster
Occasionally, people leave the bread’s plastic wrapper in contact with the toaster. All that heat can melt the plastic, which will stubbornly stick to the toaster.
When this happens, stop the toasting process immediately and unplug the toaster. Allow the toaster and the melted plastic to fully cool before proceeding.
Step 1: Scrape the Plastic
You can use a plastic or wooden scraper to try and abrade the melted plastic off of the toaster. Don’t use a metal scraper since it can damage the exterior surface.
Most of the time, this will only remove a little bit of the plastic. A thin layer of hardened plastic will still remain. That’s where the next step comes in.
Step 2: Remove the Final Layer of Plastic
Dampen a cloth or a sponge, then add a pinch of baking soda on top. Scrub the plastic until it comes off. If it still stubbornly holds on, add more baking soda and repeat.
When all the plastic is finally sloughed off, give the area a second wipe with a clean, damp cloth to remove all the baking soda residue.
Step 3: Remove the Stain
Even when the last layer of plastic comes off, there will still be a hazy stain on the toaster. You can remove this with acetone-based polish remover.
Dip a cotton ball into the polish remover. Scrub the stain until it is completely clean.
Wipe the remnants of acetone away with a damp, clean cloth.
How to Keep Your Crumb Tray Clean With an Oven Liner
This small trick will save you quite a lot of time: cover the crumb tray with a non-stick oven liner. The liner will protect the tray from both crumbs and stains. When you have to clean the tray, you only need to dump the liner instead of having to rinse the whole thing.
Ordinary oven sheets will be too large for your toaster, but don’t fret. Use a pair of scissors to cut out a swath of liner to fit the tray. Next time you have to clean the toaster, discard the old one and replace it with a new piece of liner.
Conclusion
With your newfound knowledge on how to clean a toaster, you can start forming good tidiness habits.
Share your experiences or ask any question you have in the comment section.
Authors

Matthew Lee is a writer and editor for HealthyKitchen101. With over 8 years working for various outlets and agencies, specializing in tech review and other subjects of note, such as current affairs.