Our recommendations are made independently through Research & Testing. We may receive commissions from purchases made via our links.
How to Clean Waffle Maker
Got a dirty waffle maker in your kitchen and wondering how to scrub it down? Here’s the only guide you’ll need to learn how to clean waffle maker!
Waffles have been a beloved treat since as far back as the 13th century. Not only are they not going out of style anytime soon, but they’re also only becoming even more popular thanks to electric waffle makers. Today, it’s easier than ever to whip up a good batch of waffles for yourself and your family.

Unfortunately, the convenience of modern waffle makers only extends to the cooking part.
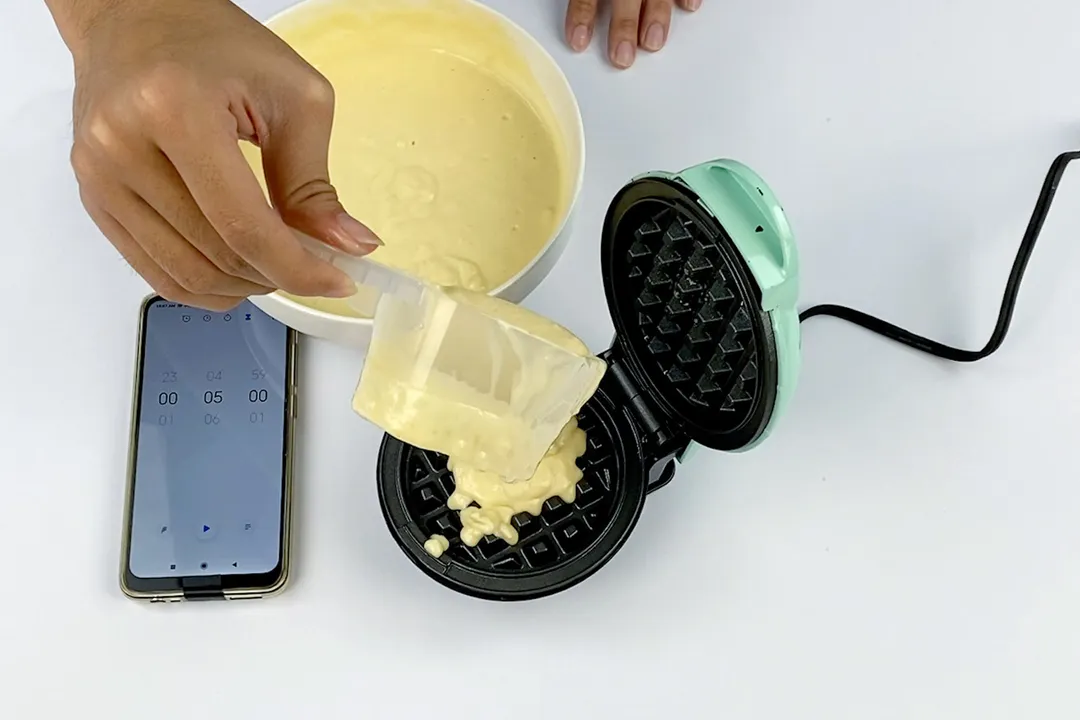
You’re probably no stranger to a messy kitchen countertop after a session with dripping gluey batter everywhere and debris stuck in all nooks and crannies of the machine that you now have to take out.
This guide will show you the quickest and easiest way to clean your waffle maker after each use, ensuring that your kitchen remains a bastion of cleanliness and hygiene
Why You Need to Clean Your Waffle Maker Often
Like anything that touches your food, you would want it to be clean as possible. It’s generally not a problem if you don’t clean the waffle maker for one or two sessions. But after a while, without cleaning, dust, debris, and dried batter will collect on the waffle maker. All of these contaminants can be introduced to your food, as well as harmful bacteria like E.coli and Salmonella.
Cleaning your waffle maker regularly can also save you a lot of time and effort later on. The longer you leave the dried-out batter sticking to your waffle maker, the harder it’ll be to clean it later.
We learned this the hard way when we left a dirty waffle maker without sweeping up the drying batter for several hours. After the batter had dried out and settled on the chassis of the waffle maker, it became hard and stuck very firmly onto the plastic. It took around 5 minutes of scrubbing and plenty of detergents before all batter spills were swept out.
How to Clean Waffle Maker

Most manufacturers designed and built their waffle makers to be easy to clean. Many, such as the Chefman Anti-Overflow and the DASH No-Drip, have features that prevent spillage. If your model has such features, you’ll have a much easier time cleaning.
In this article, we’ll go through the cleaning process for a standard waffle maker without all these extra features.
Step 1: Clean the Exterior
We recommend starting on the outside and working your way inwards. Batter often drips out from within the baking chamber, leaving trails of half-dried batter all over the exterior. Scrubbing them off will be very difficult if they're left to harden.
Use a clean, damp cloth and wipe down the top lid of the waffle maker to take care of superficial dust and dirt. If the top of your waffle maker is made from stainless steel or any kind of glossy metal, there are specialized metal cleaners on the market that you can use to restore its shine.
Then, move down to clean other details, such as the lid's hinges, the control panel, the handle, and the base (for people with a flippable waffle maker.)
Step 2: Take Care of the Spilled Batter on the Outside of the Waffle Maker
If the batter’s still fresh and semi-liquid, scrubbing it off will be easy. Just use a cloth and wipe at it; it should come off easily.
The real challenge is against batter drippings that have “cured” and become hardened, sticky glumps against the chassis of the waffle maker. In that case, you can apply a few droplets of cooking oil to soften and loosen them up. Alternatively, you can soak a towel with hot water, and then apply it directly to the hardened batter. After a while, the heat should soften it up.
After that, just use another clean, dry cloth and scrub until it dislodges from the waffle maker.
If the hardened batter bits still prove difficult to dislodge, you can use a plastic spoon or fork (don't use anything too sharp or abrasive, or you'll scratch up the waffle maker) to pry them off.
Step 3: Start Cleaning the Interior
Most waffle makers on the market these days will come with waffle plates coated in a layer of non-stick. The formula of the non-stick will differ from one brand to the other, but they all do the same thing: preventing the batter from sticking to the plates. So, instead of dealing with numerous clumps of dried batter, you'll only have to face thin layers of cooking spray or burnt debris from previous batches of waffles you cooked.
The most you’ll need to use is a clean, dry cloth to wipe away the cooking spray and take out any debris on the plate.
Deep Cleaning the Waffle Plates with Baking Soda
If either your waffle plates don’t have a non-stick coating or you want to clean the waffle maker deep, you can use the baking soda trick to ensure a thorough scrub-down. Combine ½ cup of baking soda in a bowl with 3 tablespoons of water. Mix until it congeals into a viscous paste (similar to toothpaste.)
Use an old toothbrush to apply the baking soda to the plates, then let it sit for an hour or two.
After that, use a damp cloth to wipe away the baking soda and any residues. The baking soda will capture all of the contaminants.
Step 4: Clean the Details on the Waffle Maker
Now that all the major areas have already been taken care of, it’s time to get into the smaller nooks and crannies around the machine, like the inside of the lid hinges, the handle, and so on.
The actual process will differ from model to model.
For example, the Presto FlipSide Belgian waffle maker has a hollow inside where the spilled batter tends to collect inside. It’s one of the places that we have to clean the most often while testing this model. Or, in the Bella 13991 Belgian waffle maker, batter tends to collect inside the lid hinges.
If you’ve had the unit for a long time, you will likely know all the “hot spots” in your waffle maker that you need to clean. But if you just got the waffle maker, it’ll be worth doing a top-to-bottom inspection to find places that you should pay attention to cleaning.
Most of the time, cleaning these details only needs a dry cloth and maybe some detergent to loosen up a hardened batter or stubborn debris.
But sometimes, dirt can find its way into very small, hard-to-reach details on the waffle maker. In that case, you can use a toothpick, tweezer, or a can of air blower to take them out.
Conclusion
Like any other kitchen appliance, waffle makers require regular and proper care. You don't need to scrub them from top to bottom every day. Instead, just take a few minutes to clean out batter residues after each use. Depending on how frequently you use the waffle maker (and how dirty it got,) you can bring it out for a deep clean once every few months.
Cleaning your waffle maker not only ensures tastier and healthier waffles without all the batter gunk sticking to them, but it’ll also help prolong the service life of your waffle maker.
We hope this guide has answered all your questions about how to clean waffle makers!
About your tip

Matthew Lee is a writer and editor for HealthyKitchen101. With over 8 years working for various outlets and agencies, specializing in tech review and other subjects of note, such as current affairs.

Nguyen Ntk is a graphic designer, photographer, and videographer whose philosophy centers around respecting and celebrating the beauty of reality. Through his lenses, Nguyen strives to capture the true essence of objects and events, showcasing and highlighting authentic features without distortion or exaggeration.