Our recommendations are made independently through Research & Testing. We may receive commissions from purchases made via our links.
How to Clean a Toaster Oven Easily
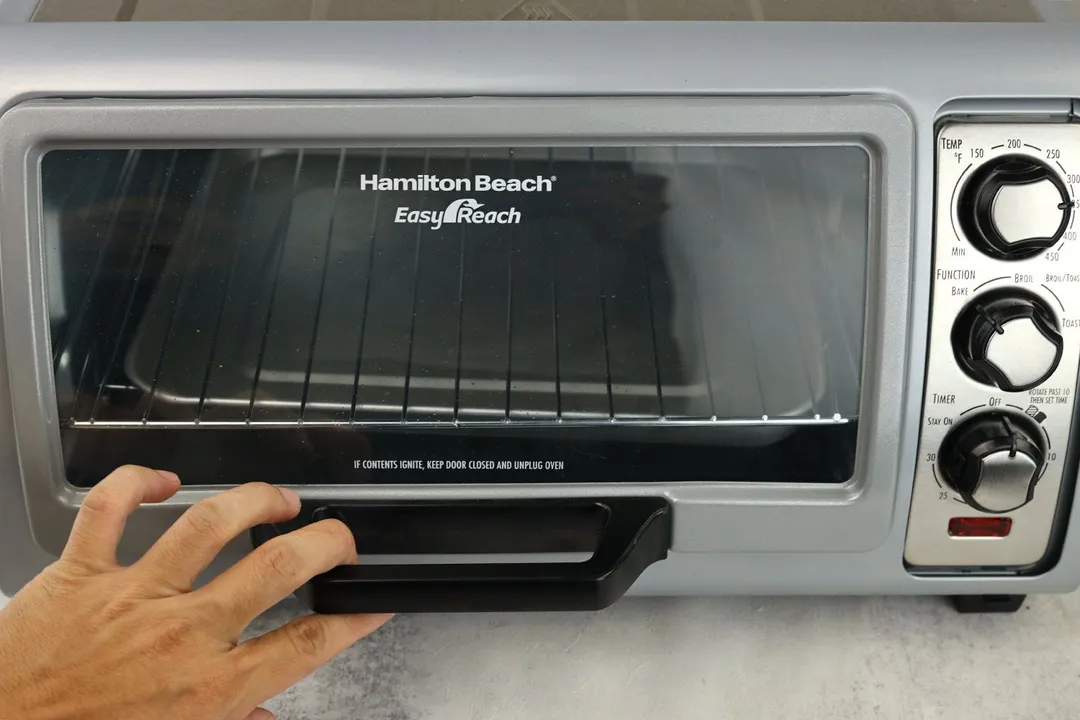
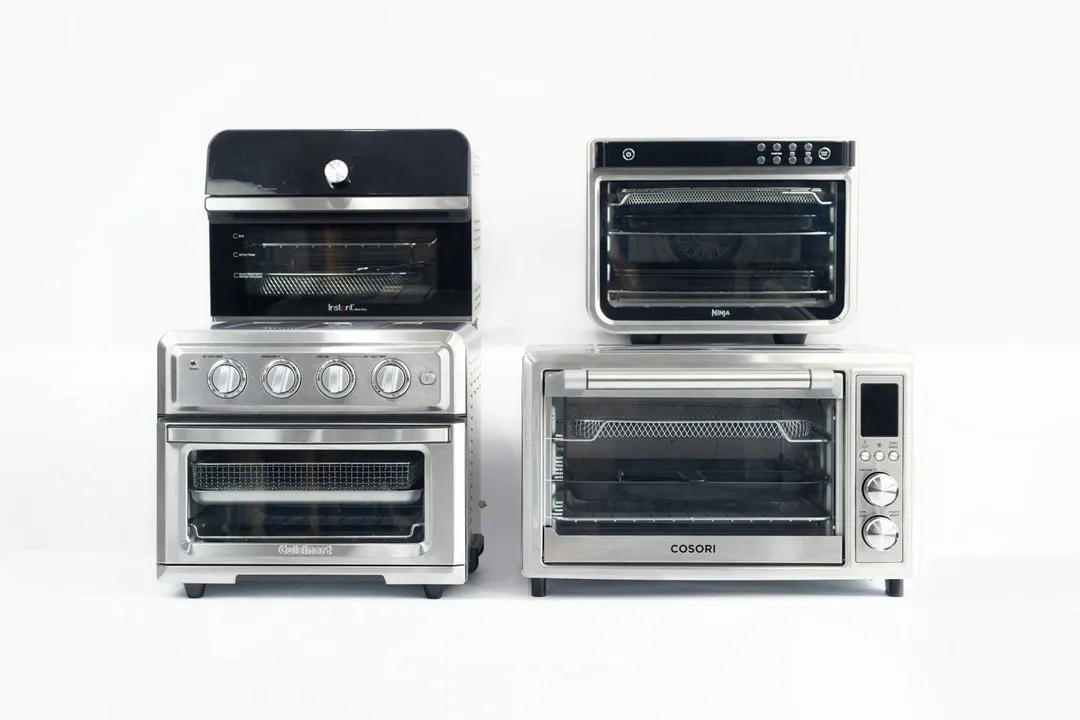
How to clean a toaster oven. Check out how we clean, step-by-step, its accessories, cooking chamber, heating elements, casing, and door.
The best way to ensure a longer lifespan for your product is by cleaning it regularly and toaster ovens are no exception. If you leave falling bread crumbs inside the toaster oven, they may burn and create an unpleasant smell on your food. Worse still, the crumbs may catch on fire.
The same goes for grease splashed inside the cooking chamber during cooking. If left unattended, the grease might lead to smoke the next time you cook with the toaster oven. Moreover, the grease could dry out and leave permanent stains in its trace. This is true even for premium toaster ovens with a non-stick interior coating.
So, follow along as we show you step-by-step how to clean toaster ovens in order from the first feature to the last.
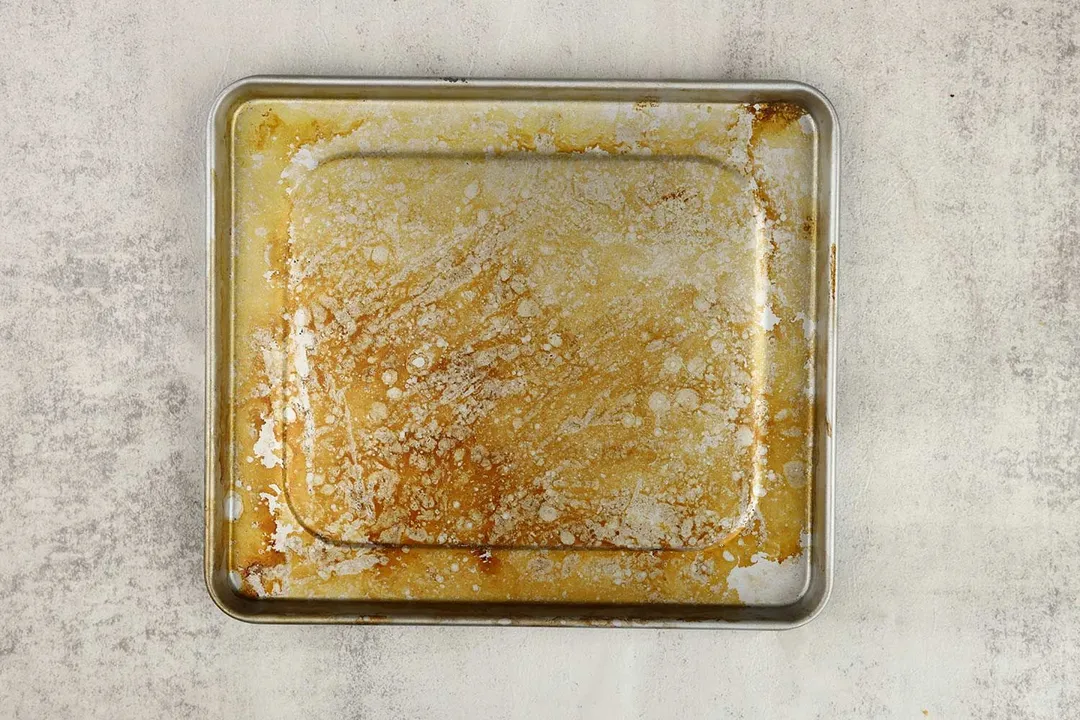
How to Clean a Toaster Oven Tray
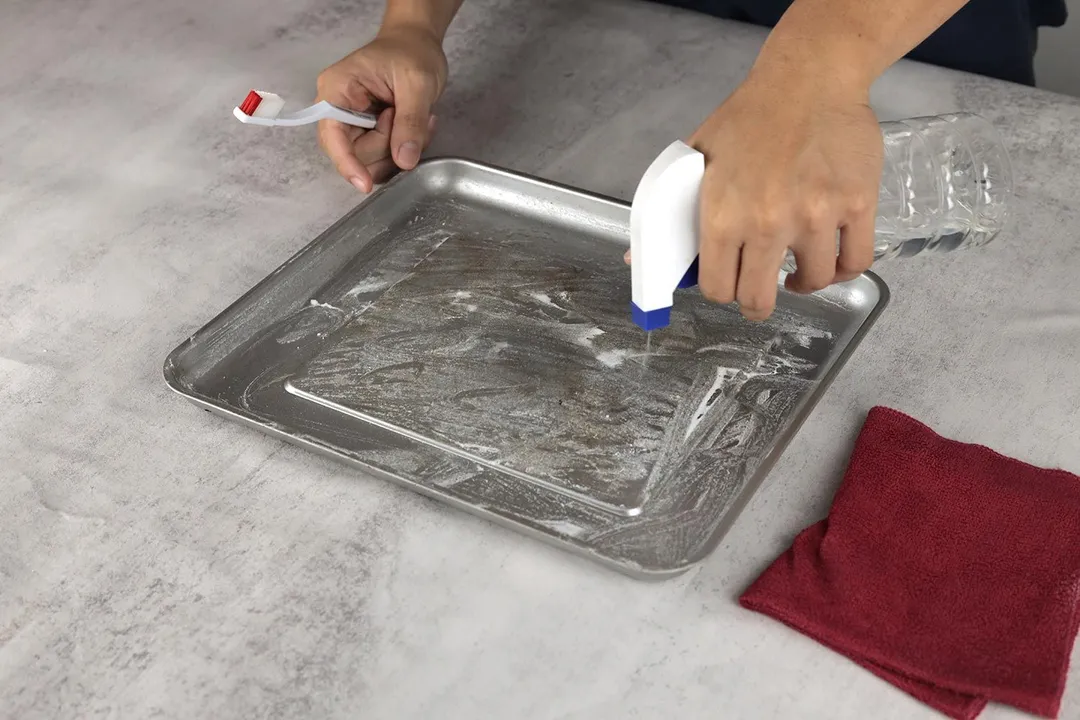
What You Need
- Paper towels
- Dish soap and/or all-purpose cleaner
- Scrubber sponge
- A 50/50 paste of baking soda and water
- A 50/50 solution of vinegar and water
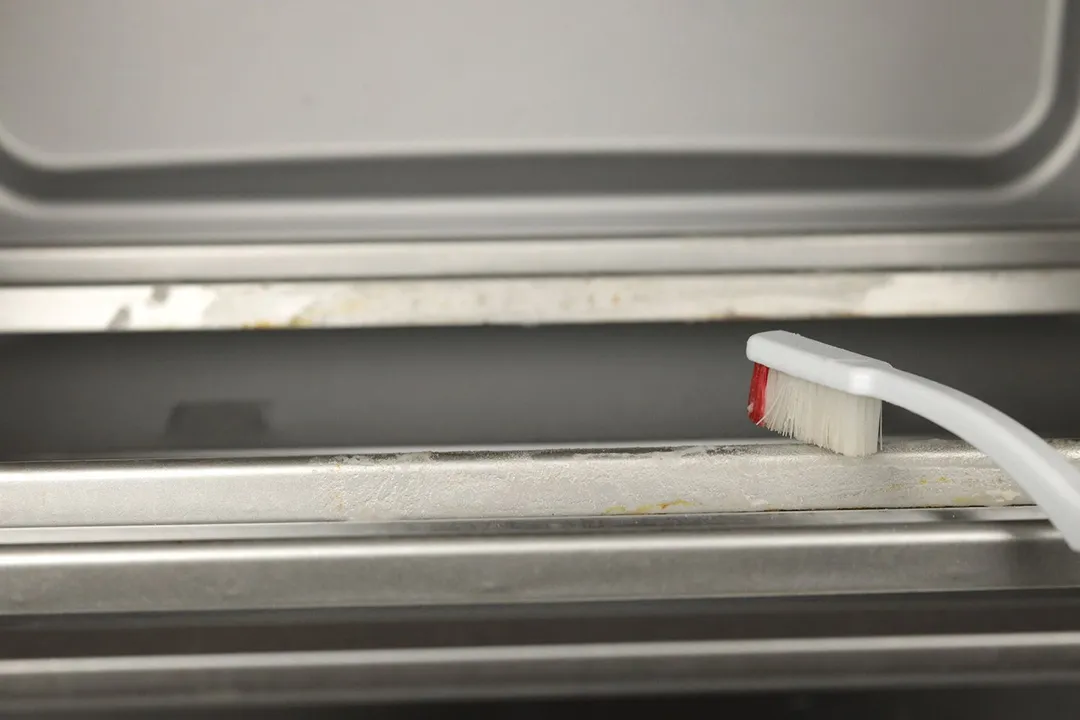
- Toothbrush
- Soft cloths
Instructions
- Unplug the oven after use, open the door, and allow it to cool down.
- Take out the crumb tray and dump all debris into a trash can.
- Remove all the accessories from the toaster oven including the crumb tray, oven racks, baking pans, air-fry basket, and rotisserie kit.
- Wipe off the excess grease with paper towels.
- Hand-wash the accessories with dish soap or an all-purpose cleaner (more natural and generally safer).
- For the stubborn stains that persist after the wash, apply a paste of baking soda and water and leave for about ten minutes.
- After the paste has dried, brush the stains thoroughly while spraying them with a vinegar and water solution.
- After finishing cleaning, allow these parts to air dry completely. You can use a dry cloth to quickly absorb excess water or leave them in a sunny spot.
Notes
- Wearing rubber gloves is recommended to avoid contact with dirty surfaces or harmful chemicals.
- If you’re concerned that conventional dish soaps contain toxic chemicals linked to health problems like cancers or immune system effects, feel free to just use an all-purpose cleaner of choice.
- Most accessories can be put into a dishwasher except for the ones that have an enamel coating which can be damaged during the process.
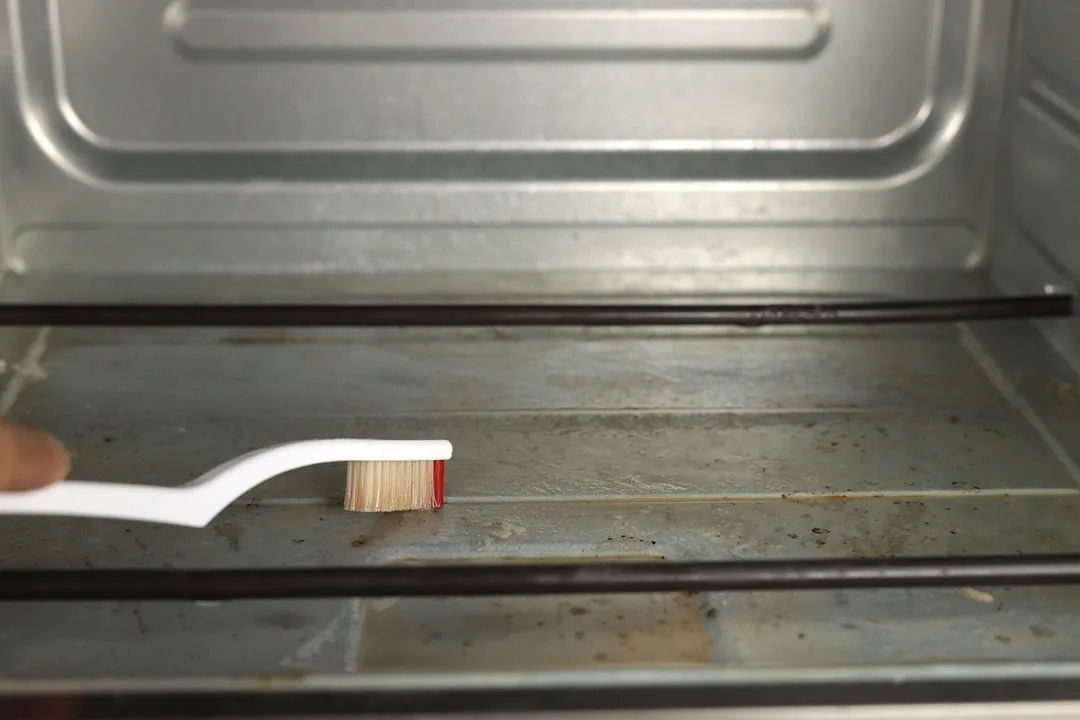
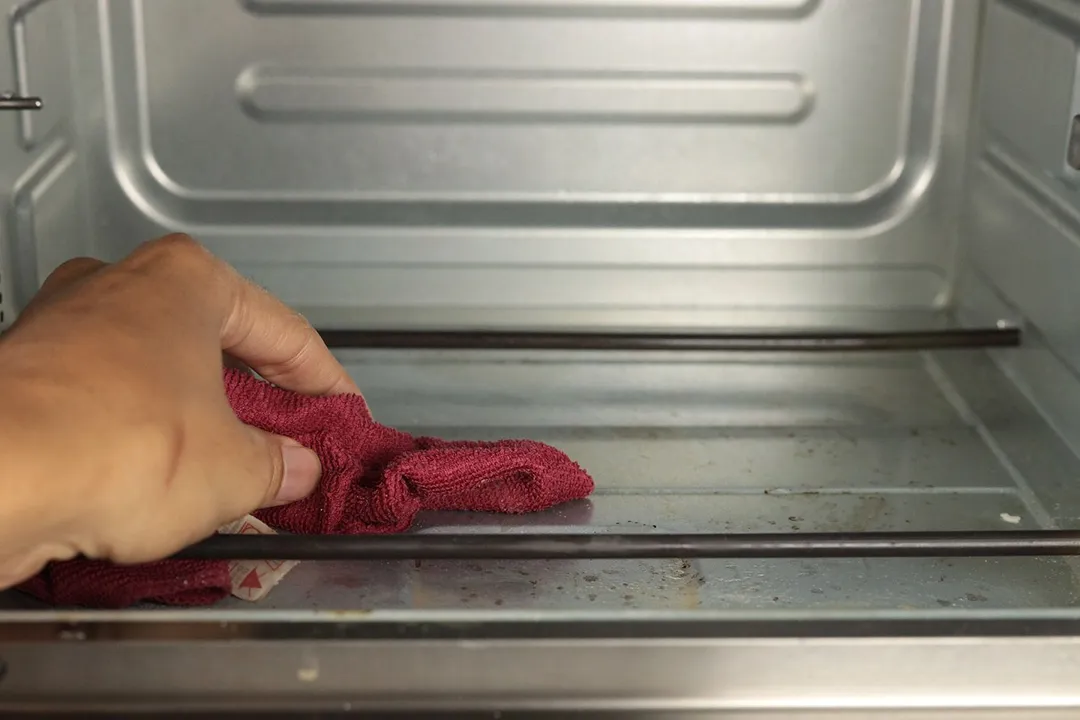
How to Clean a Toaster Oven’s Cooking Chamber
What You Need
- Paper towels
- Dish soap and/or all-purpose cleaner
- Scrubber sponge
- A 50/50 paste of baking soda and water
- A 50/50 solution of vinegar and water
- Toothbrush
- Soft cloths
Instructions
- Unplug the oven after use, open the door, and allow it to cool down.
- Wipe and absorb all the excess drippings on the cooking chamber walls with paper towels.
- Dampen a soft cloth or a scrubber sponge with soapy water/all-purpose cleaner.
- Thoroughly scrub the cooking chamber walls, convection system housing, and the fan blades if possible but keep away from the heating elements.
- After scrubbing, wipe off the cleaning agent with a damp soft cloth.
- For the burnt-in grease stains, apply a paste of baking soda and water and leave for about ten minutes.
- After the paste has dried, brush the stains thoroughly while spraying them with a vinegar and water solution.
- After finishing cleaning, leave the oven door open and allow the cooking chamber to air dry completely. You can use a dry cloth to quickly absorb the excess moisture.
Notes
- Wearing rubber gloves is recommended to avoid contact with dirty surfaces or harmful chemicals.
- If you’re concerned that conventional dish soaps contain toxic chemicals linked to health problems like cancers or immune system effects, feel free to just use an all-purpose cleaner of choice.
- Avoid using an old scrubber sponge, as it’s an ideal condition for bacteria to thrive.
- Small ovens tend to have trickier nooks and crannies but a toothbrush should be able to get in all of them.
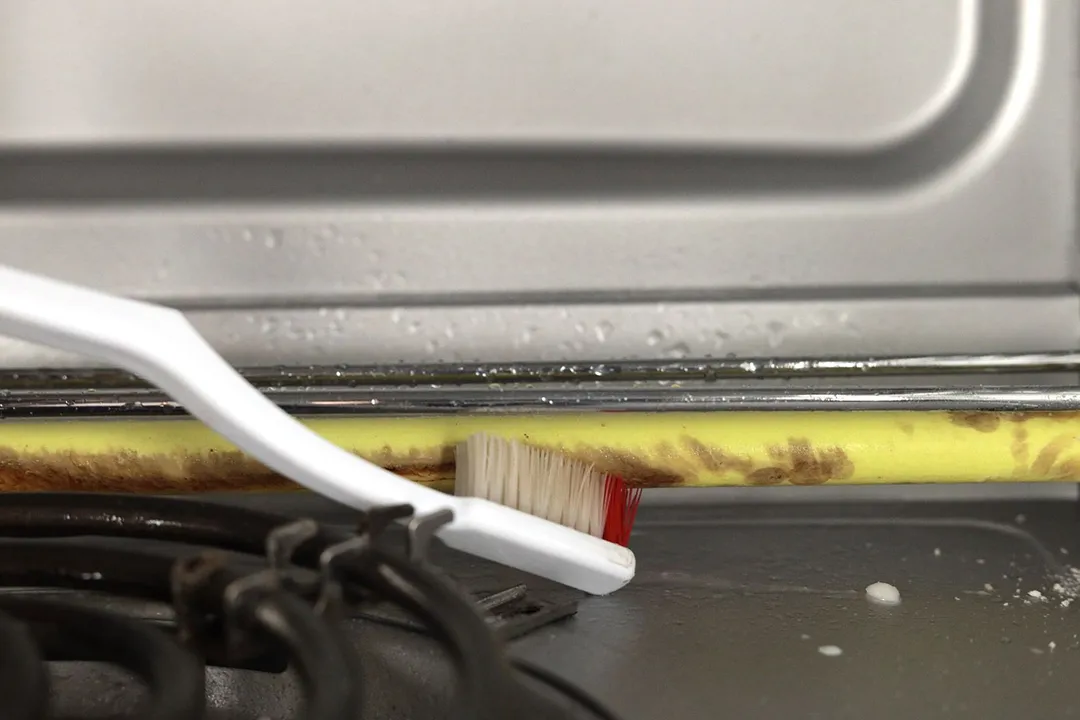
How to Clean a Toaster Oven’s Heating Elements
What You Need
- Paper towels
- Scrubber sponge
- A 50/50 paste of baking soda and water
- A 50/50 solution of vinegar and water
- Toothbrush
- Soft cloths
Instructions
- Unplug the oven after use, open the door, and allow it to cool down.
- Use a damp soft cloth to gently clean the heating elements and their guards if available.
- For the stubborn stains that persist after the wipe, apply a paste of baking soda and water and leave for about ten minutes.
- After the paste has dried, brush the stains thoroughly while spraying them with a vinegar and water solution.
- After finishing cleaning, allow the heating elements to air dry completely. You can use a dry cloth to quickly absorb the excess moisture.
Notes
Cleaning is the same whether the heating elements are made of nichrome or quartz. However, keep in mind that if grease splashes onto the heating elements during cooking, it’ll be prone to leave permanent stains. Toaster ovens with heating element guards are less likely to have this problem.
In addition, larger toaster ovens tend to have more space between the heating elements and the cooking chamber walls, making things easier to clean.
How to Clean a Toaster Oven’s Casing
What You Need
- Paper towels
- All-purpose cleaner/glass cleaner
- Soft cloths
Instructions
- Unplug the oven after use, open the door, and allow it to cool down.
- Wipe off the dust accumulated on the casing, if any, with paper towels.
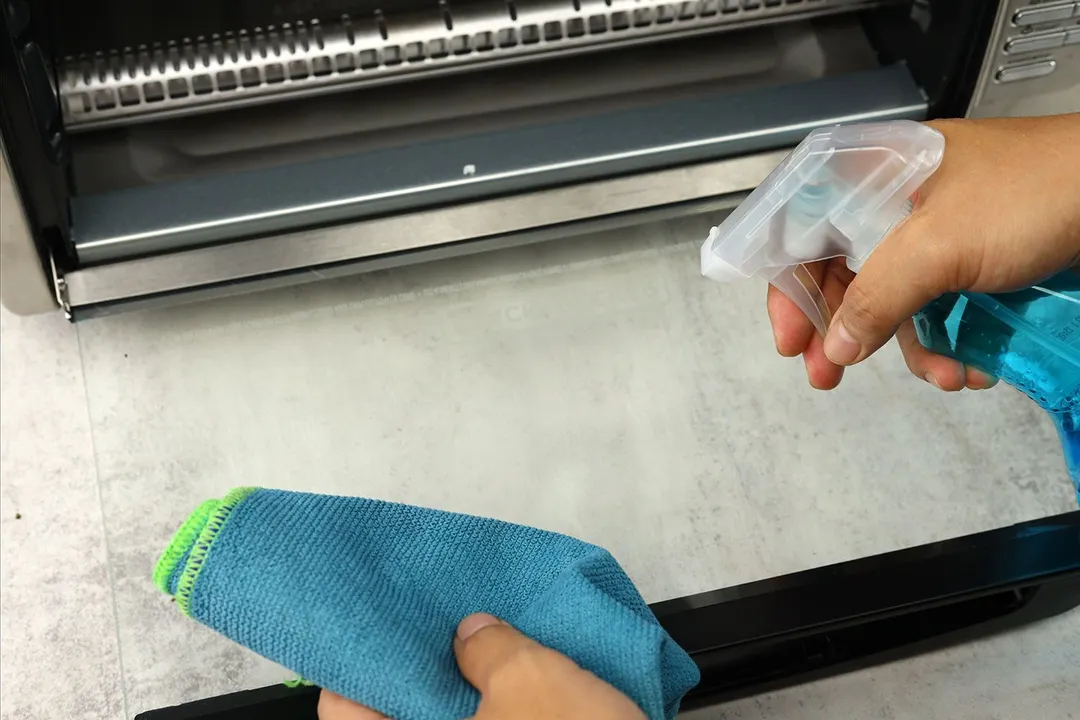
- Spray glass cleaner or all-purpose cleaner on the oven’s casing then wipe it down with a dry soft cloth, one side at a time.
- Leave the oven for a few hours to allow the chemical residues to wear off completely.
Notes
Wearing rubber gloves is recommended to avoid contact with dirty surfaces or harmful chemicals.
How to Clean a Toaster Oven’s Glass Door
What You Need
- Paper towels
- All-purpose cleaner/glass cleaner
- Soft cloths
Instructions
- Unplug the oven after use, open the door, and allow it to cool down.
- Wipe off the excess grease on the glass door with paper towels.
- Spray glass cleaner or all-purpose cleaner on the oven’s door.
- Wipe it all the way in one motion and one direction, not all over, with a dry soft cloth.
- Before storing, leave the door open for a few minutes to allow the chemical residues to wear off completely.
Notes
Wearing rubber gloves is recommended to avoid contact with dirty surfaces or harmful chemicals.
About your tip

Luna Regina is an accomplished writer and author who dedicates her career to empowering home cooks and making cooking effortless for everyone. She is the founder of HealthyKitchen101.com and HealthyRecipes101.com, where she works with her team to develop easy, nutritious recipes and help aspiring cooks choose the right kitchen appliances.

Alan Nguyen is a writer and product reviewer at HealthyKitchen101. His major in English language teaching taught him to present concise information. In addition to his cooking hobby, he values the practical aspects of household appliances.

Nguyen Ntk is a graphic designer, photographer, and videographer whose philosophy centers around respecting and celebrating the beauty of reality. Through his lenses, Nguyen strives to capture the true essence of objects and events, showcasing and highlighting authentic features without distortion or exaggeration.