


Infrared thermometers reviews launched
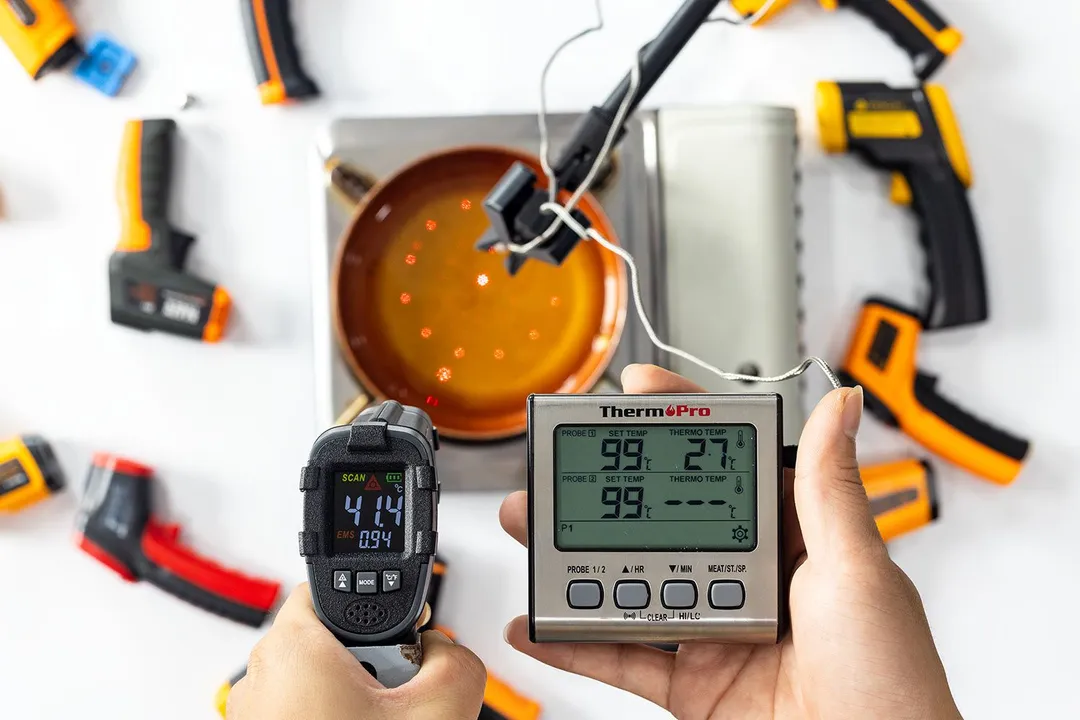
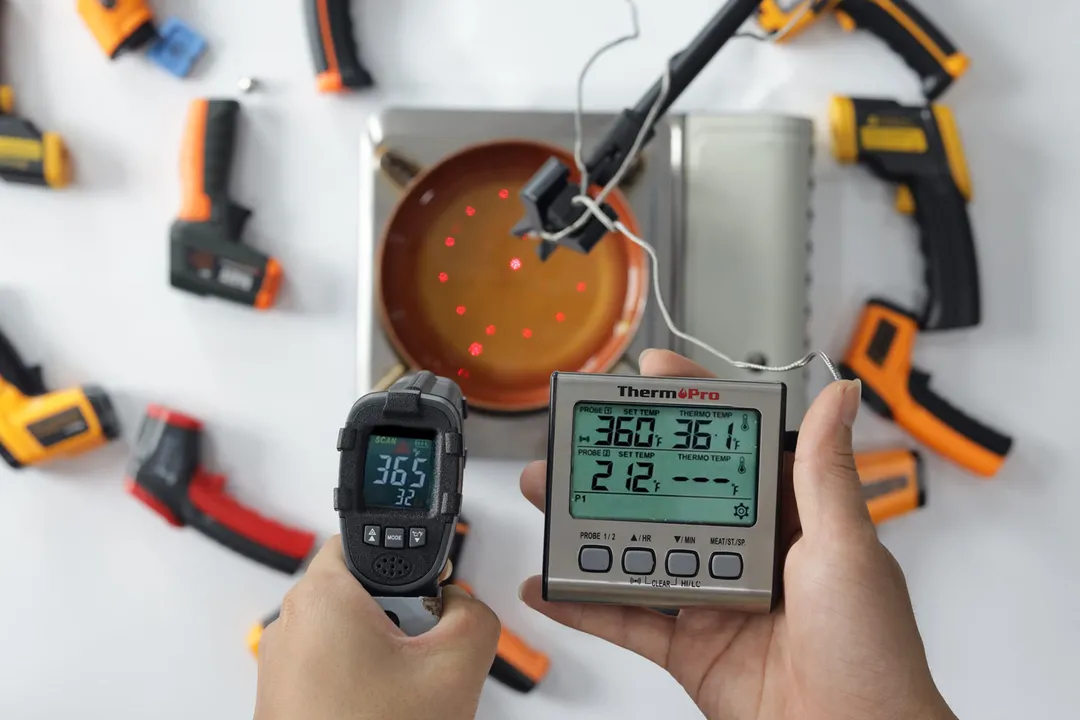
Jun 8, 2023We conducted comprehensive testing on 13 infrared thermometers from diverse brands, with the primary goal of identifying the most precise and user-friendly thermometer options. These thermometers underwent rigorous assessments involving ice baths and boiling oil. Discover the most reliable devices that cater to your cooking needs!