Our Manual Knife Sharpener performance TestMaximum Sharpness Achievable


Exactly how sharp can your knives get with a handheld sharpener? This test, performed on all the sharpeners we come across, is designed to find out the highest level of sharpness you can achieve with each device within 6 minutes.
Why Maximum Sharpness Matters
Some sharpeners go beyond others in terms of how sharp an edge they can produce. A device that can go higher on the Practical Knife Sharpness Scale allows you to handle a wider range of food prep tasks. A sharper knife also offers the support you need to finish your food preparation tasks quickly and with better precision.
While sharpening may require significantly more time as you move up the scale, a keener edge will be serviceable for longer, thus requiring less frequent maintenance.
Therefore, although you can’t always expect razor-like results out of handheld sharpeners, this test is still worth considering before you buy a device.
Since it’s a plus, not a must, we assigned the maximum sharpness test 20% of the Performance score.
Equipment
Here’s a list of what we use for the test.
- Sharpening device
- 8-inch, 20-degree chef’s knife
- Sandpaper
- A4 paper
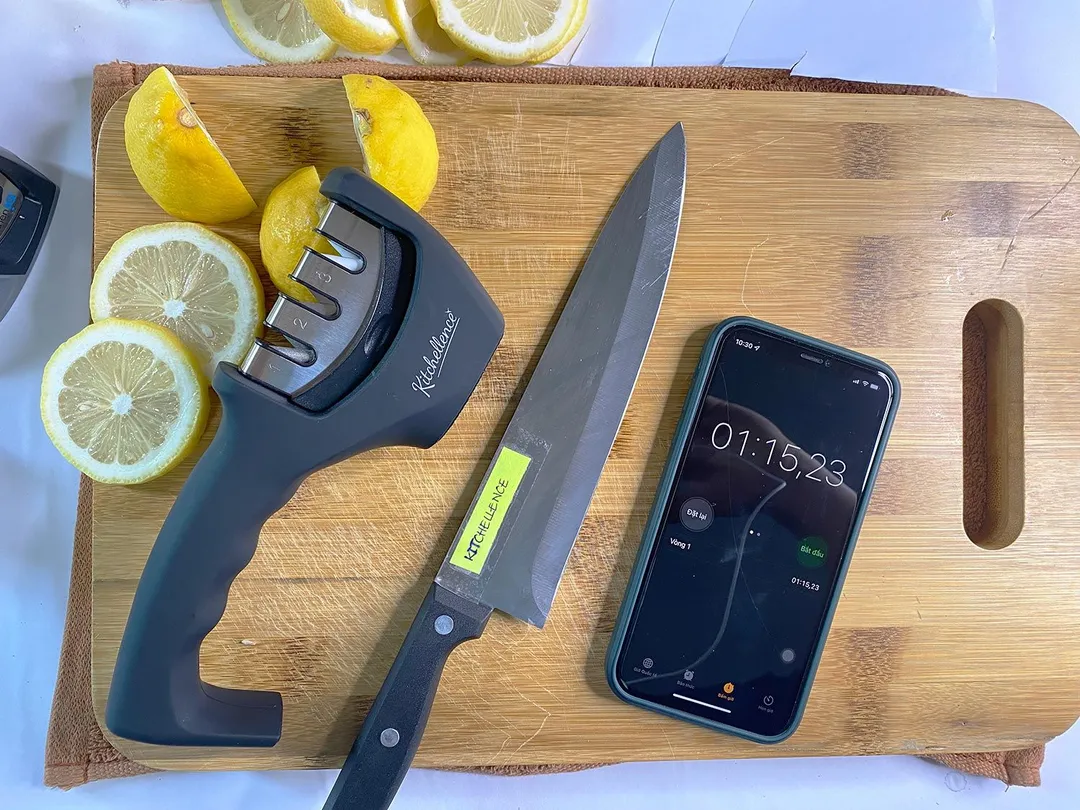
- Stopwatch app
- Carrots, whole apples, lemons, tomatoes, chicken breasts with skin on, and beef tendons
The food items are those from the Practical Knife Sharpness Scale. We pick items starting from the lowest Serviceable Level (Level 4 - Carrots) going all the way up to the top (Level 9 - Beef tendon).
The Testing Process
Most sharpener brands promise noticeable improvement ‘within a matter of seconds.’ We have another test for the time it takes to bring a knife to workable sharpness, but to find out the maximum level each device could give us, we allocate up to 6 minutes.
We go with 6 minutes because we found that most handheld sharpeners reach a plateau after the third minute of sharpening. A shorter duration may not be enough to reveal the device’s potential. A longer one would defeat the purpose of a ‘convenience sharpener.’
Here are the steps we take for the test.
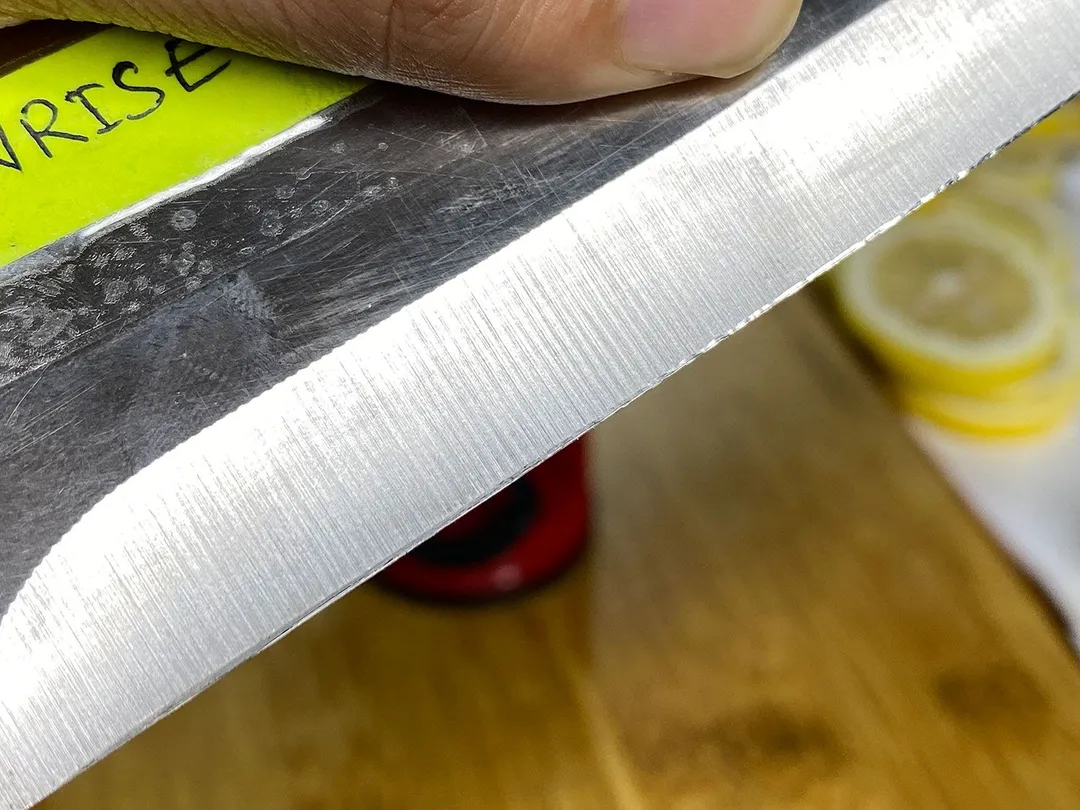
Step 1. We blunt a knife by running it across sandpaper for 60 seconds and test it on a piece of A4 paper to make sure the desired bluntness is achieved. We try to make each test knife equally blunt.
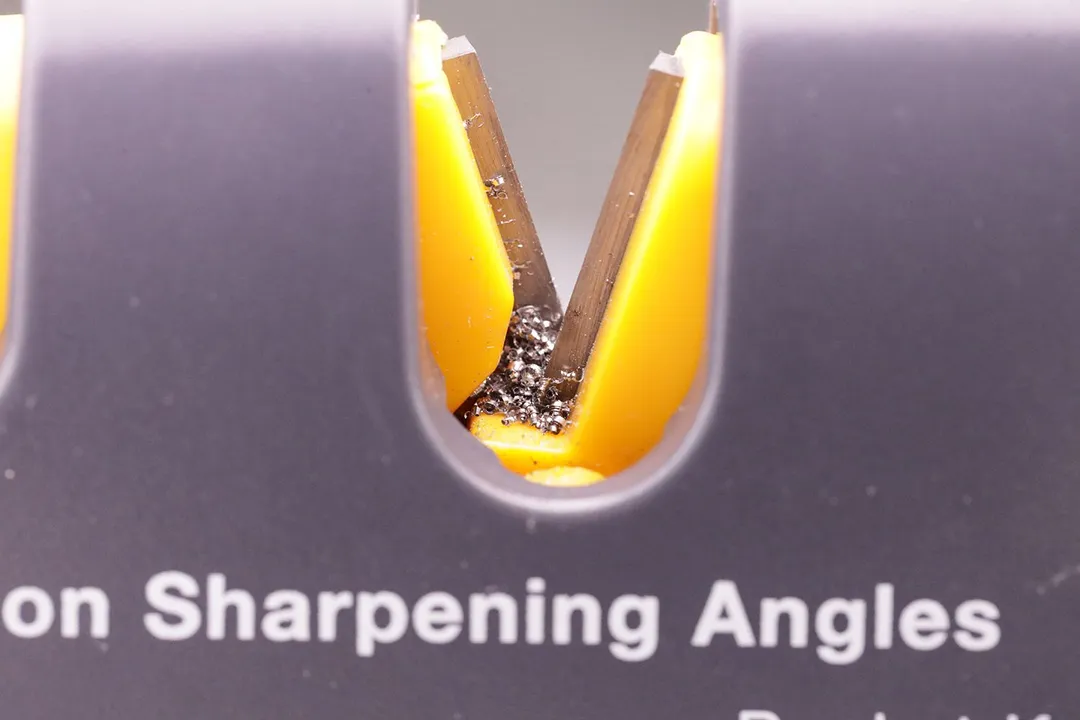
Step 2. We run the knife through the sharpener for about 6 minutes.
Step 4. We try the knife out on the food materials, progressing up the Practical Knife Sharpness Scale in order, and note down the results.
Scoring
We base our scoring on an adaptation of the Practical Knife Sharpness Scale.
Since beef tendon is the toughest food on the scale, a device that can bring your knife from dullness to that level gets 10 points. Every step below that on the scale marks a deduction of 1 point.
If the knife needs more than one swipe to be able to cut through the food material, we give it fractional points. Each extra swipe translates to a 0.4-point deduction. The maximum number of additional swipes is two before it falls to the lower level number.
Devices that failed to bring the test knife to Level 4 (the lowest we consider ‘serviceable’) got 0 points.
Level | Food Item | Score |
|---|---|---|
4 | Carrot | 5 |
5 | Apple | 6 |
6 | Lemon | 7 |
7 | Ripe tomato | 8 |
8 | Chicken breast with skin | 9 |
9 | Beef tendon | 10 |