Our recommendations are made independently through Research & Testing. We may receive commissions from purchases made via our links.
How to Clean a Gas Grill: A Guide to Keep Things Spotless
Cooking good BBQ is only half of the process. If you wish to be a great pitmaster, it's of utmost importance to know how to clean a gas grill as well.
When it’s time to wrap up a BBQ cookfest, a greasy mess always awaits the already tired griller— and that’s you. And until you’ve cleaned things up nice and clean, the party isn’t over just yet. Don’t sigh and feel discouraged just yet: we’re here to help make things easier by showing you how to clean a gas grill.
How to Clean the Inside of a Gas Grill
- Burn off remaining gas inside the grill to eliminate remnants from the last cookout & make things easier to scrape off.
- Turn off the gas valve & disconnect the grill from the gas supply.
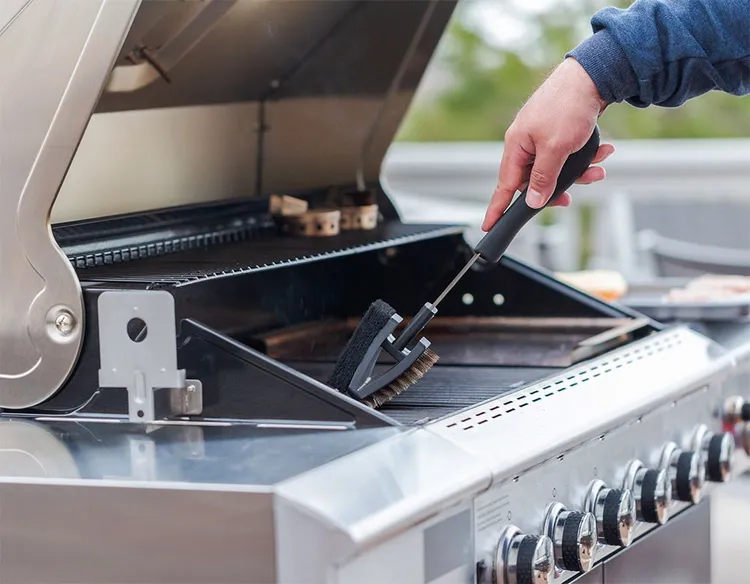
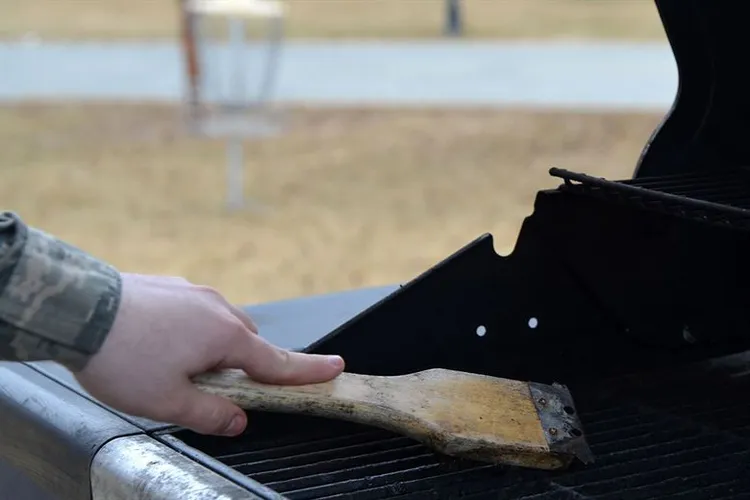
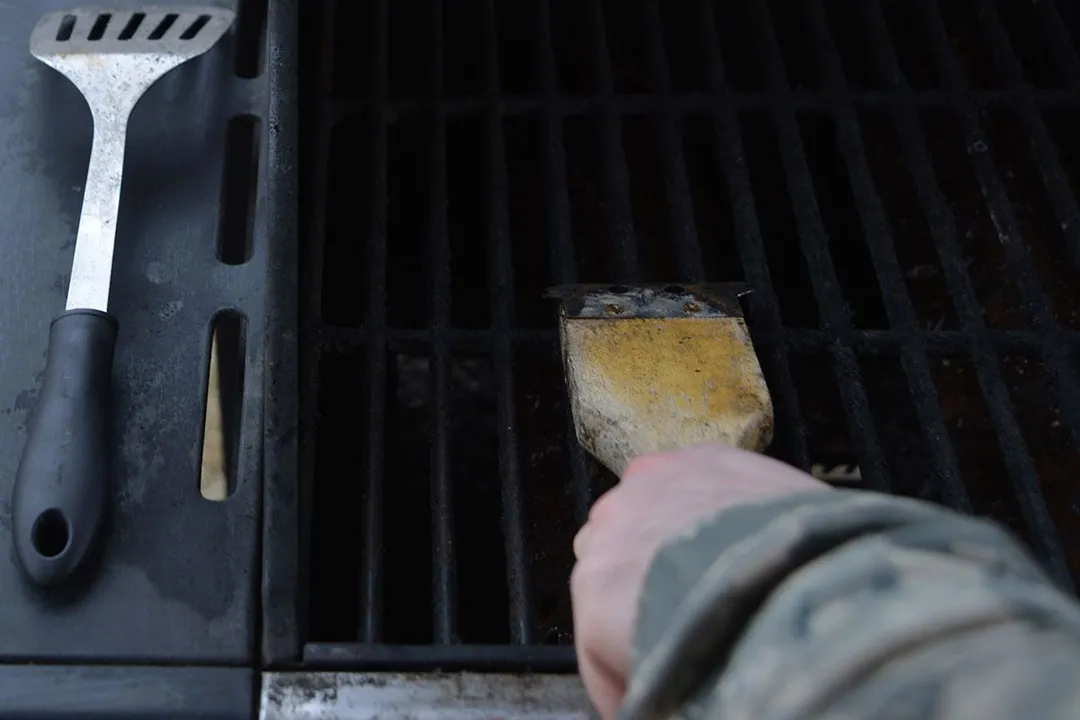
- Scrub the grates along & across the bars. Here are our notes:
- Take out the deflectors/ heat shields/ heat tents/ flavorizer bars, whatever term you’re more familiar with. The majority of these parts are durable stainless steel, so scrub them with the tools mentioned above and let them air-dry.
- Remove the burners & venturi tube out of the grill. Clean them, let them air-dry, and reassemble back inside the grill. We’ll discuss the specifics later.
- Move to the cookbox, where loose bits of burnt food fall and gather. Place a bucket underneath the drainage— through which grease and juice escape when the grill is cooking— for your convenience. Scrub the interior of the grill, from underneath the hood to the inner walls, and use a hose to wash everything away for good measures.
- As the components dry by themselves or by a towel, put them back inside the grill.
- Coat the grates with a layer of oil to fend of rust before reinstalling.
- Don’t forget the exterior: wiping with a cloth soaked with either water or specialized cleaners is plenty enough.
- Wrap things up, and we mean literally wrap the grill with a tarp or a sheet when storing away.
- Use regular dish soap or formulated cleaning solutions as needed. For severely caked-on grates, you might need a degreaser and an overnight soak before attempting any cleaning.
- Some people forget there are two sides to a grate, so remember to flip it over and start again.
- Grill brushes, sponges, or steel wools work fine, but they sometimes leave small bristles that can get stuck between the bars: you don’t want them to catch fire or stick to the food you’re about to eat. As noted by this article on UnityPoint.org, if you’re using these tools, remember to rinse carefully once you’ve done scrubbing the grilling surface.
- Other tools include chainmail scrubbers and specialized scrapers made of various materials. They don’t leave loose materials and work just as fine, even better on delicate materials like cast iron and porcelain-enamel— whose integrity can compromise under too much force and pressure.
How to Clean Gas Grill Burners
As to why a grill gets dirty: if it’s put to disuse for an extended period, rust and mold can build up inside the cookbox from exposure to moisture like rain, snow, and dew.
Besides the common rust and mold, other residues and debris like burnt food, grease, soot, and spider webs can also clog up the burners, which prevent the grill from operating at its maximum capacity.
A tell-tale sign that the burners aren’t operating at full capacity is flickering orange or red flames, where it should be blue with yellow tips. Thus, it’s highly recommendable to clean these tubes— ideally once every two or three months— before storing it away for a long time.
After taking the burners and venturi tubes out of the grill:
- Brush the outside of the burners with a regular brush. Don’t just go along the length of them, stroke across as well
- Use a thin wire brush or pipe cleaner to go through the burners lengthwise.
- Use toothpicks to poke each hole or port to clear the residues and ensure maximum ventilation.
- Run water through one last time to make sure you’ve got every nook and cranny, and no missed spot.
- Since the majority of burners are stainless steel, they are well-resistant against rust. Either let the parts air-dry or dry with a towel before reassembling.
Related post: Best Gas Grills in 2021
How to Clean a Gas Grill with Minimal Effort
No one likes leaving a messy and greasy overnight— that just calls for trouble later. But hardly any griller has any motivation left to clean it, given that he has spent the entire day cooking for everyone. After all, a hard-fought and well-deserved rest are in order.
Cleaning a grill takes time and effort. But if you know what you’re doing, at least you won’t find it too bothersome or unbearable.
GrillBot
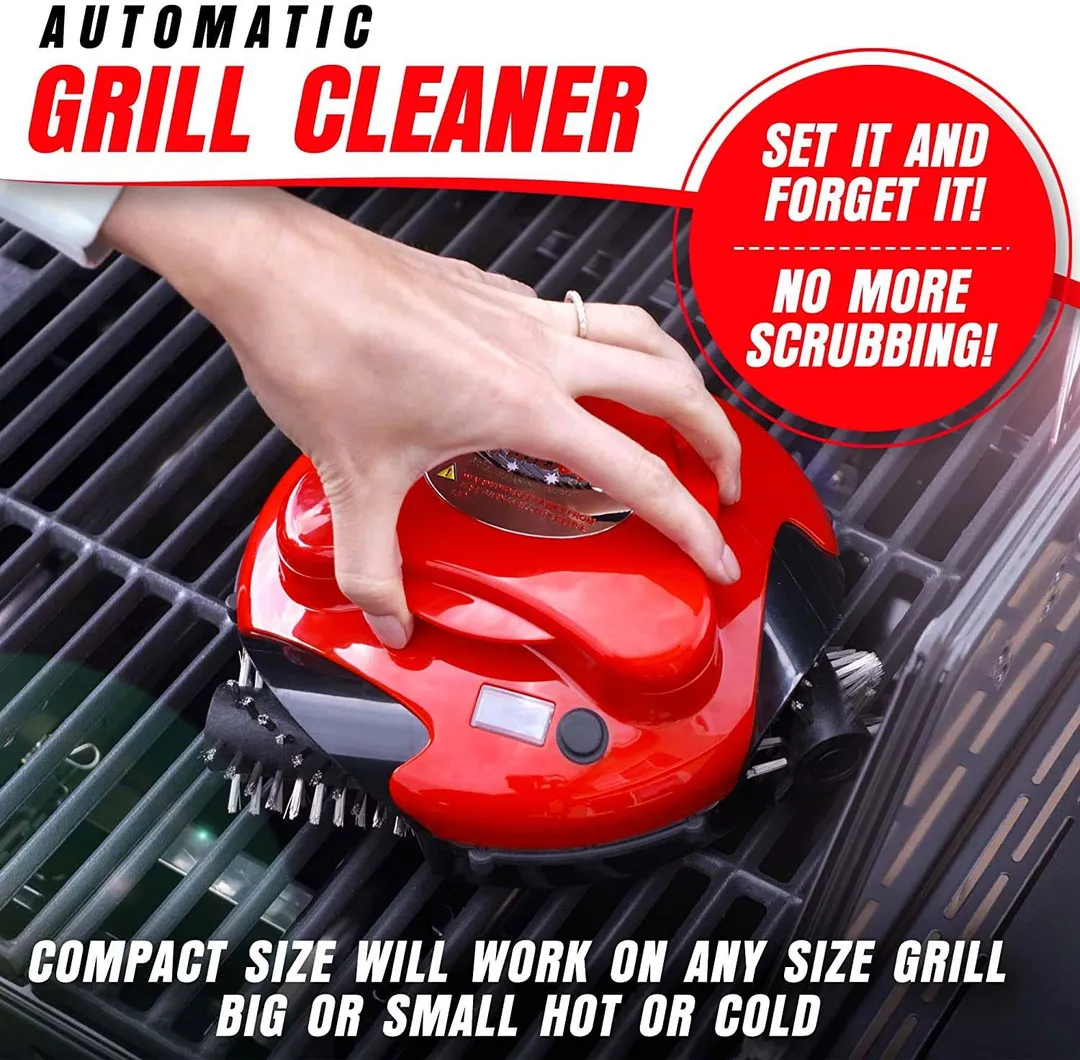
A robot for cleaning grills, thus GrillBot, is a novelty choice for those who enjoy the food but not the greasy messes. While advocates vouch for its legitimacy wholeheartedly, doubts and uncertainty still loom among those who don’t buy into this novelty completely. Nevertheless, there’s actual validity to its effectiveness, given its sales performance and rave reviews on several retailing platforms.
Imagine a Roomba; only that Roomba cleans the inside of a grill rather than running around your home. These GrillBots come in multiple coloring options:
As the brushes lose their bristles, you can get a replacement easily. You also get to experiment with different materials for various grilling surfaces, too. That includes brass brushes and stainless steel brushes.
Upon changing directions, the robot bumps into corners inside the grill. As of now, there isn’t a mobile-controlled model, but hopefully, there will be soon in the near future.
How to Clean a Gas Grill with Vinegar
Regular dish soap is the norm. Specialized and formulated solutions like degreasers feels overkill and only reserved for severe cases. High-acidity cleaning solutions are great against stubborn stains and residues who overstay their welcome.
Which brings us to this simple-yet-effective method: vinegar and baking soda.
You know how burnt bits of food won’t come off the grid or grate, no matter how hard you scrub? A correctly mixed and proportioned solution of vinegar, water, and baking soda is plenty enough to deal with the greasy annoyances.
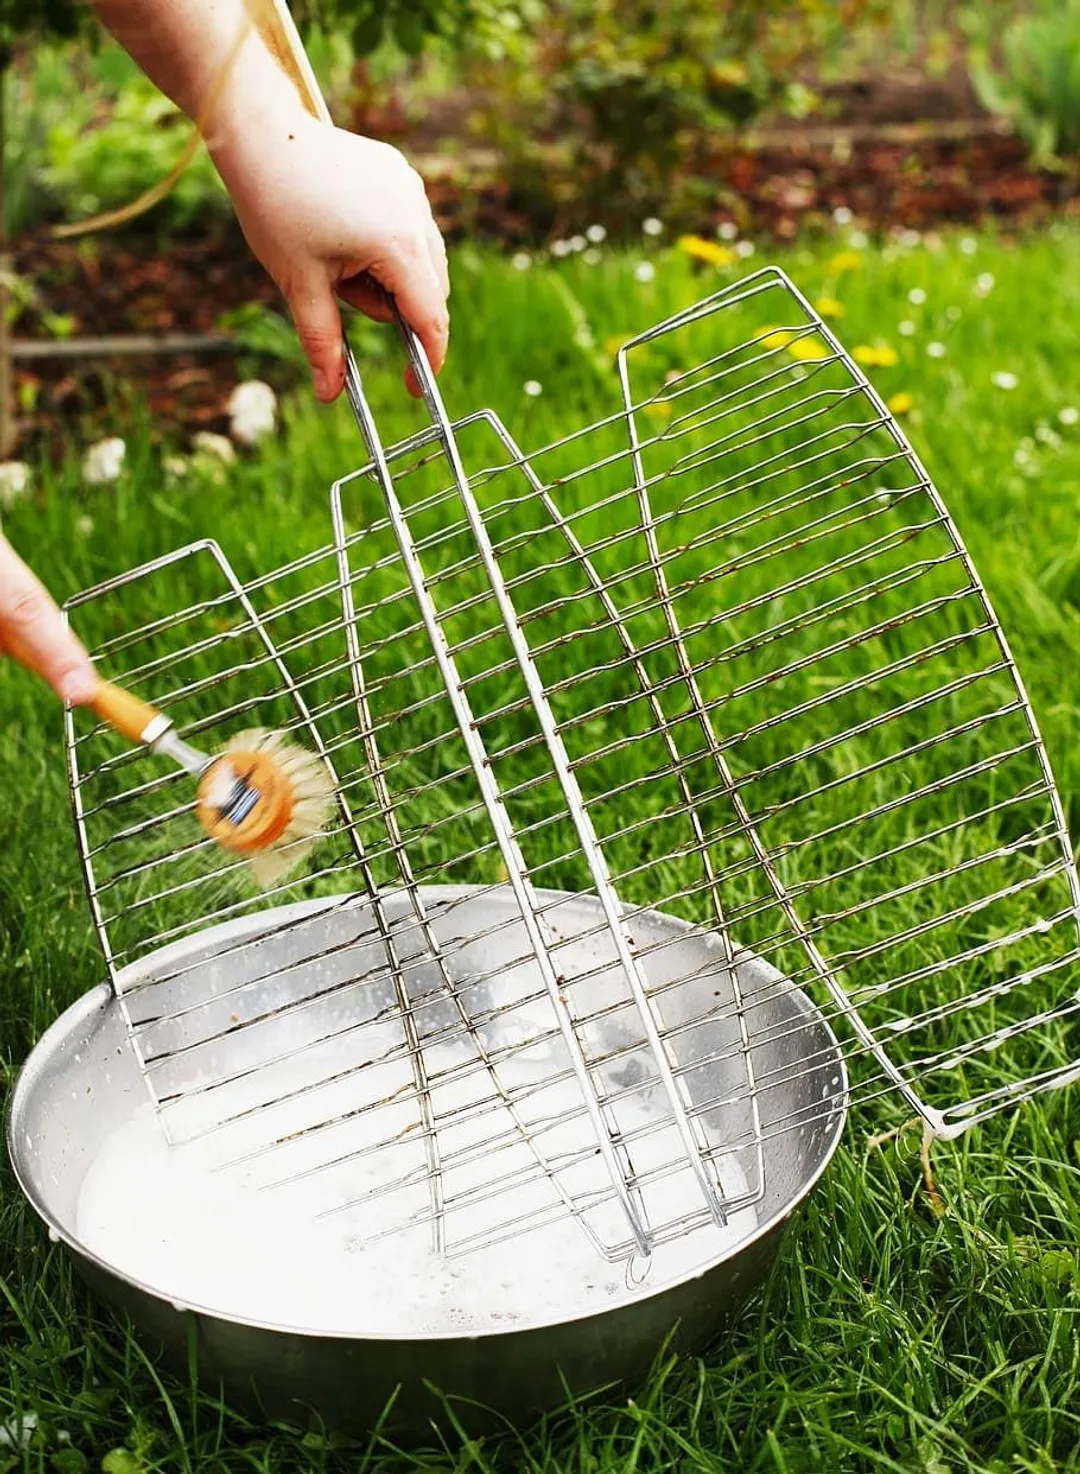
- Dilute white vinegar (1:1 ratio with warm water). Mix well.
- Apply the solution on the grates, and let soak for roughly 10 minutes
- Instead of a grill brush, use a crumpled tin or aluminum foil to scrub the grates. Apply the vinegar-based solution as needed until all the grease and stains are gone.
- Flip the grates upside down and start over.
- Rinse the grates with water, either air-dry them or with a towel.
And for especially caked-on and crusty grates, you’d need to bring out the big gun.
- Find a container big enough to hold the grate. If such a thing isn’t available, a plastic bag like a garbage bag or a ZipLock serves well as a substitute.
- Mix a cup of vinegar and half a cup of baking soda. Mix well.
- Pour the solution inside the bag, seal it (rubber bands or duct tape should suffice), and let sit (preferably overnight)
- Rinse off the now loosen gunks with a high-pressure hose. Use a brush or scraper for any remaining residues.
A reminder: the grill as the whole isn’t supposed to be cleansed with vinegar; only the grate, in case you haven’t figured it out by now.
Tips on How to Clean a Gas BBQ Grill
These tips are not significant enough to be on their own, which is why we’ve compiled them over here.
- If you don’t want to use a regular grill brush, crumple tin foils into balls. Clench the ball between a pair of tongs and scrub like you would with a brush.
- Onions not only makes an excellent substitute for cleansing the grate, but it also spices up the food and adds more flavors;
- Perform deep cleaning twice per year;
- If you store the grill outside or put away for a long time, cover the unit with a tarp or a sheet. But make sure the cover is well-ventilated not to trap moisture from within.
- Make sure to save some soapy water after cleaning, because you’ll be performing the leakage test— which is the final step before wrapping things up and call it a day.
For those who aren’t familiar with the last tip, the gist goes as follows:
- Turn off the burners, but not the gas: release the regulator to pressurize the gas;
- Mix a solution of regular dish soap and water (in 1:1 ratio)
- Apply the solution— either by spraying or brushing— on the components of the grill. That includes the valve, regulator, and along the hose lengthwise.
If there’s a loose connection or faulty component, a bubble forms and gradually grows in size right at the gas leakage spot. Upon detecting any bubble, turn off the gas immediately and attend to the problem.
Related post: How to Clean Grill Grates
Conclusion
As you learn how to clean a gas grill the right way, you’ll stop seeing it as a downside of barbecuing. Don’t think of it as a bother or a nuisance you try to neglect after a long, hard-working day cooking for everyone. Instead, consider it a great way to extend your grill’s life span for years to come.
And that wraps up our post on how to clean a gas grill. We hope you find our instructions and tips both informative and helpful in one way or another.
Authors

Luna Regina is an accomplished writer and author who dedicates her career to empowering home cooks and making cooking effortless for everyone. She is the founder of HealthyKitchen101.com and HealthyRecipes101.com, where she works with her team to develop easy, nutritious recipes and help aspiring cooks choose the right kitchen appliances.