Our recommendations are made independently through Research & Testing. We may receive commissions from purchases made via our links.
How to Use a Coffee Maker
The best coffee is almost always home-made. In this guide, we’ll show you exactly how to use a coffee maker and make a great cup at home.
It’s a common sentiment shared by millions that their morning routines are incomplete without a piping cup of coffee.
People are willing to jump through many hoops bright and early in the morning to get their daily caffeine fix. There is rarely anything else other than coffee that people would queue in an orderly line for at 8 A.M. Good money is spent in the process, too. The average American spends around $100 just on coffee every month.
If all that turns you off, then you really should consider learning how to use a coffee maker.
With a good coffee maker in the kitchen (and the knowledge to use it), you can save yourself thirty minutes of walking and lining up at the coffee shop. Plus, making coffee at home will save you a lot of money in the long run!
Today’s guide can show you how in detail.
Things You Should Know Before Brewing
Coffee Grind Sizes: Which to Choose?
Before it arrives in your cup in liquid form, raw coffee beans have to be ground up into coffee grounds. The size of the grounds plays a key role in deciding the flavor of the final product.
Finely-ground coffee will have a very large exposed surface area. As a result, it can be extracted very quickly and is used for brewing espresso. In an espresso machine, high-pressure hot water is pumped rapidly through the coffee grounds, perfect for extracting finely-ground coffee.
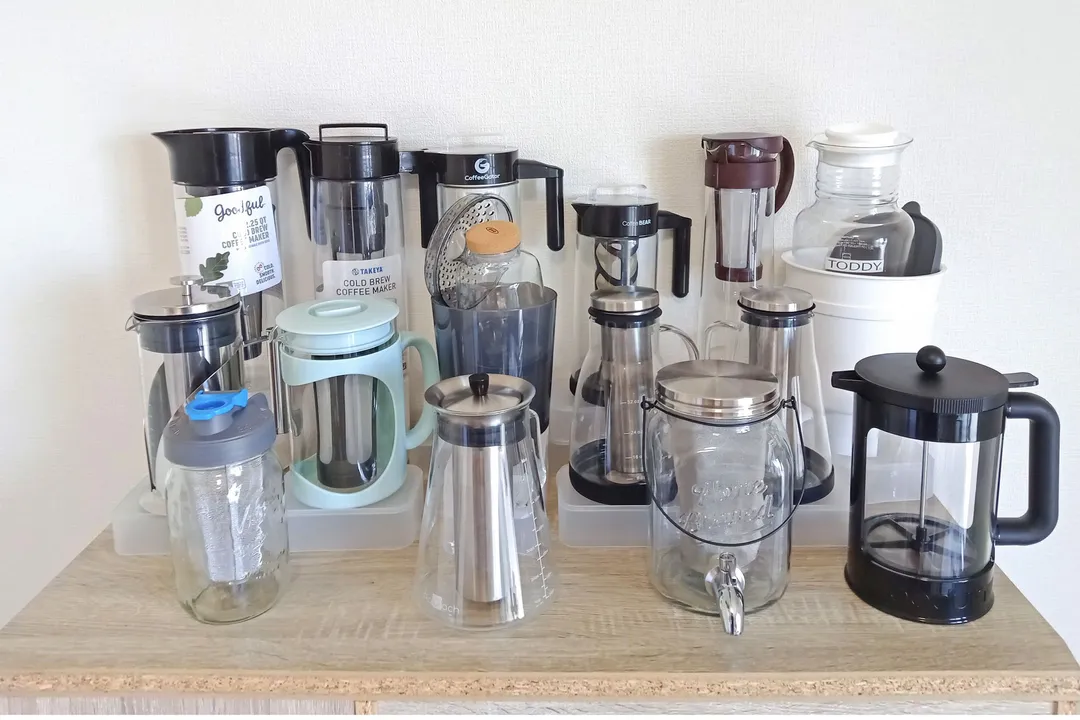
If you try to use coarser grounds with an espresso machine, the coffee will come out under-extracted and very thin. In order to get the best out of coarser grounds, the extraction rate has to be slow. That’s why they’re more suited for French press,percolators, or cold brew.
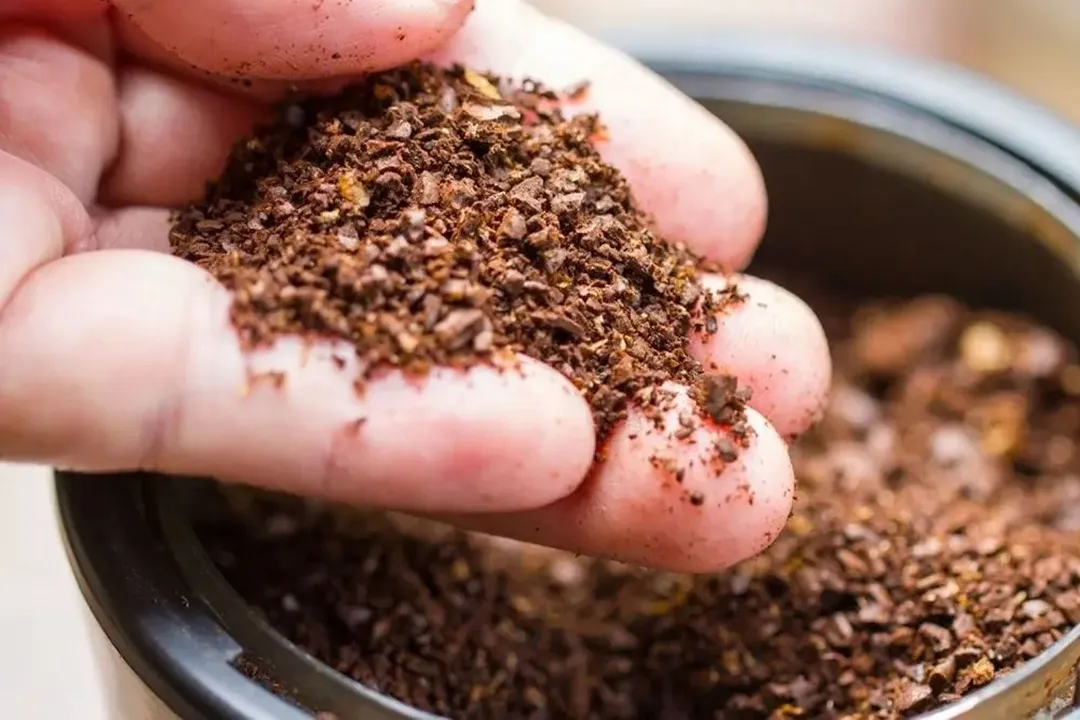
For reference purposes, here is a chart that you can use to decide what type of grind to use in the future.
Pre-Ground vs. Fresh Ground
Pre-ground coffee will arrive at your door already ground up at the factory. All you have to do is measure out the ground and add it to your coffee maker.
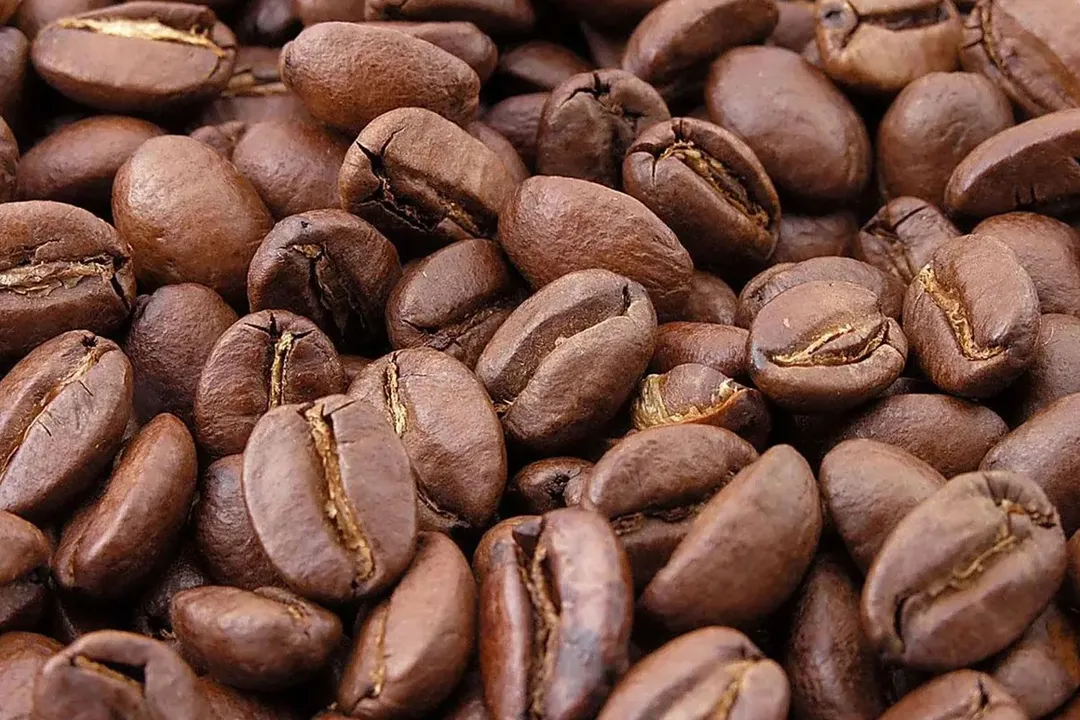
Conversely, to get a manual ground, you will have to grind raw beans yourself.
Between the two, it is undeniable that a cup made from manually-ground coffee will be better. When coffee beans are ground, their cells are exposed to air. Exposure to air leads to a loss of taste and quality over time. Pre-ground coffee will always come secondary to manually-ground coffee in terms of taste.
However, it’s not just the taste alone. If you grind your own coffee, you get the extra benefit of being able to control and adjust the grind size. You can make multiple types of coffees with a single bag of raw beans instead of buying different grounds all the time.
As this guide is aimed at beginners, you should try the pre-ground type first. After that, you can try your hands at grounding your own coffee if you want!
Water Hardness and Why It Is Important for a Good Brew
The water you use is one of the deciding factors in the final quality of your brew. According to the Special Coffee Association of America (SCAA),two essential properties of coffee-brewing water are hardness and alkalinity.
As a beginner, you don’t need to worry about alkalinity. Instead, focus on hardness.
Hardness refers to the concentration of dissolved minerals (calcium and magnesium) in the water. The harder the water, the more there is of these minerals within the water.
Soft water that has a fairly low level of dissolved minerals works best for coffee brewing. The trace amount of minerals will aid you with extracting more flavors from the coffee grounds while not interfering with the taste.
We don’t recommend using plain tap water as it may be too hard. Excessively hard water will change the flavor of the coffee (often for the worse).
You shouldn’t use distilled water, either, as it will be too soft. The water wouldn’t be able to extract all of the flavors from the coffee.
The Power of a Good Coffee Filter
Filter coffee is the most popular in the world, according to one paper. We’ll be focusing mostly on this type in today’s article.
As the name suggests, getting a good filter for your coffee machine is crucial. If you use a bad filter, the flavor is going to be lackluster even when made by a skilled brewer. Here’s what you need to know about filters and how to pick a good one.
Paper Filter vs. Metal Filter
There are two kinds of filters that you can use in your machine: apaper filter or a metal filter.
You can probably already glean what either of them are just by their names alone. The former is made from paper, while the latter resembles a metal cup.
Performance
A paper filter is effective at removing sediments and oils from the coffee grounds. The result is a relatively light, consistent cup of coffee.
In inexpensive coffee grounds, the oily compounds — called cafestol— are undesirable as they make the brew bitter. If you have no desire to buy specialty, expensive coffee, a paper filter is a good choice.
On the other hand, a metal filter has a stainless steel mesh screen that takes out the coffee sediments. But, unlike a paper filter, the metal filter allows more cafestol to remain in the brew.

In more expensive coffee grounds, the presence of the oils enhances rather than ruins the brew. They give the coffee a fruitier, sweeter taste. Consequently, metal filter-brewed coffee is bolder and has a significantly fuller body.
Therefore, the choice of filter will depend on what kind of coffee you’re planning to make.
If you only need a basic cup, a paper filter will work. It’s also better if you prefer your coffee to be bright. Use a metal filter if you have a more expensive, bold taste.
Cost
A metal filter will cost a lot more upfront than paper filters. However, one can save you a lot of money in the long run as you can reuse it repeatedly. Just give it a rinse after you’re done brewing, and it’s ready to go again.
On the other hand, a paper filter is single-use. You will have to buy new packs continuously.
Eco-friendliness
As a metal filter is reusable, it is very eco-friendly compared to paper filters. Metal is highly recyclable, too.
Paper filters come in two forms: natural or bleached. Natural filters have a relatively low impact on the environment. However, a bleached paper filter — treated with chlorine — is very concerning.
Ease of Cleaning
Metal filters have to be rinsed thoroughly after each use. You don’t want leftover coffee grounds to ruin the taste of your next brew.
Meanwhile, there’s no “cleaning” to paper filters at all. Just throw it away and replace it with a new one after you’re done.
Bleached vs. Natural Paper Filters
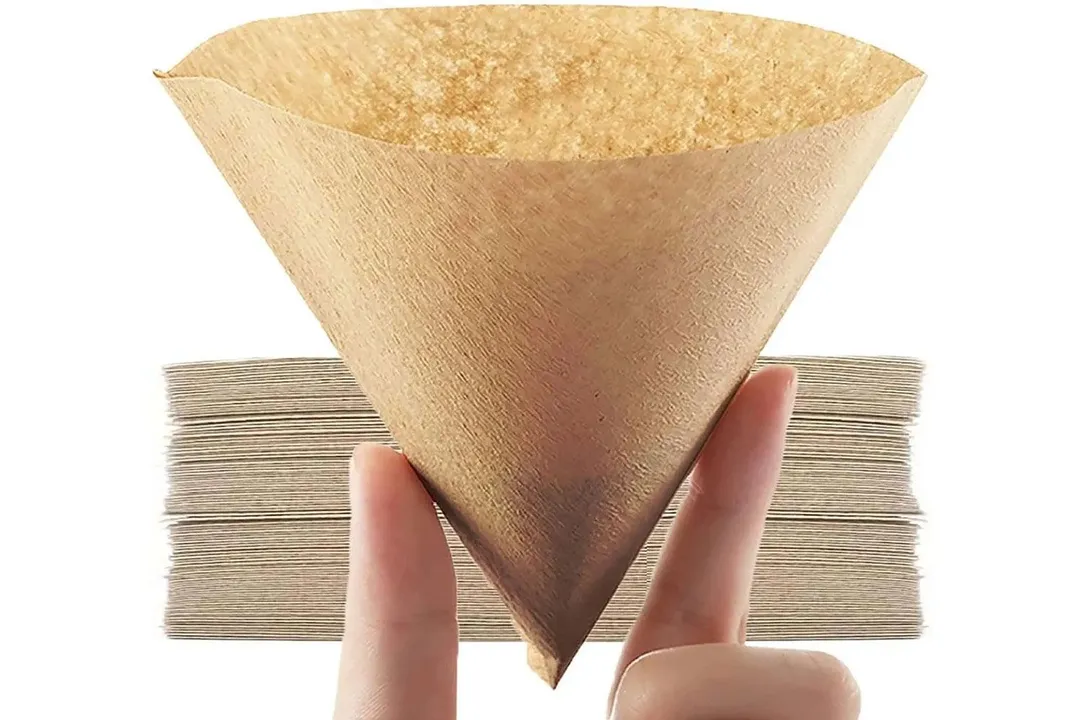
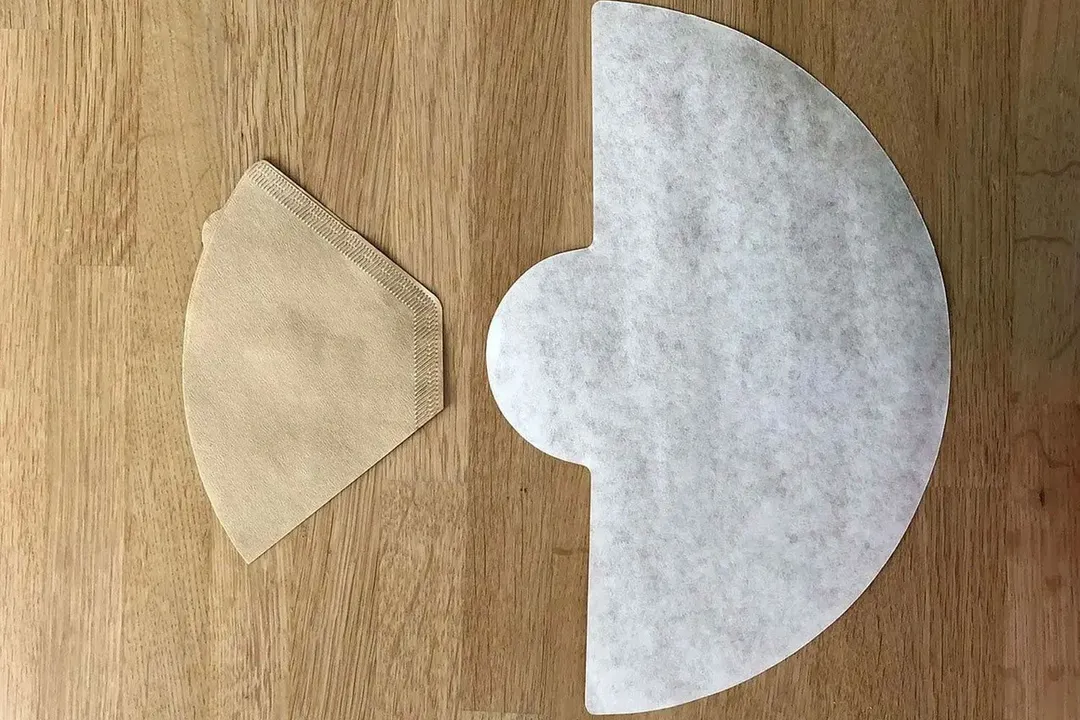
If it’s a paper filter that you’re gunning for, you have to decide between two types: bleached or natural.
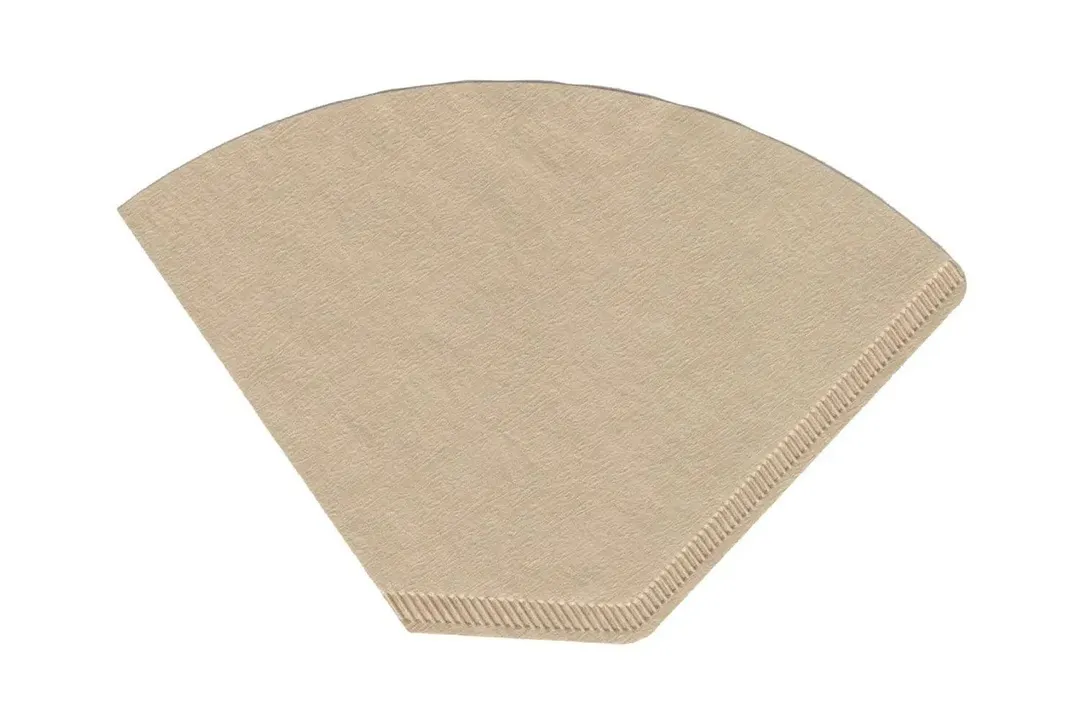
You can easily distinguish between a natural or a bleached coffee filter via its coloring. A natural filter will be brown, whereas a bleached filter will be bright white.
While it may seem that the natural option is the superior one, the reality is a bit more complicated.
Bleached Paper Filters
A bleached filter gains its clean, bright white coloring through either chlorine-bleaching or oxygen-bleaching. The bleaching process gives the filters a cleaner color. At the same time, it will prevent the filter from giving the coffee a papery taste as natural filters do.
Chlorine-bleached filters may sound harmful, but they’re actually very safe. The insignificant amount of chlorine that’s used to bleach the paper is harmless. However, whilst they may not harm humans, these filters aren’t very good for the environment.
On the other hand, oxygen-bleached filters are more natural. They also don’t affect the environment as badly as chlorine. Therefore, even though oxygen-bleached filters are typically a teeny bit more expensive, we highly recommend you pick this one.
Natural Paper Filters
Natural paper filters are exactly what they sound like: pure paper without any kind of extra chemical processing. These filters are environmentally friendly.
If you use a natural filter, there could potentially be a papery note to your coffee. Fortunately, this issue is entirely fixable. All you need to do is to rinse the filter before you put it into the machine, and the papery taste will be gone.
First, put the filter into the machine. Then, pour a bit of filtered or bottled water through the filter. Once the filter is wet, flush away the water you just used to rinse it, then brew as you normally would.
Verdict
The verdict is that between bleached and natural paper filters …either will be fine. As long as you use it correctly, such as rinsing a natural filter before using it, you’ll be able to make good coffee with both. What’s important is how well the filter is made, not the material.
Quality and Thickness of a Paper Filter
You can cheap out on many things, but a paper coffee filter isn’t one.
A quality coffee filter will ensure that the brew flows smoothly. It will also harvest all of the flavor and aroma that the coffee ground has to offer.
High-quality paper coffee filters aren’t at all expensive. Even the most premium paper filters don’t exceed $20 for a pack of 100. Don’t torture yourself with the generic, cheapo ones.
Aside from picking a good-quality filter, the thickness of the filter is also important. A thin filter will bleed.
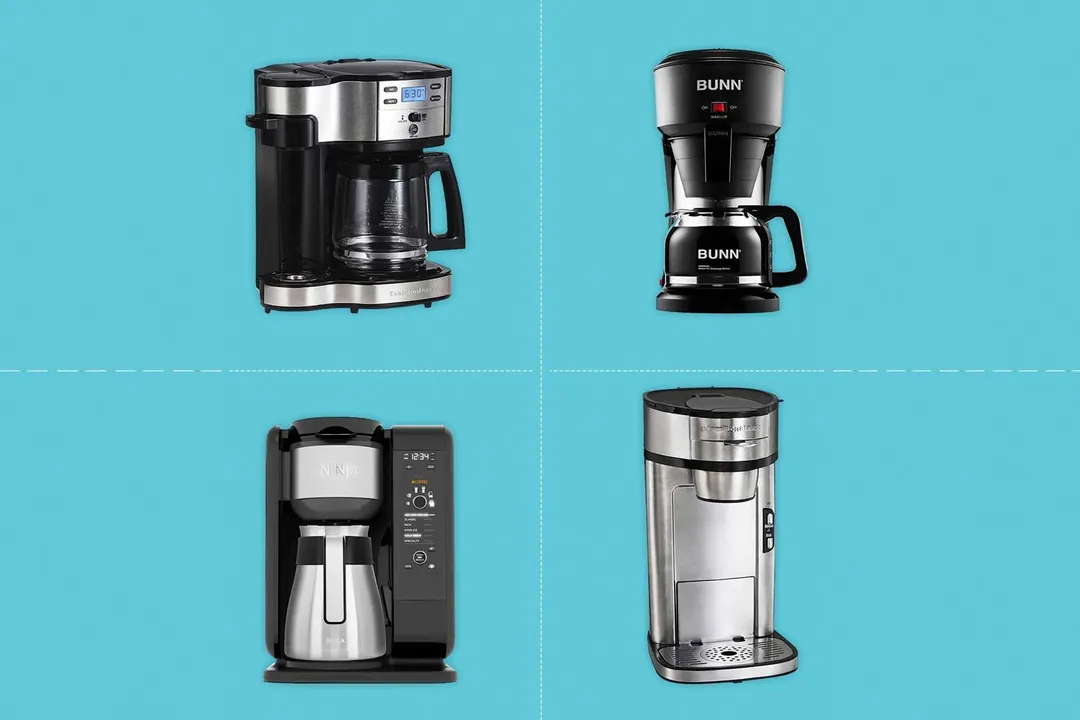
How to Make a Basic Brew with a Filter Coffee Maker
There are hundreds of different methods that you can use to brew a pot of coffee. You can learn these methods once you have gotten familiar with your coffee maker. In the meantime, let’s first grapple with the basics.
What You Will Need
- Your coffee maker
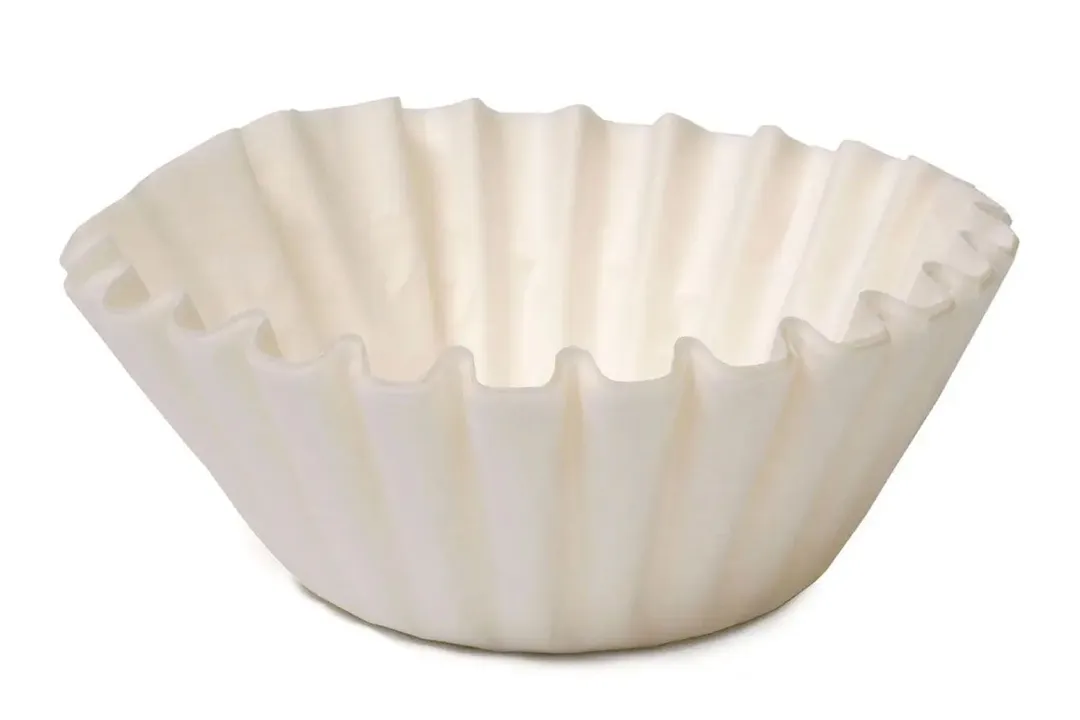
- A paper filter (either cone or wavy basket filter)
- Filtered or bottled water
- Medium ground coffee
Step 1: Fill the Water Reservoir
Open up the water reservoir of your coffee maker and fill it with cold water. Do not fill the reservoir through the filter basket. There is going to be an opening where you can pour your water into.
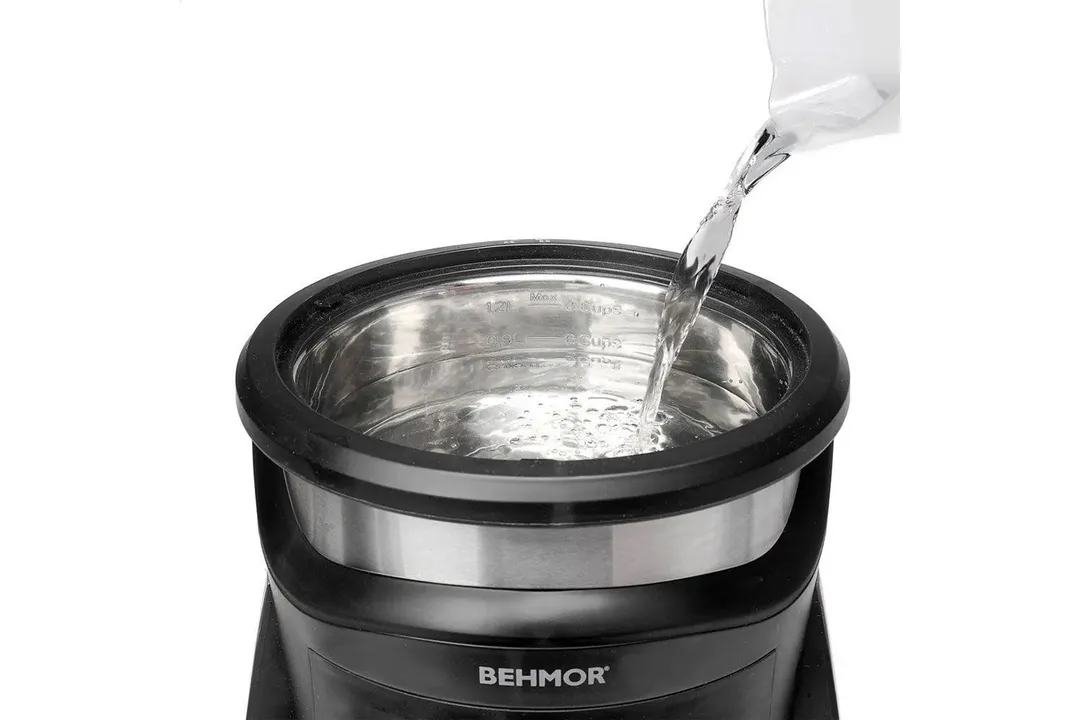
As mentioned earlier, only use filtered water. You can make it by pouring tap water through a cheap water filter. If you don’t have filtered water at hand, use bottled water.
The reservoir will have measuring lines on the side to help you find the correct fill mark.
Step 2: Insert the Filter
If you have a cone-shaped filter, fold the edges before inserting it into the machine.
A wavy basket filter is easier to use as you can put it right into the machine. No origami work is required.
If you use a natural filter, give it a rinse to eliminate the papery note. The steps are available above.
There are a few special coffee makers out there that come with a reusable stainless steel filter. In that case, you don’t even need to use a paper filter and can skip this step.
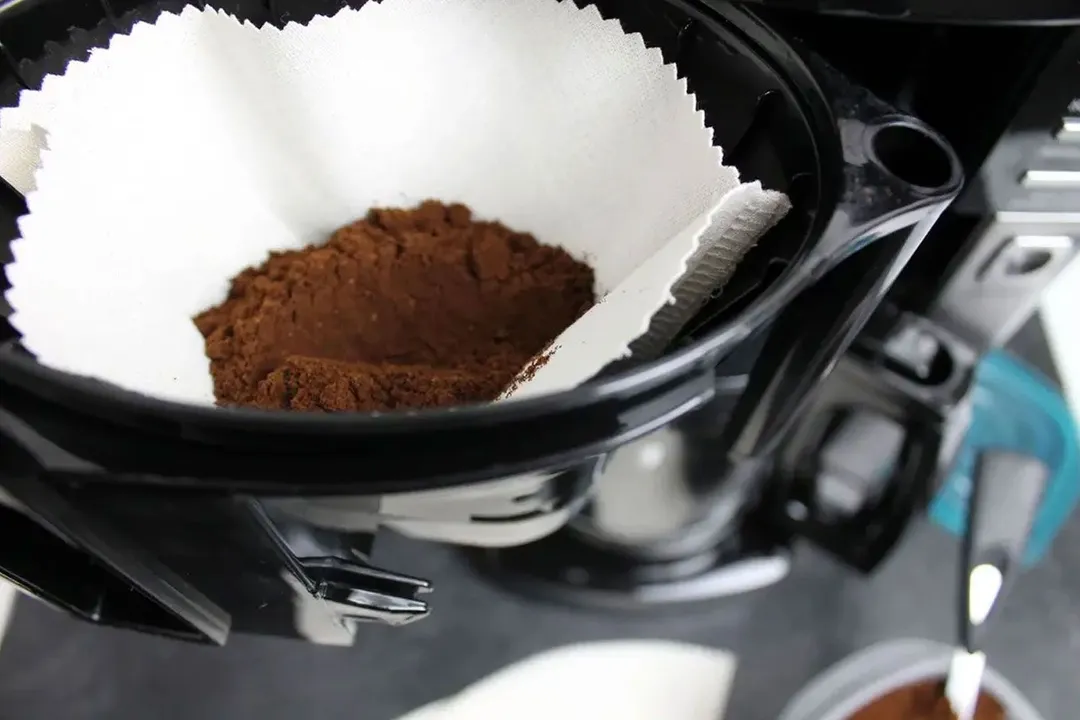
Step 3: Measure the Grounds
As mentioned earlier, it is best to start with pre-ground coffee if you’re a beginner. Filter coffee can be made with either medium or medium-fine grounds. However, a medium-fine ground typically results in the best coffee.
Depending on your coffee machine, the amount of coffee to water ratio is going to be different. The user manual for your coffee maker will tell you in more detail. Generally, around 2 tablespoons of coffee grounds are needed for every 6 ounces of water.
Note that certain coffee blends are going to have a different coffee-to-water ratio. If they do, you can find this information on the packaging.
Deposit the measured coffee grounds right on top of the filter.
Step 4: Brew
Power on the coffee maker. Some will start to brew immediately the moment you push the button. More complicated ones need you to manually set the brewing time before it starts.
Most coffee makers will take around a minute to make enough coffee to fill a 6-ounce cup. For a full carafe, it may take as long as 15 minutes.
Wait until the coffee maker is finished before you take out the carafe and pour yourself a cup. Some models will come with a “Pause” setting. In that case, hit the button and pour.
Step 5: Clean Up
Once the coffee maker has finished brewing, open up the filter basket and discard the coffee filter along with the spent grounds inside. Do this as soon as the machine finishes. If you leave it in for too long, the oils inside the grounds will make your coffee taste bitter.
If you have a stainless steel filter, remove it from the machine and throw the grounds into the trash can. Wash the filter thoroughly.
How to Make Espresso with an Espresso Machine
Other than filter coffee, people also make espresso at home using special espresso machines. If this Italian-style brew is more your style, here’s what to do.
What You Will Need
- An espresso machine
- Filtered or bottled water
- Fine ground coffee (Espresso ground)
Step 1: Fill the Water Reservoir and Preheat
Similar to a filter coffee maker, an espresso machine also has a water reservoir that you need to fill up before you can use. There are clear measuring lines on the reservoir that indicate how far you need to fill for either a single or double shot.
Filtered or bottled water is preferred. However, check the user manual of your espresso machine carefully. It may contain a built-in filter. If it does, you can pour plain tap water into it.
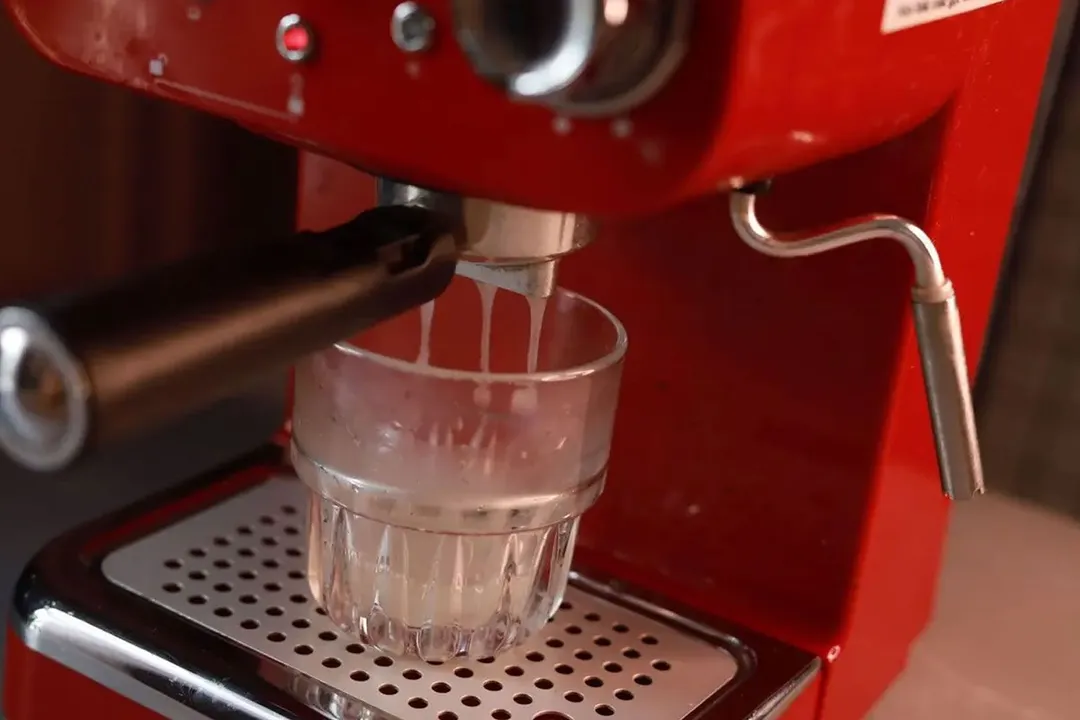
Preheat the machine by pulling a blank shot. In other words, pull an espresso shot without any actual coffee ground. Dripping out of the machine should be plain, hot water.
Other than warming up the machine for the actual brew, pulling a blank shot will also clean and heat up the portafilter. A well-heated machine and portafilter will be able to extract more flavors out of the coffee!
Step 2: Adjust the Portafilter
The portafilter is where the espresso gets made. It holds the coffee grounds and allows the grounds to co-mingle with the high-pressure hot water from the machine.
Inside of the portafilter is going to be a removable shot basket.
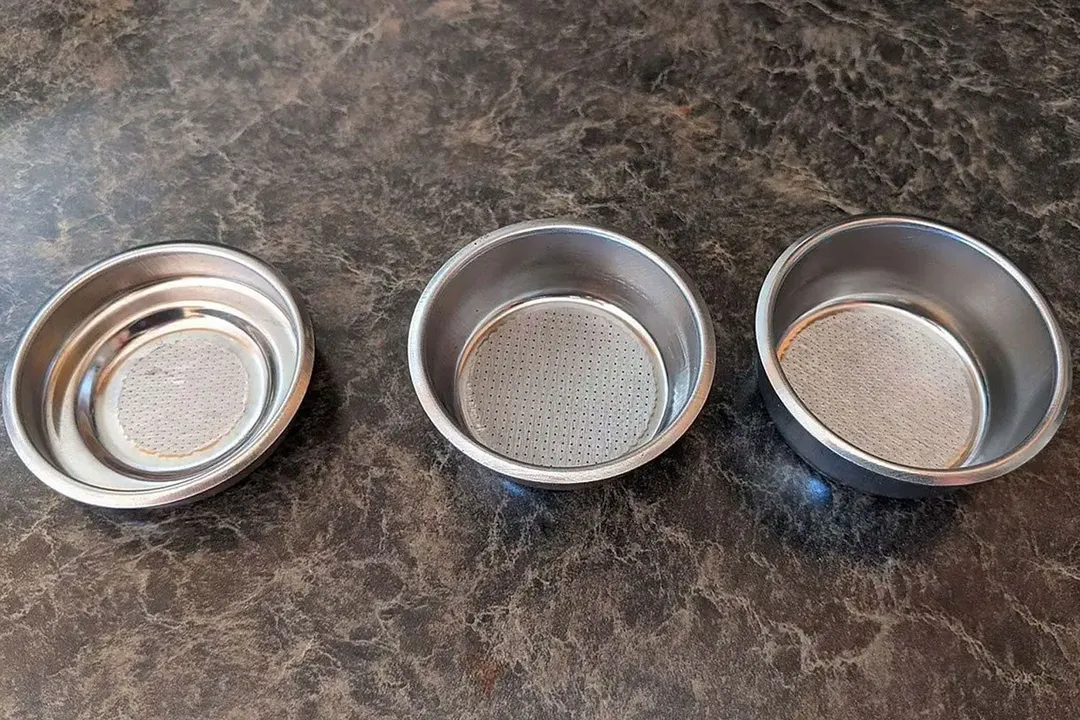
Most espresso machines will come with a single-shotand a double-shot basket in the box. The single-shot basket can hold around 0.2 to 0.35 ounces of coffee, while the double-shot is between 0.55 to 0.75 ounces.
More expensive ones with larger portafilters will have an extra triple-shot basket for an espresso that packs a more powerful punch. This type can hold up to 1 ounce of coffee grounds.
Put the correct shot basket into the portafilter, depending on how strong you want the espresso to be.
Do not attempt to brew a double-shot with a single-shot filter or vice versa.The espresso will come out terribly.
Step 3: Measure and Add Coffee Ground to the Filter
Measure the appropriate amount of coffee ground and add it into the shot basket. Only use fine ground coffee (also known as “espresso grounds”). Never use medium or coarse grounds with your espresso machine. While they won’t damage it, the resulting brew will be thin and flavorless.
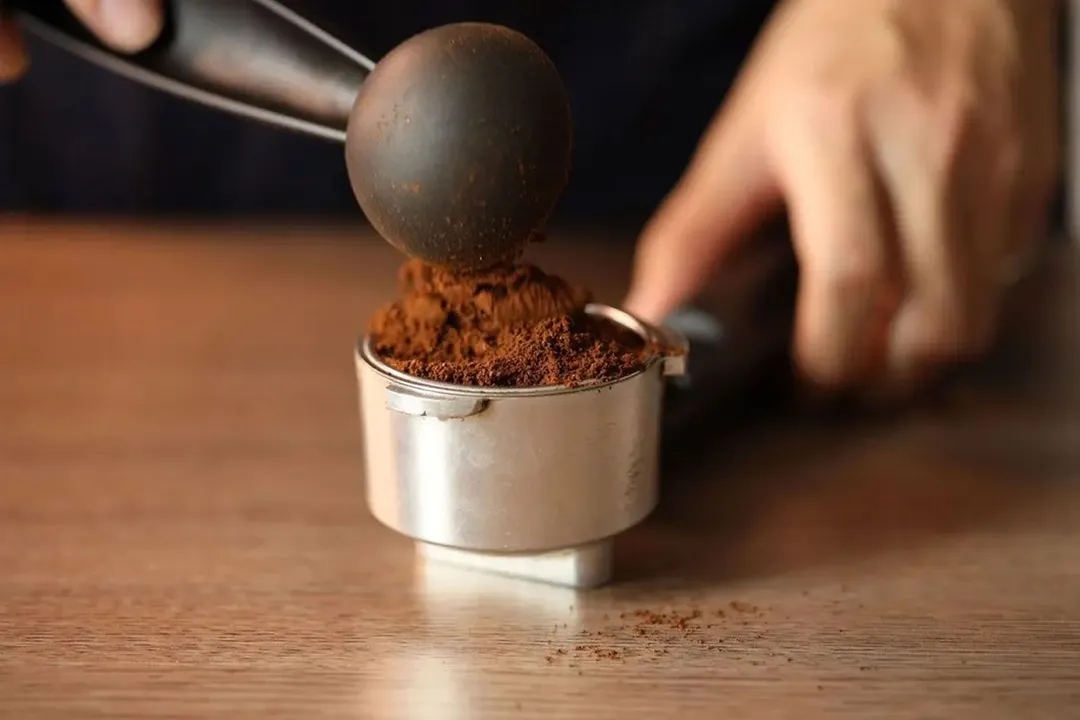
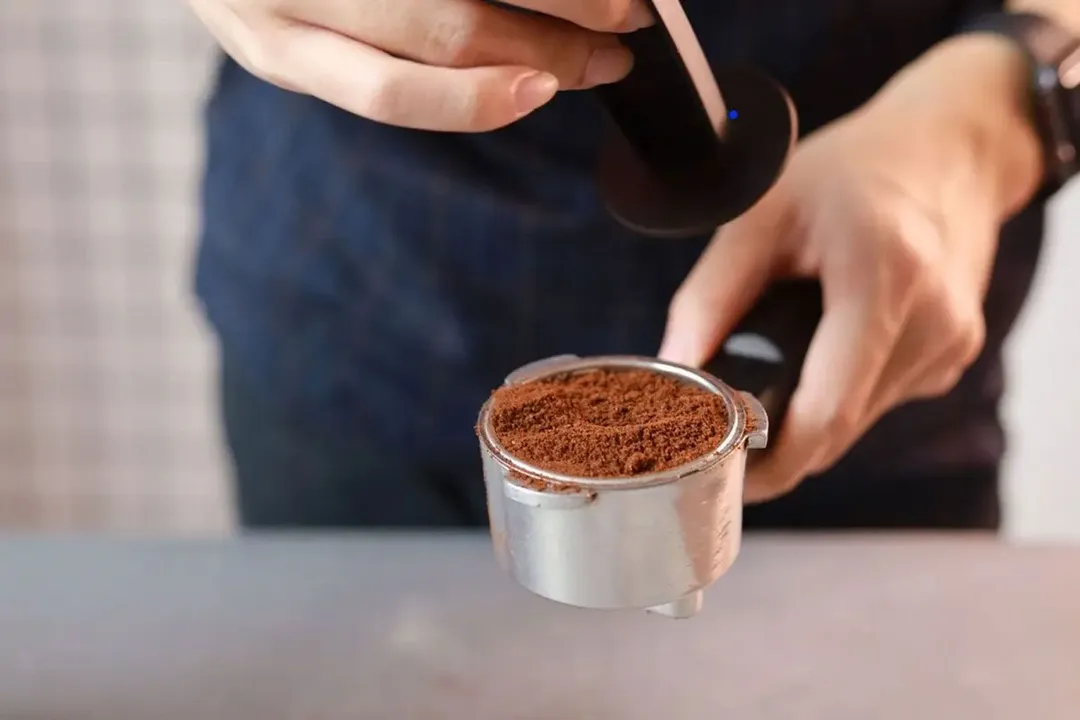
Add spoonfuls of coffee grounds into the portafilter until the mound of coffee protrudess lightly over the top. Remember, putting too much is more preferable than putting too little. You can easily fix an overfilled portafilter.
On the other hand, if you come up short, you may have to pour the grounds out and restart again. Adding small, extra spoons of coffee grounds at that point could mess up the measurement.
To deal with the excess coffee, use a flat implement like the head of your coffee tamper to sweep them off. Alternatively, you can use a banking card.

Step 4: Tap the Side of the Portafilter
After you have brushed off the excess coffee, the next part is tapping the portafilter. The tapping motion can redistribute the coffee grounds so that they fill the portafilter wholly.
Tapping will give you a superior brew by reducing what’s known aschanneling.
It’s when hot water flows through narrow channels within the coffee puck instead of through the whole grounds. The resulting brew is going to taste very lacking in terms of flavors as a result. By distributing the grounds evenly throughout the portafilter, channels will be eliminated and water must flow through the entire coffee bed. All of the flavorful compounds and aroma from the grounds are going to be extracted.
Note, however, that you should use a plastic tool to tap the portafilter. Using a metal tool could scratch or damage the portafilter.
Tap the portafilter on all sides until the coffee grounds are evenly distributed, especially on the outer rim of the portafilter. You shouldn’t see small gaps between the coffee puck and the metal wall of the portafilter.
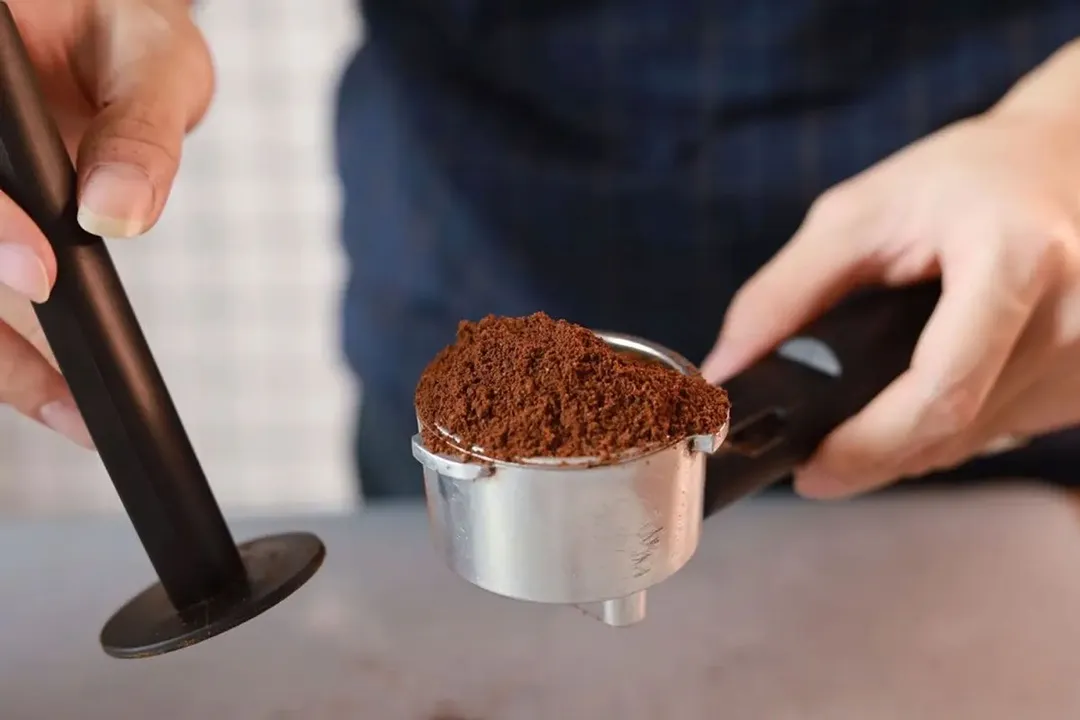
Step 5: Compress the Grounds With a Tamper
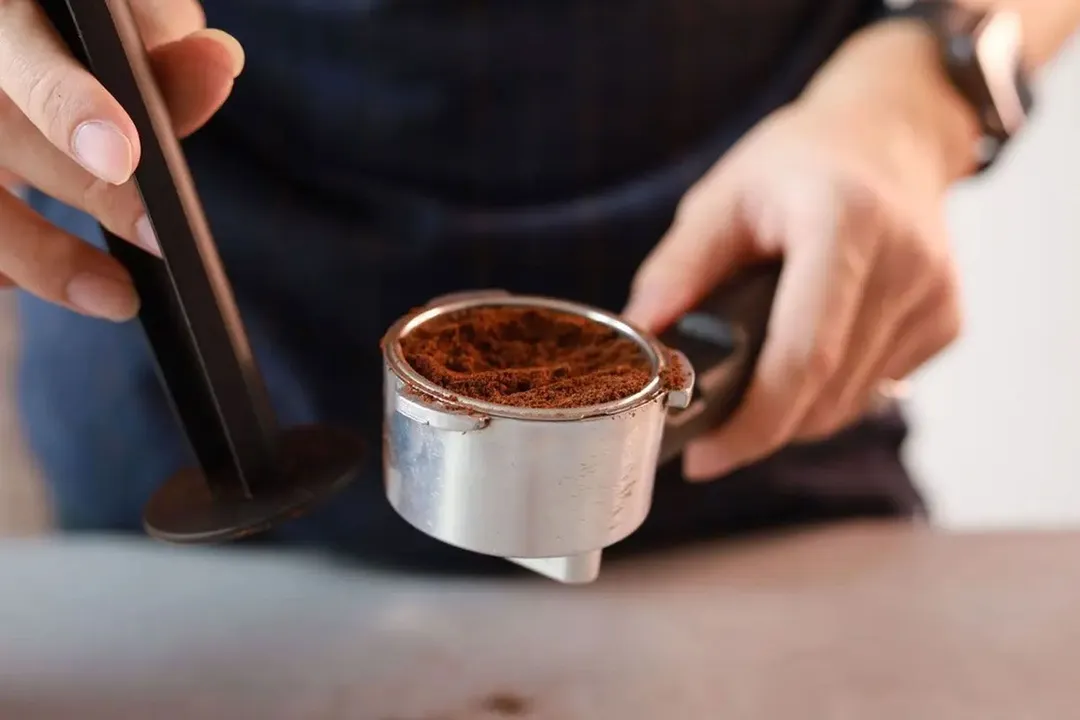
A tamper is a pestle-like device that you can use to push the coffee grounds to the bottom of the filter. The more evenly you tamp the coffee grounds, the better the brew will be.
Using a tamper is simple enough. Push its flat head into the filter and compact the grounds against the bottom. Ensure that the grounds are even and tightly packed in the filter by the time you’re finished.
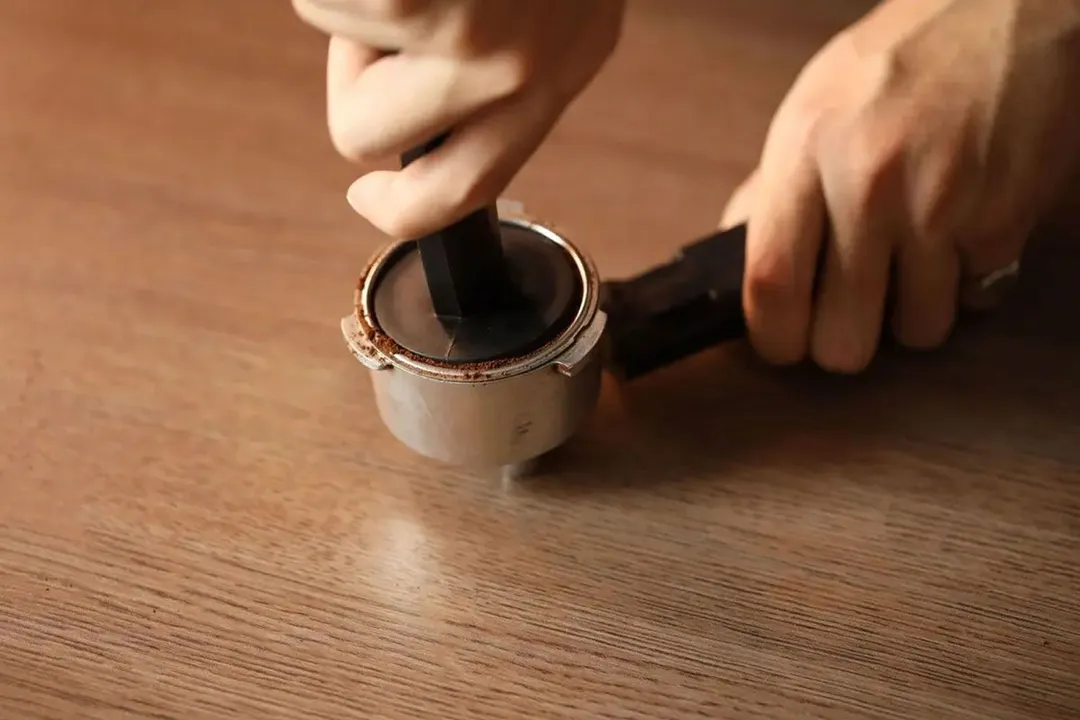
Theoretically, the best tamping force is between 35-40 pounds of pressure for espresso. Since this is the first time, don’t worry if you got it wrong. Even professional baristas with several years of experience occasionally got the tamping force wrong, too!
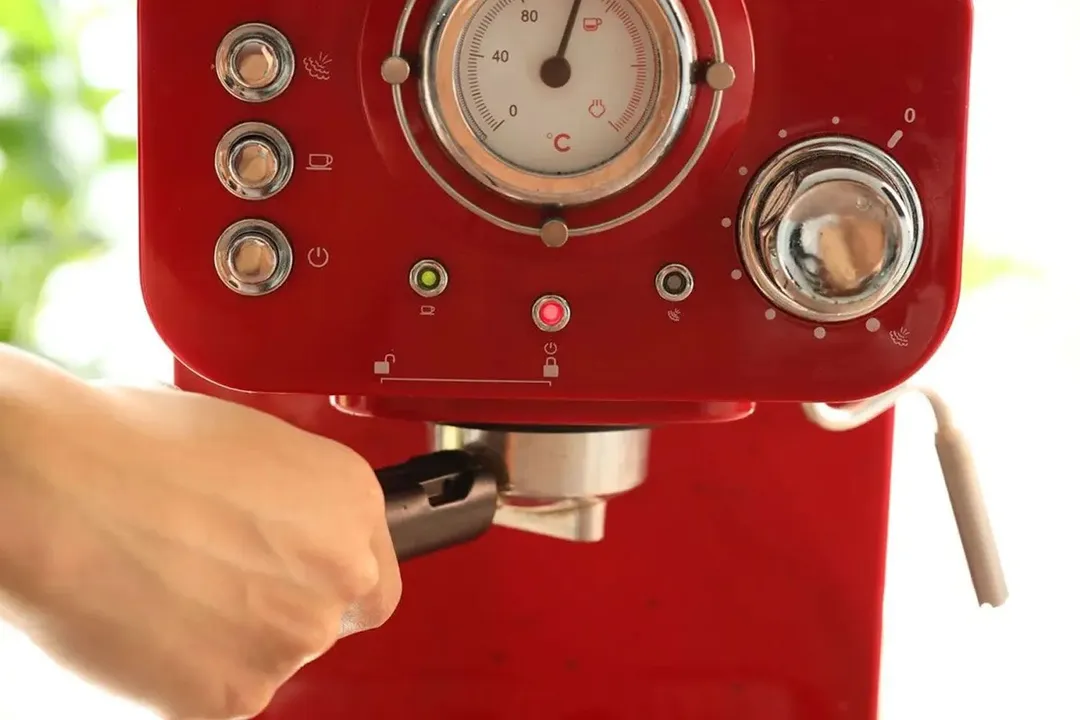
Step 6: Lock the Filter and Place Your Cup
Hold the portafilter by the handle and attach it to the spout. Most models will require you to give the portafilter a twist in order to lock it to the head. You should hear a clicking noise when the portafilter is in position.
Once completed, put your coffee cup underneath the spout.
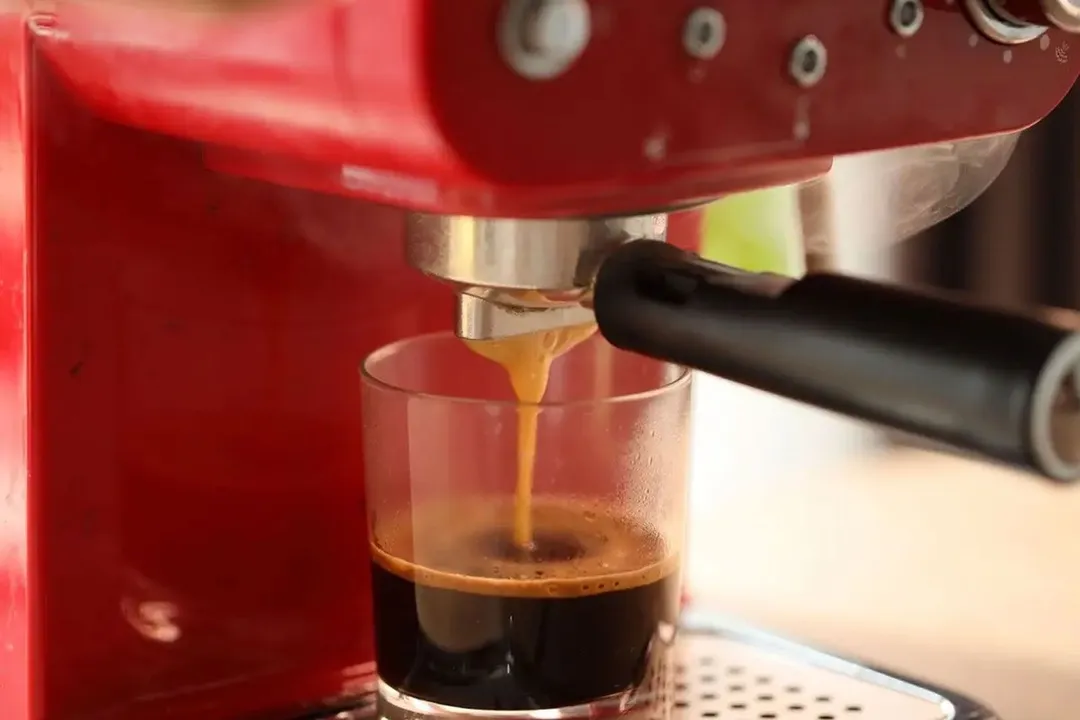
Step 7: Dial in and Brew
Press the button for the shot size you wish to brew (single, double, or triple shot).
Depending on the model, you may also get a pressure gauge and indicator lights. Watch them carefully (especially the pressure gauge). It will help you plan out your next shot.
When you press it, the machine will immediately rumble to life and begin the brewing process. After a few minutes, fresh espresso will come out of the spout and into your cup.
Conclusion
The first time using a coffee maker can be a little bit overwhelming. There are so many things to learn and so many variables to take into account. Now that you have gotten the basics of how to use a coffee maker down, it should be smooth sailing from here.
You can continue to practice it until making a good cuppa becomes almost an instinct. Or, if you’re interested, you can build higher on this foundation and learn more advanced, exciting brewing methods to make your morning coffee more sophisticated.
Whatever your choice is, rest assured that you can now enjoy a great mug from the comfort of your own home instead of having to walk anywhere!
About your tip

Roger Shitaki is a writer, author, and editor. His niches are household appliances, health & wellness, and travel. He’s a freelance contributor to a Tokyo lifestyle website and a leading ophthalmology magazine in Asia.