Our recommendations are made independently through Research & Testing. We may receive commissions from purchases made via our links.
How to Use A Smoker: an Essential User Guide
Smoking is one of the best ways to prepare a flavorful meal. In this how-to guide, we’ll show you how to use a smoker.
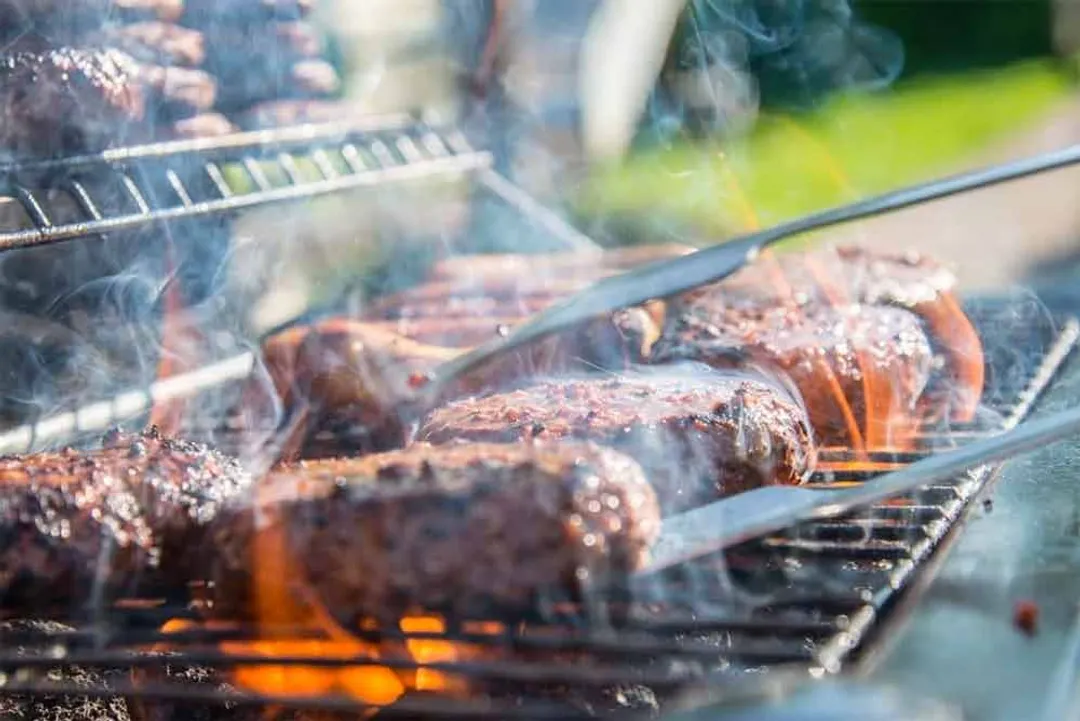
For many people, a smoker is an indispensable part of a cookout. When done properly, smoking can tenderize the meat and bring out its full-bodied flavor profile.
But the key phrase here is “When done properly.”
Smoking is a very delicate and, at times, complicated process that will require some skill on your part. In this essential user guide, you will have the chance to learn how to use a smoker and familiarize yourself with the working of a smoker inside and out.
What Is A Smoker?
A smoker is a specialized device that’s designed for smoking meat over a long period using indirect charcoal heat.
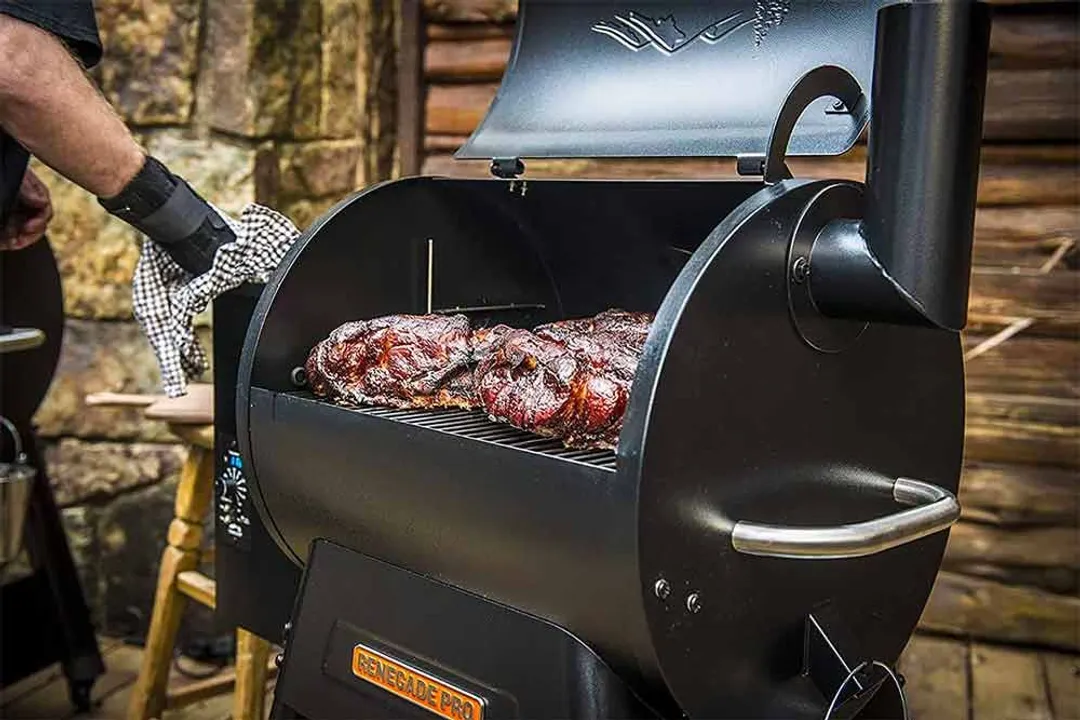
When left to simmer over the low-temperature charcoal heat, the muscle fiber in the meat has the time it needs to break down and tenderize. This is how smoked meat gets its signature soft texture.
But the biggest advantage to smoking is that it is the best way to introduce a natural wood smoke flavor to the meat. Add a few pieces of aromatic hardwood to the fire and a whole ‘nother dimension of flavor will be unlocked over the succulent meat.
There are many different types of smokers on the market. They vary not just in terms of design, but the type of fuel that they use .
There are smoker barrels, offset smokers, cabinet-style smokers, to name a few, and a wide range of fuels from charcoal, natural gas, and propane, to electricity.
Each one of these has its advantages and disadvantages, which we will go into later in the article. However, the most popular type of smoker by far is charcoal, which can give the food a more natural taste.
How Is A Smoker Different From A Grill?
It’s very important to keep in mind that a smoker isn’t the same as a grill, despite looking very similar to one another.
Grills cook using direct heat. Food is placed directly on top of the flame where the temperature is highest. This process can leave attractive grill marks on the slightly charred exterior of the meat. If cooked properly, it should be crisp and colorful on the outside with a tender, juicy interior.
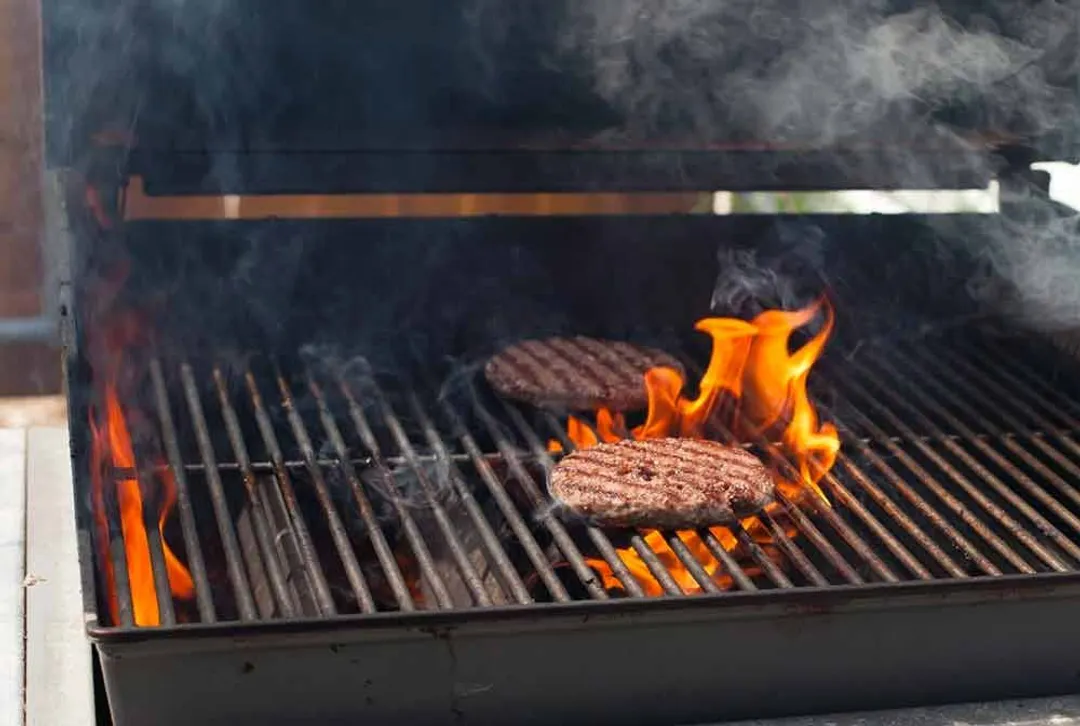
High temperature aside, grilling is also a very intense, fast-paced activity. You have to continuously adjust the temperature and flip the food to avoid burning. A half-inch or 1-inch steak can only spend about 10 minutes on the grill (4 to 5 minutes each side) before it becomes dried out and charred.
Smoking requires gentler, indirect heat, so smokers are engineered to generate less heat (around 220℉) and never to produce direct heat that could ruin the smoking process. This is usually done by positioning the burner or heating element as far away from the cooking grate as possible.
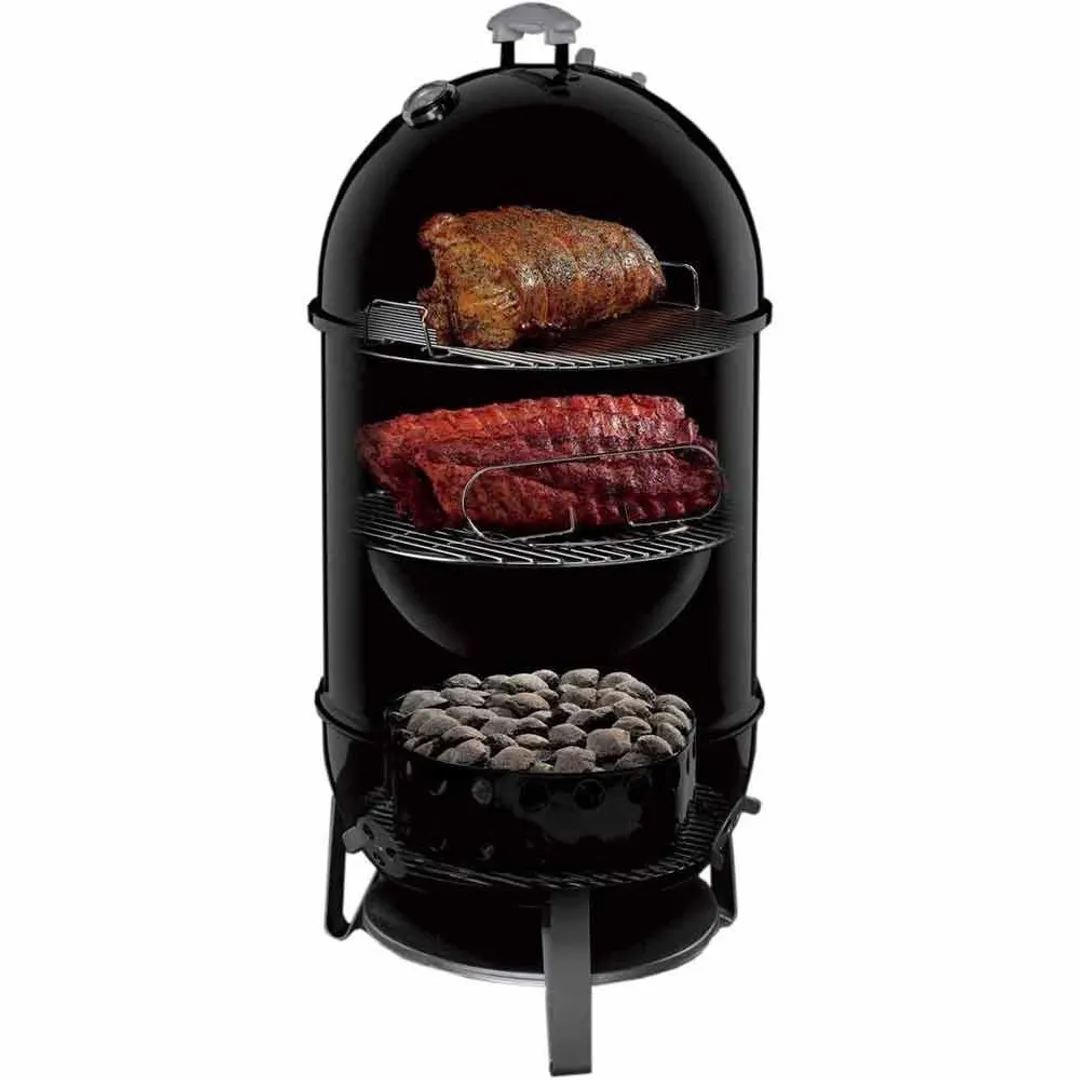
For example, in a charcoal smoker, the charcoal pan is situated at the very bottom of the assembly. The heat has to travel through a smoke chamber before reaching the cooking grate at the top. You will find the same kind of design on gas/propane and electric smokers.
What Kind Of Meat Works Best For Smoking?
There’s no limit to what kind of meat you can smoke, it just boils down to personal preferences. The most popular kinds to get the smoke treatment are lamb, sausages, briskets, ribs, and pork shoulders. Poultry, like whole turkey and chicken, is also popular among cooks.
If you’re good at maintaining temperature, you can also smoke fish, cheese, nuts, and even olives.
Things to Know Before Learning How to Use a Smoker
Fuel Types
Gas or Propane
Gas and propane smokers are among the most popular types of smokers out there. And true to their names, their burners use either natural gas or propane to produce the heat needed for the smoking process.
Though natural gas and propane may sound as if they’re the same thing, they’re not.
Natural gas is an admixture of all kinds of combustible gases like propane, butane, methane, and ethane. Meanwhile, propane is a stand-alone gas.
The advantage of using a natural gas smoker is that it is cheaper. As of November 2020, the average cost per 1,000 cubic feet of natural gas is about $11.
This amount can produce approximately 1 million British Thermal Units (BTUs), which is equivalent to about 11.2 gallons of propane. In November 2020, the cost of propane per gallon is $1.80.
So, to get the same amount of heat as $11 of natural gas, you must spend on average $20 on propane.
However, despite being more expensive, propane can release twice the amount of energy per cubic foot as natural gas.
Specifically, 1 cubic foot of natural gas releases approximately 1,030 BTUs while 1 cubic foot of propane can net you as much as 2,516 BTUs. If you’re looking for energy efficiency, definitely go for propane. Its efficiency has been recognized by the Environmental Protection Agency (EPA), which has designated propane as a clean alternative fuel.
Apart from the cost and heat equations, though, both natural gas and propane would be able to serve up a decent smoked meal. But there’s one caveat: the chemicals in the gas or propane can affect the taste of the food and make it taste like bacon.
Briquettes or Lump Hardwood
When cooking using a charcoal smoker, you have two options: briquettes (or briquet) and lump hardwood.
Briquettes are biscuit-sized fuel pellets made from wood and coal byproducts like sawdust, coal dust, and wood shavings, among other combustible materials. All of these ingredients are compressed together into pellets using chemical additives so that they can be lit and have a consistent burn.
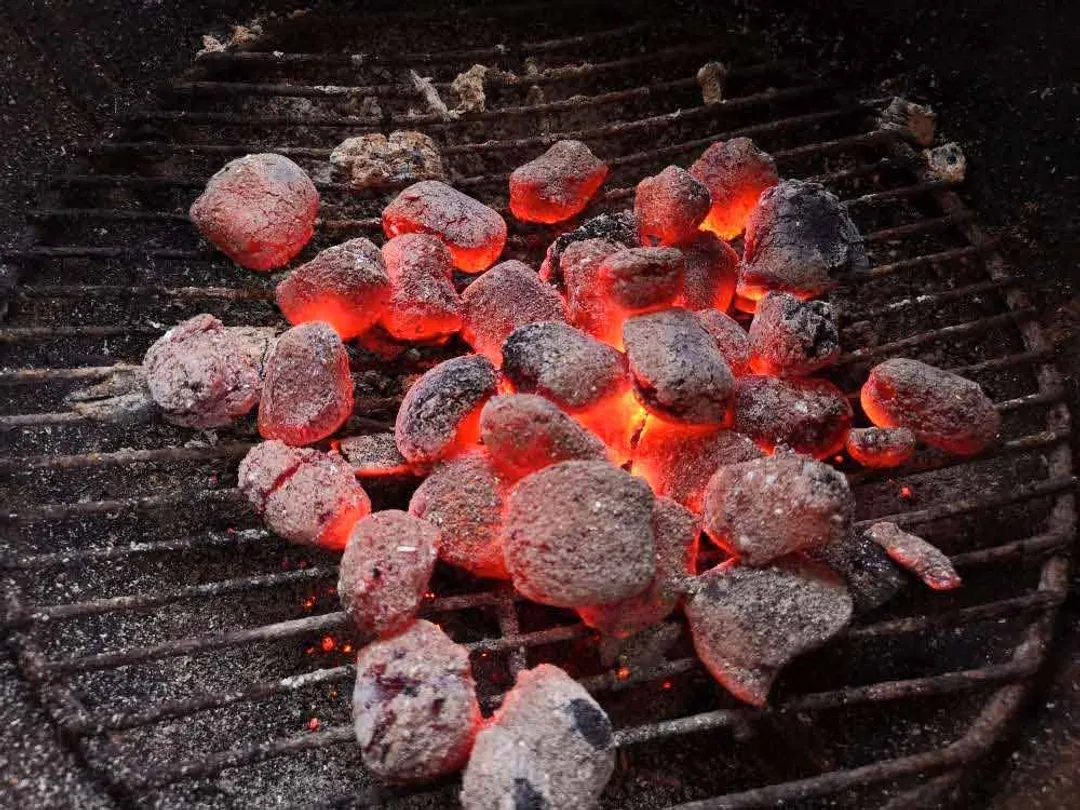
The advantage of briquettes is that they’re cheap, reliable, and can be found in just about any fuel outlet. Temperature-wise, they provide low, but stable and consistent heat.
The downside to using briquettes is that they have extra chemicals added to them . Bonding agents that are used to compress briquettes together typically don’t produce notable smells or tastes. However, some types of briquettes are infused with lighter fluid to make them easier to ignite, which can impart a distinct, unpleasant taste to your meat.
Fortunately, it is possible to avoid these kinds of briquettes, and we recommend that you do so by buying only raw, un-infused briquettes.
An alternative is lump hardwood, which is raw wood that has been processed by baking in an oxygen-less chamber and transformed into charcoal. Compared to briquettes, lump hardwood burns more intensely, while producing less ash during combustion. Because a lump hardwood fire is very sensitive to oxygen, you can control the temperature more easily. And last but not least, lump hardwood is all-natural and typically doesn’t have any chemical additives.
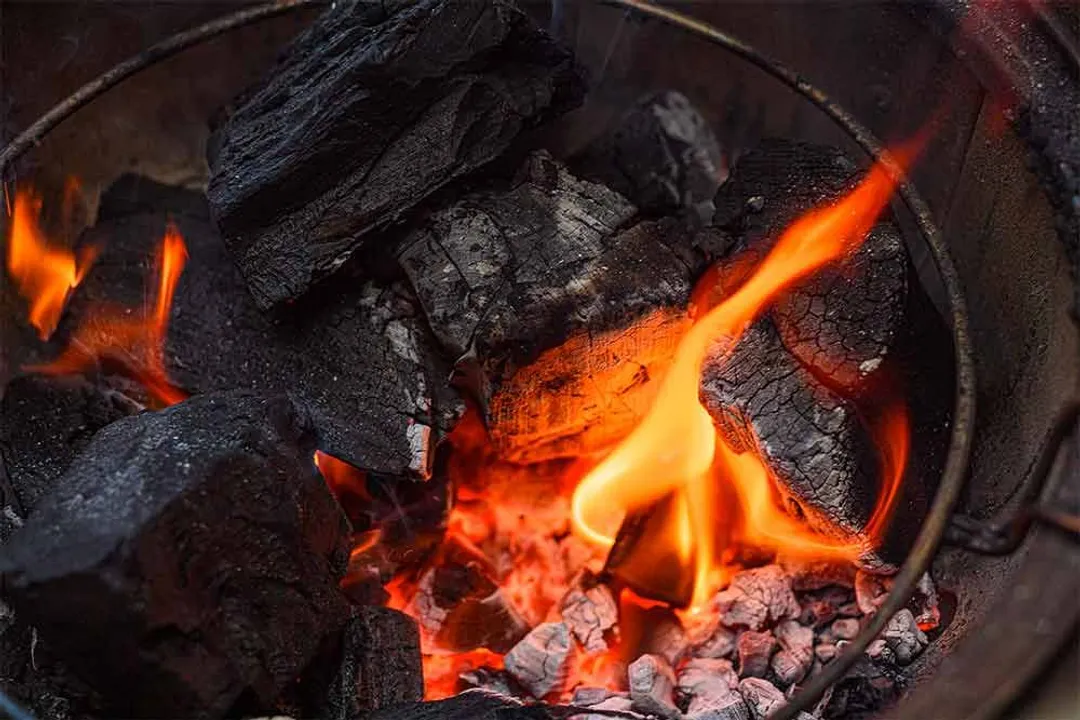
The downsides are that they tend to be very expensive. They also burn out faster than briquettes.
For smoking, because a low, consistent temperature is key, briquettes are far more preferable. Lump hardwood burns way too hot for effective and safe smoking.
Electricity
The biggest advantage to using an electric smoker is that it can’t really run out of fuel unless you plug it into a portable generator. As a result, you don’t have to closely supervise it like with gas or charcoal smokers.
The heating elements of electric smokers, like hot plates, can quickly and accurately change their temperature, which makes temperature management very simple. And , you will rarely have to do any manual work. Electric smokers are usually built with microprocessors that can automatically keep track of the temperature and adjust it for you.
This is why a lot of novice cooks prefer using electric smokers over the other types: it’s simply far easier to use. So easy that they have been called “fire-and-forget” smokers since the user only needs to set the time on the control panel then kick back and relax.
The downside lies in the cost. Electricity is far more expensive than gas, and since gas is slightly more expensive than coal, it makes electricity the costliest to use among all three fuel types. But if convenience and ease of use are important for you, it may be well worth the extra cost.
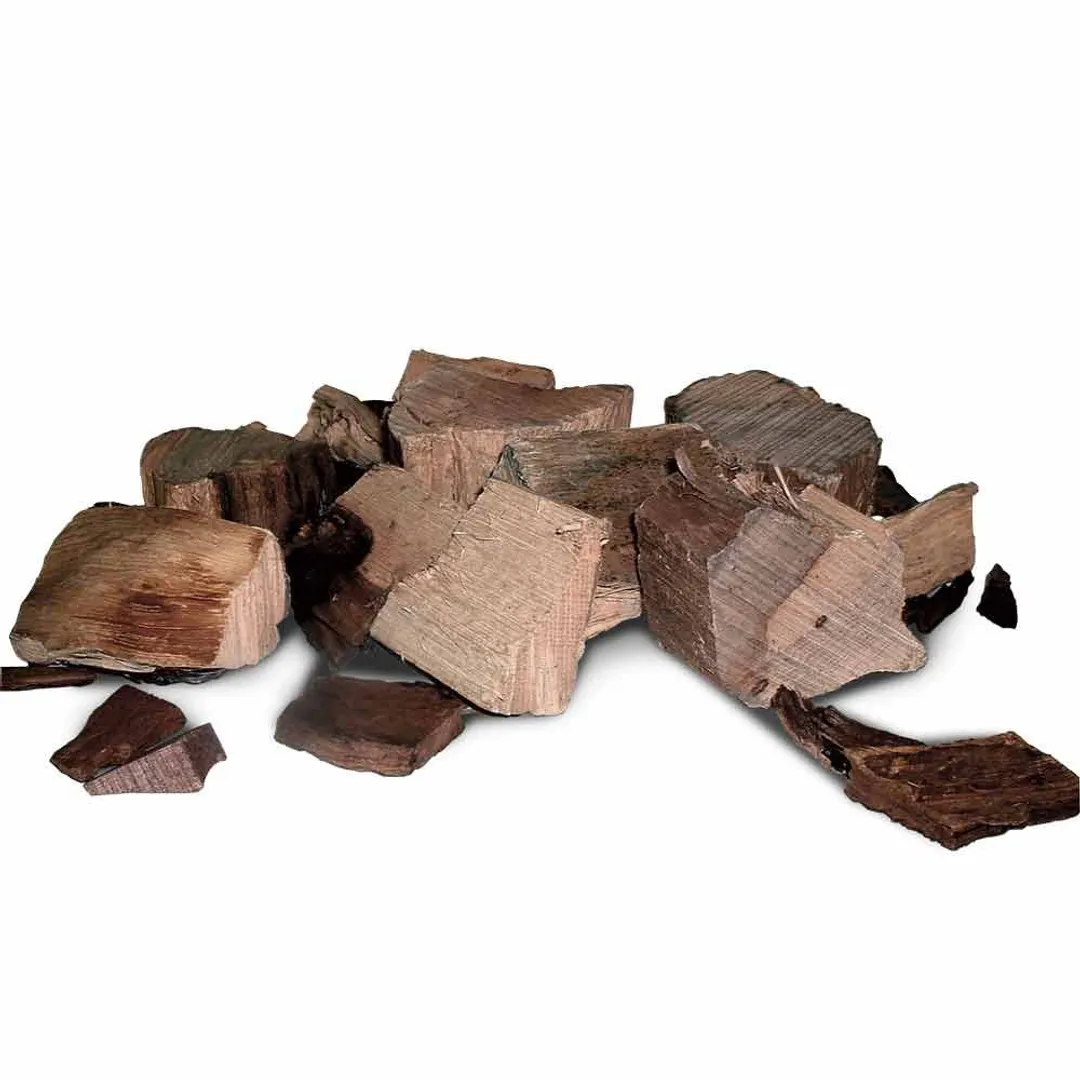
What Kind Of Aromatic Wood to Use ?
Adding aromatic wood is optional in a charcoal smoker since the briquettes themselves already provide plenty of smoke for the process. However, if you use a gas or an electric smoker, this step is mandatory. Gas burners and electric heating elements do not generate smoke. Instead, their heat is used to burn hardwood pieces, which in turn provides the smoke needed for the process.
Aromatic hardwood is responsible for building that extra woodsy layer of flavor to the meat over the smoky taste.
But it’s important to keep in mind that you can’t just add whichever wood you like and expect the best results. No two types of wood will have the same smell and taste profile . The intensity of smoke is unique from one species of wood to another, too. You will have to be aware of the many quirks of each species to take full advantage of their natural scent and taste.
We measure the profile of each kind of wood using a scale from Mild to Strong.
Woods from fruit-bearing trees like applewood and cherrywood have relatively mild taste profiles. They’re sweet and are typically very subtle. As a result, they’re great for poultry, fish, and pork. They’re not suited for red meat and wild game.
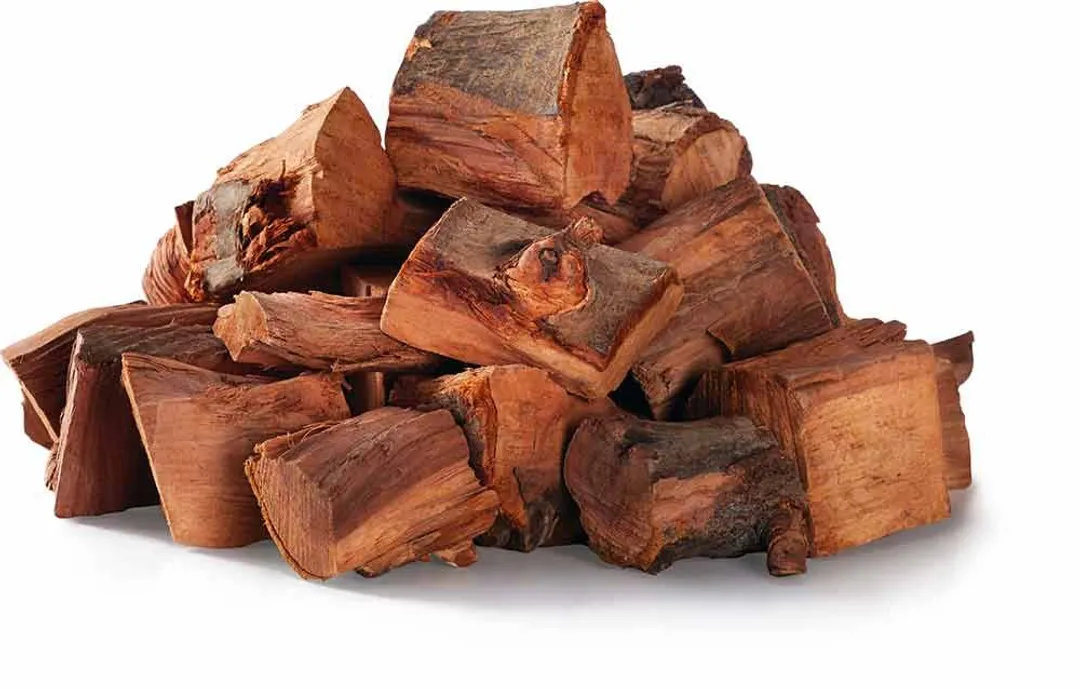
Between mild and strong are oak, maple, hickory, and other kinds of timber. Their profile is more robust, which makes them great for pork, red meat, and wild game.
Last but not least, at the strong end of the scale lies just one species: mesquite. Its profile is extremely intense with a unique earthy flavor. But the fact is that because it is so strong, people typically shy away from using mesquite since it’s very easy to mess up. Use it in moderation and do not let it stay in the smoker for too long or you’ll risk over smoking your meal.
To help you with this, here’s a short table detailing the characteristics of all the popular smoking woods.
Range | Name | Profile | Best For ... |
|---|---|---|---|
Mild | Cherrywood | Mild profile with a hint of citrus. Can be mixed with hickory. | Poultry and ham. |
Applewood | Mild, sweet profile. Applewood’s scent takes a long time to infuse into the meat and may need several hours for its scent and taste to be fully realized. | Chicken, pork, and wild game. Should not be paired with beef. | |
Alder | Very mild and subtle scent, slightly sweet. | Fish. | |
Birch | Mild, smoky profile bordering mid-range. | Certain kinds of flavorful fish, such as salmon. | |
Mid-Range | Oak | Medium-strong woody scent and taste. Its profile is highly versatile and goes well with just about everything. Can bring a dark, attractive color to the meat. | All kinds, including veggies. However, it shouldn't be paired with chicken or pork shoulder/butt. |
Hickory | Sweet and slightly savory, but too much hickory smoke can work a bitter taste into the meat. Hickory smoke can also bring out a dark, caramel-like color to the meat. | Veggies, ribs, and pork. | |
Maple | Known for its subtle, smoky scent. Often described as sweet and mild. | Veggies, pork, and wild game. | |
Strong | Mesquite | Overpowering scent and strong taste. Use in moderation only. | Steaks, fish, and wild game. Avoid using pork. |
With some experimentation and skill, you can also combine multiple types of wood to forge a unique flavor profile. Exercise caution, however, for a bad mix can irreparably ruin several hours of work in an instant.
Conduct A Dry Run For New Smokers
Brand-new smokers (of all types) tend to contain manufacturing residues like oil, dust, and dirt. If you cook with these residues still inside your smoker, your food may have a strange smell or taste to it. These chemicals could also be potentially hazardous. In addition to making the smoker safer to use, there’s the added benefit of prolonging the service life of your smoker by preventing rust.
A dry run (also called “pre-seasoning”, “seasoning”, or “curing”) can burn off all of these residues and freshen up your smoker. The process is fairly simple: leave the smoker to burn for around 3 to 4 hours without any food in the cooking chamber. You can also take advantage of the dry run to familiarize yourself with the workings of the new smoker.
Prepare For A Dry Run
First, wipe down all surfaces (including all of the trays and racks) inside of the smoker using a cloth or rag soaked in a mild detergent solution. If possible, you should use oven cleaners or common alkaline cleaning solutions for the job. Acidic cleaning solutions are not recommended.
This step removes all of the gunk from places that the heat and smoke wouldn’t be able to reach and burn off. Once you have adequately cleaned out the smoker, wash everything off with water and let the smoker air dry.
The second step is to coat the inside of the smoker with a light layer of cooking oil. Technically, you can use any kind for this step, but you should choose oils with high smoking points like grapeseed oil (445°F), peanut oil (450°F), or soybean oil (450°F).
When the oil coating is heated up, it will polymerize into a hard protective layer that will protect your smoker from rust and the elements.
Use a spray bottle and an absorbent cloth to evenly coat the inside walls, the door/lid, and the cooking grates. Do not apply oil onto the wood pan or water tray.
You only need a light layer and should avoid using so much oil that it drips. If there’s excess oil, wipe it off before dry-running the smoker.
How to Conduct A Dry Run
Before firing up the smoker, read the manufacturer’s instruction manual, which usually comes with clear instructions (including the recommended temperature and seasoning time).
If you don’t find any pertinent information in the manual, most smokers can be seasoned with temperatures between 275°F and 300°F. As for the time, anywhere between 3 and 4 hours should do.
Depending on the temperature and time you intend to season the smoker for, prepare fuel (if you’re using any other type of kind of non-electric smoker ) wood chips, and water accordingly. Make sure all of the vents and dampers on the smoker are fully opened, too, as you want the temperature to be high.
The process itself is practically the same as normal smoking. The only difference here is that there’s no food in the chamber. Check the fuel, wood pan, and water tray once every 30 or so minutes and replace them when they run out.
Once the set time has run its course, shut down the smoker. Don a pair of safety gloves and clean up the ash, leftover fuel, wood chips, and water.
If you see a dark smoke layer on the grates or other surfaces of the smoker, don’t be concerned. That’s to be welcomed, in fact . When you cook for real next time around, this smoke layer can impart a stronger wood smoke flavor to your food.
How to Use A Smoker
Now that you’re equipped with all the essential knowledge, here is a step-by-step guide on how to use all of the popular types of smokers.
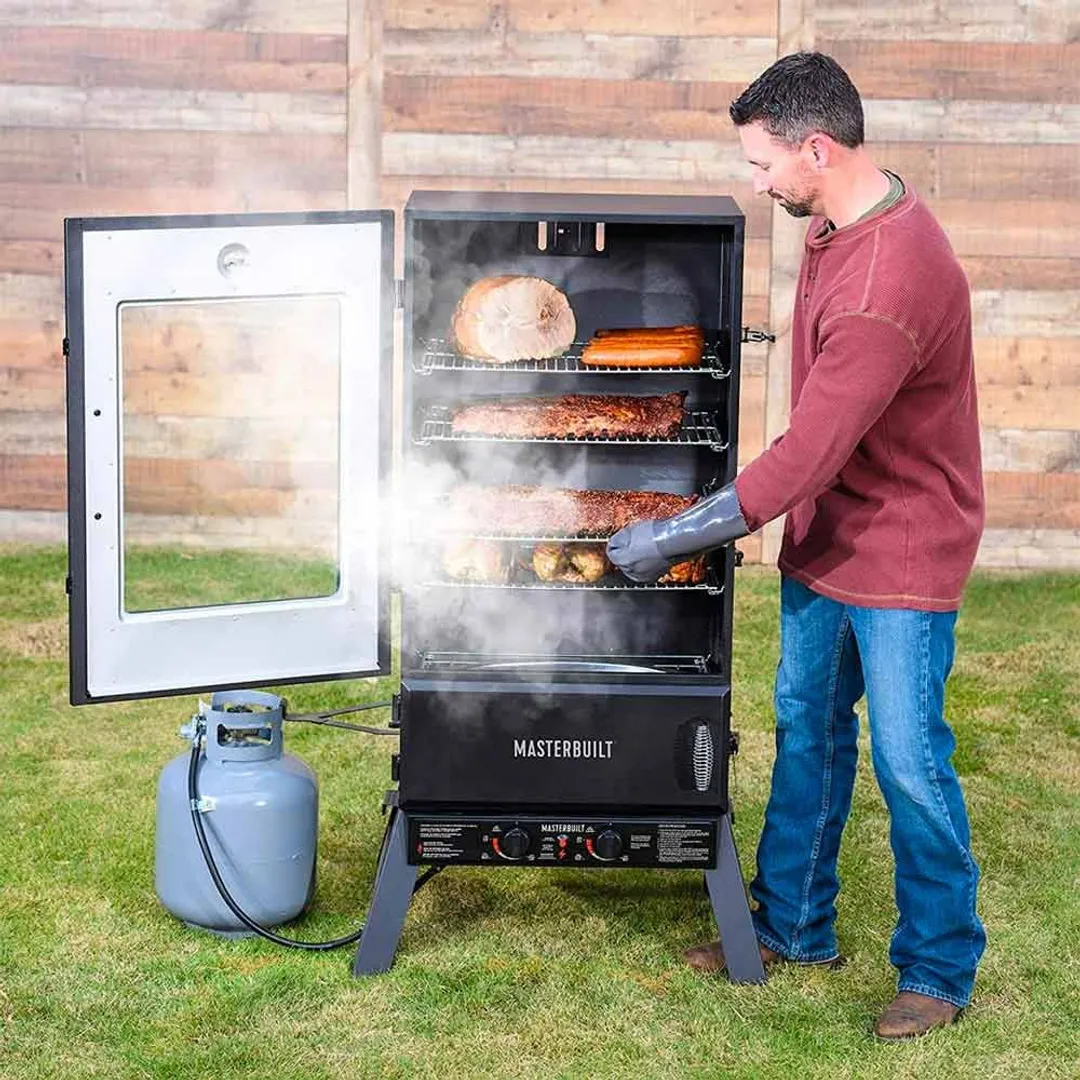
How to Use A Propane Smoker
How It Works
A propane smoker (also called vertical propane smoker) works through simple convection.
The heat from the burner located at the bottom of the assembly rises up the vertical stack and goes into a “smoke box”. It’s here that the wood pan and the water tray are located.
As the heat passes through the wood pan, wood chips inside will burn up and start to smoke . This is what ultimately cooks the food, not the direct heat from the gas burner. This means that if there are no wood chips in the pan, the smoker will not work.
The primary job of the water tray is to absorb the burner’s heat and redistribute it evenly upward to the cooking grates. This ensures that no direct heat from the burner is going to reach and char your food.
Heated water inside the pan releases water vapor. Since water retains heat better than air, it also improves temperature stability as well as having the extra effect of moisturizing the meat.
Some people put beer or cider into the water pan. Supposedly, this can enhance the flavor of the meat. But according to the vast majority of seasoned cooks, such techniques do nothing at all. If you want your meat to have a hint of alcohol, it’s more effective to spritz beer or cider directly on top.
If you need to readjust the temperature, you can use the heavy-duty air dampers and vents at the bottom of the smoker. They can limit the amount of air flowing into the burner, effectively managing the burn rate. We will address this in further detail later in the article.
How to Safely Prepare A Propane Smoker
Unless you’ve bought a brand-new tank, you should check how much propane there is left in it. .
The quickest way to do this is to pour warm (not scalding hot) water over the tank. Run your palm along the side of the tank. There should be a point where the tank becomes cool to the touch. That point marks the level of propane left in your tank.
This is a normal temperature reaction between propane and warm water. Though it may sound a bit risky, this is a perfectly safe procedure.
Speaking of propane fuel level, if possible, you should have two full propane tanks at the ready whenever you cook. Avoid using half-used or quarter-used tanks. A multi-hour cooking session can burn through a lot of fuel, so you will want to make sure that you have enough propane to last.
A propane leak can be lethal if not fixed immediately, so before you even think of starting the grill, make sure that the fuel line is intact.
Propane by itself is an odorless gas. However, manufacturers have added scenting chemicals to give it the notorious “rotten egg” smell. Needless to say, if you do smell it in the air, cease all cooking. If it’s the fuel line that’s the issue, replace it. If it’s the tank that’s leaking, it’s best that you change the whole tank rather than risking it.
Though cases are rare, some elderly people and those who are on certain kinds of medication are incapable of smelling propane’s additive. It’s also possible for the scent to dissipate due to rust in old tanks.
The manual way to check for propane leaks is to pour soap water onto the mating point between the tank’s cylinder valve and the regulator outlet. If the solution begins to bubble, that’s an indication of a leak. You can also buy specialized leak-detecting solutions for this purpose.
Before you turn the release valve to let propane flow into the smoker, ensure that there is no leak on the fuel line between the tank and the smoker. While you’re at it, make sure that the fittings on the fuel outlets on the tank and the smoker are without leaks, as well.
How to Start A Propane Smoker
Before turning on the smoker, make sure that the intake and exhaust dampers are opened.
Depending on how hot you want the temperature to be, adjust the intake air damper as you see fit. However, the exhaust (which can either be an adjustable air damper or a chimney) ought to be opened up all the way to allow for uninterrupted airflow.
With the door to the cooking chamber open, light the burner following the smoker’s user manual. If the burner doesn’t light after several attempts, stop, disconnect the fuel line, and check your fuel supply again.
Once you get a fire going, use the temperature controller on your smoker to tune into the correct temperature. The integrated thermostat that comes with most smokers will make it easier for you to manage the heat. Usually, between 225 and 250°F is advisable for smoking.
Allow the smoker to pre-heat for around 10 to 15 minutes. When the temperature has stabilized, it’s time to proceed to the next step.
Add wood chips into the wood pan and fill up the water tray. Place them back into their respective compartments inside the smoker.
After a while, you should begin to see smoke billowing out of the exhaust. That means it’s time to start adding food into the cooking chamber. Begin to arrange food on the grates or hooks as you see fit, then close the door.
All that’s left to do is to supervise the smoking process. Check the cooking chamber, fuel level in the propane tank, wood, and water compartments once every 30 minutes. If anything runs out, replace them.
Maintain the 30 minutes check-in cycle until the food has been smoked to your liking.
How to Shut Down A Propane Smoker
Shutting down is fairly straightforward. Shut down the burner and close all of the air dampers and vents. When you’re sure that the fire is extinguished, disconnect the propane fuel from the smoker.
You can begin cleaning the smoker after an hour or two, once it has cooled down. Just to be safe, wear safety gloves while you’re at it to minimize the risk of burn injuries.
How to Use A Vertical Charcoal Smoker
Besides using a different fuel type, working a vertical charcoal smoker isn’t all that different from using a propane smoker. Most of the differences between them lie in the fuel, not in their operation.
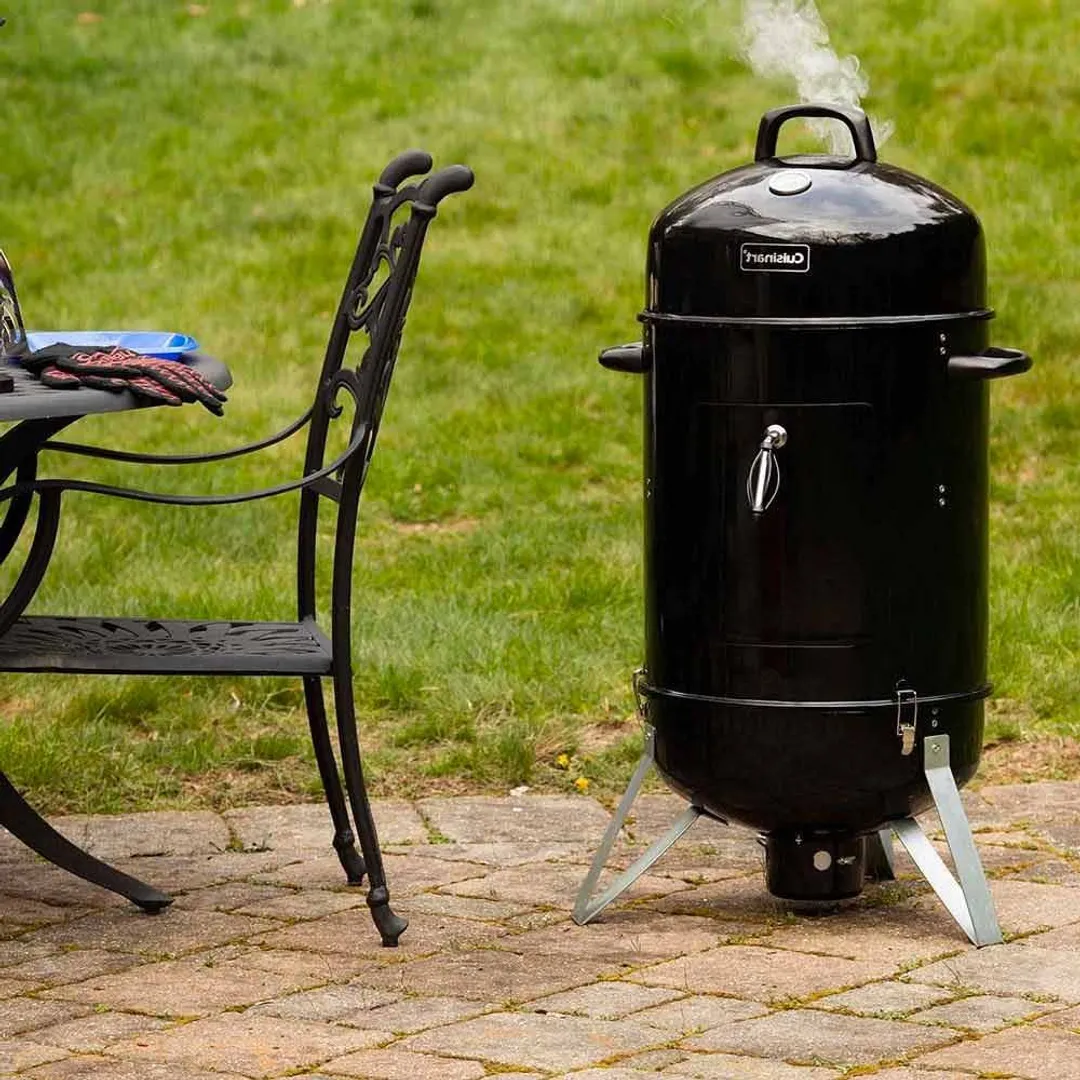
How It Works
A vertical charcoal smoker works in the same manner as the vertical propane smoker discussed earlier. Instead of using a gas burner, this type of smoker harvests the heat from burning briquettes.
The special part about charcoal smokers is that the fuel is partly made from wood. Thus, unlike propane smokers, a charcoal smoker can smoke without the aid of a wood pan, and using extra aromatic wood chips is optional. But if you do want to use wood chips to improve the overall flavor of the food, you can add them directly to the fire.
One component that charcoal smokers have in common with propane smokers is the water tray, which humidifies the smoke and evenly distributes the heat.
How to Start A Charcoal Smoker
Working a charcoal smoker is slightly less risky than preparing a gas or propane smoker. However, you should still exercise caution. All in all, there are two methods you can use to start a charcoal smoker (vertical or otherwise): using a chimney fire starter or lighter fluid.
A chimney fire starter is a cylindrical metal container with a handle that can help you ignite your briquettes. It’s fairly easy to use.
First, fill the larger compartment of the chimney with briquettes. Depending on the model, the maximum amount of briquettes you can put into your chimney may vary. However, you can usually get away with filling up to the brim. Just make sure not to overfill.
Next, look for a smaller, hollow compartment at the bottom of the chimney with multiple vents etched into the sides. This is where your fire starters are supposed to go.
Any combustible material, from balled-up newspapers to plastic foam cups, can be used as a fire starter. Put the material of choice into the compartment and stick a match through one of the many vents to light it up.
The heat from the burning fire starter should ignite the coals on top after a while. When the coals begin to turn white and visible flames are rising from the coal stack, the coals are ready to be used.
Don a pair of safety gloves and grip the chimney using the metal handle to the side. Open up your smoker and deposit the burning briquettes into the fuel compartment.
Allow the briquettes to settle.
Although it is far more convenient than using a chimney fire starter, lighter fluid is less popular due to the chemical smell and taste it may impart to the food. Because of this, most cooks only resort to using lighter fluid when they don’t have a chimney fire starter at hand.
But there are actually more use cases for lighter fluid.
When the weather is a little bit wet during cookout and it’s hard to ignite the briquettes using traditional methods, lighter fluid can make ignition easier. And if you don’t mind the faint taste of lighter fluid in the food, it can be the preferable option due to its convenience.
To start a charcoal smoker with lighter fluid, arrange your briquettes in the fuel compartment first. The most popular arrangement is the pyramid.
Create a wide base layer and stack progressively narrower layers of briquettes on top of this base. This arrangement allows lighter fluid to soak more evenly into the briquettes and create a more balanced fire.
Once the briquettes are properly arranged, slowly pour lighter fluid from the top of the pyramid and let it trickle down to the base. Make sure to control the amount of fluid you pour down the stack. Ideally, it should thinly coat the briquettes but there shouldn’t be so much that the fluid drips and pools at the bottom of the smoker.
Let the briquettes soak in the lighter fluid for about 5 to 10 minutes. Do not light the briquettes before the lighter fluid has had time to soak. If you do, the lighter fluid may be burnt up before the briquettes have the chance to properly catch fire.
When the briquettes begin to turn white and the temperature has stabilized, insert the wood pan, water tray, and food, and proceed to smoke as normal.
How to Shut Down A Charcoal Smoker
First, you have to close off all of the vents and air dampers on the smoker. Without free air flowing into the combustion chamber, the briquettes will be smothered and eventually extinguished. Contrary to popular belief, this isn’t an instantaneous process. Depending on how much fuel is left, it may take as much as 24 to 48 hours for a charcoal fire to be stamped out.
During this period, you mustn’t reopen the smoker and allow air to rush back into the combustion chamber. If the fire is still active, the inrush of fresh air will rekindle it. Just close all vents and doors, leave it for 48 hours, then come back.
When the fire has completely been extinguished, reopen the lid and the vents to allow the remaining fuel to cool down. Although the fire is gone, the leftover briquettes could still be quite hot, so you should wear safety gloves just in case.
After a while, when the remnants have cooled down, you can start cleaning out the ash and residue from the smoker. If the remaining fuel is still warm, you should wrap it up in aluminum foil to prevent it from becoming a fire hazard. It’s also recommended that you dump the fuel in metal trash cans for the same reason.
How to Use An Electric Smoker
This article will be primarily focusing on models from two popular brands: Char Broil and Brinkmann. However, since most electric smokers are relatively similar to one another in design, this guide can also apply to other brands.
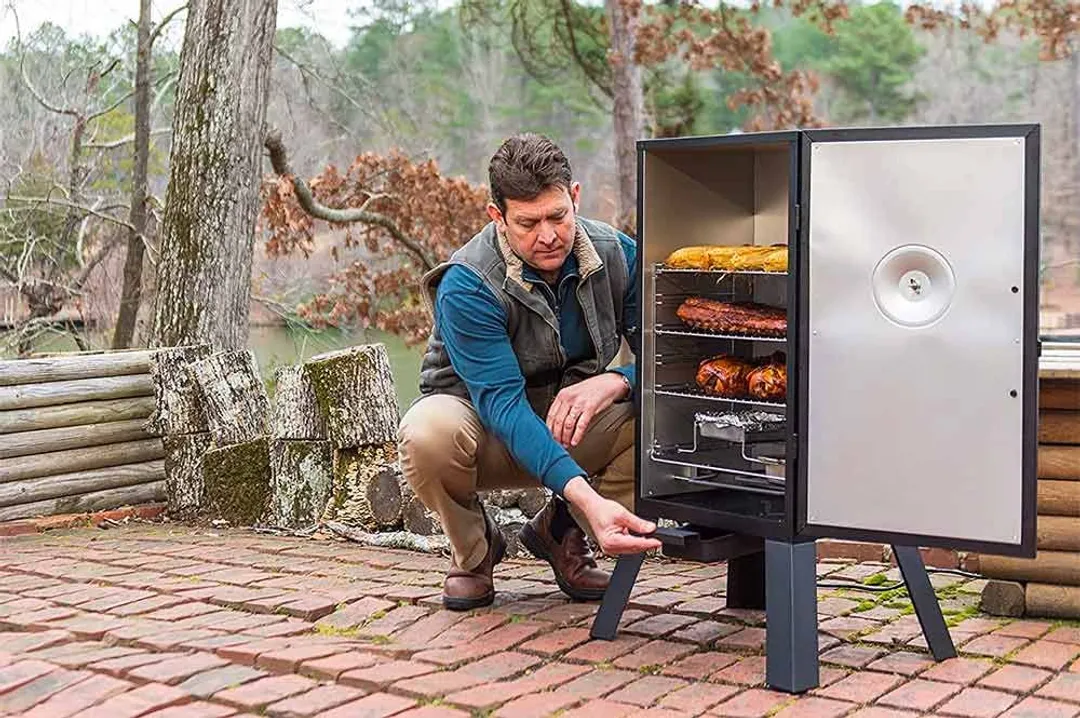
How It Works
Electric smokers are equipped with electrical heating elements in place of propane burners or charcoal fireboxes. The electrically-generated heat is then used to burn up wood chips, creating smoke. Just like propane smokers, electric smokers do not generate smoke by themselves and will not work without wood chips.
The most notable difference between electric smokers and all the other types is that it is segregated into two categories: digital and analog smokers.
Digital smokers are equipped with a temperature management system. It automatically regulates the smoking temperature, so you don’t have to supervise the smoker while it’s working. That’s why some people have aptly called them “fire-and-forget” smokers.
Though more convenient and easier to use, digital electric smokers are more expensive.
On the other hand, analog electric smokers are built with a manual temperature control mechanism. You will have to watch the thermometer and do the adjustments yourself. The advantages to going with analog are the lower cost and the fact that you have more control over the smoking process, which will make it appealing for either budget or skilled users.
How to Use A Char Broil Electric Smoker (Digital)
On the digital front, we’ll be using a Char Broil digital electric smoker as an example. Most electric smokers are designed the same way and work in roughly the same manner, so it shouldn’t be too difficult to apply this guide to smokers from other brands, too.
Above the door to the cooking chamber is a small control panel. While the feature set will differ from one model to another, all of them have two essential functions on the panel.
- Temperature Control: For setting up the smoking temperature.
- Timing: For setting the smoking time.
To activate the heater, you must set the temperature as well as set the smoking time via the control panel. The smoker will not turn on if these two data aren’t inputted.
When the smoker is finally powered on, it will maintain the temperature you set and smoke the meat for the allotted time before shutting down by itself. No supervision is required.
Some models like the Char Broil digital electric smoker will also have a Meat Probe function. With this mode, the smoker can be set to smoke a slab of meat up until a set internal temperature is reached, shutting itself down once it does. You can avoid over-smoking using this mode, thanks to the probe’s accuracy.
That’s about all there is to using a digital smoker, really: pressing buttons and waiting it out.
Speaking of pressing buttons, some electric smokers don’t even require you to stand right next to it and use the physical panel.
The Char Broil smoker, for example, has a remote control with a 10-meter range that has all of the functions of the on-board control panel. A few models even support WiFi and Bluetooth connectivity with your smartphone. In these cases, you can control and receive updates about the smoking process through a mobile app.
How to Use An Analog Smoker
Unlike digital electric smokers, analog smokers are not equipped with self-regulating microprocessors. Instead, the only piece of electronics it has is the board for controlling the heating elements. Despite this, analog smokers are still significantly easier to use than their charcoal and propane counterparts.
After filling the wood pan and water tray, and arranging the food inside the cooking chamber, you can simply power on the smoker through a power button. There’s going to be a temperature control dial on the machine. Use it to set the temperature to whatever number you like.
Most analog smokers come with an in-built thermometer to help you keep track of the internal temperature inside of the cooking chamber. However, most professionals suggest that you should invest in a separate wireless meat probe or digital thermometer. The built-in thermometers in these cheap electric smokers usually don’t give very accurate readings.
How to Use A Barrel Smoker
An “authentic” barrel smoker (sometimes also referred to as “drum smoker”) is a repurposed 55-gallon steel drum. You can’t find many of these around nowadays, though, unless you make one yourself. Most of the barrel smokers on the market are purpose-built.
Barrel smokers mostly use briquettes, but due to their rudimentary design, there have been reports of people converting them into using propane. But for the sake of simplicity, we will only address briquette-burning barrel smokers in this article.
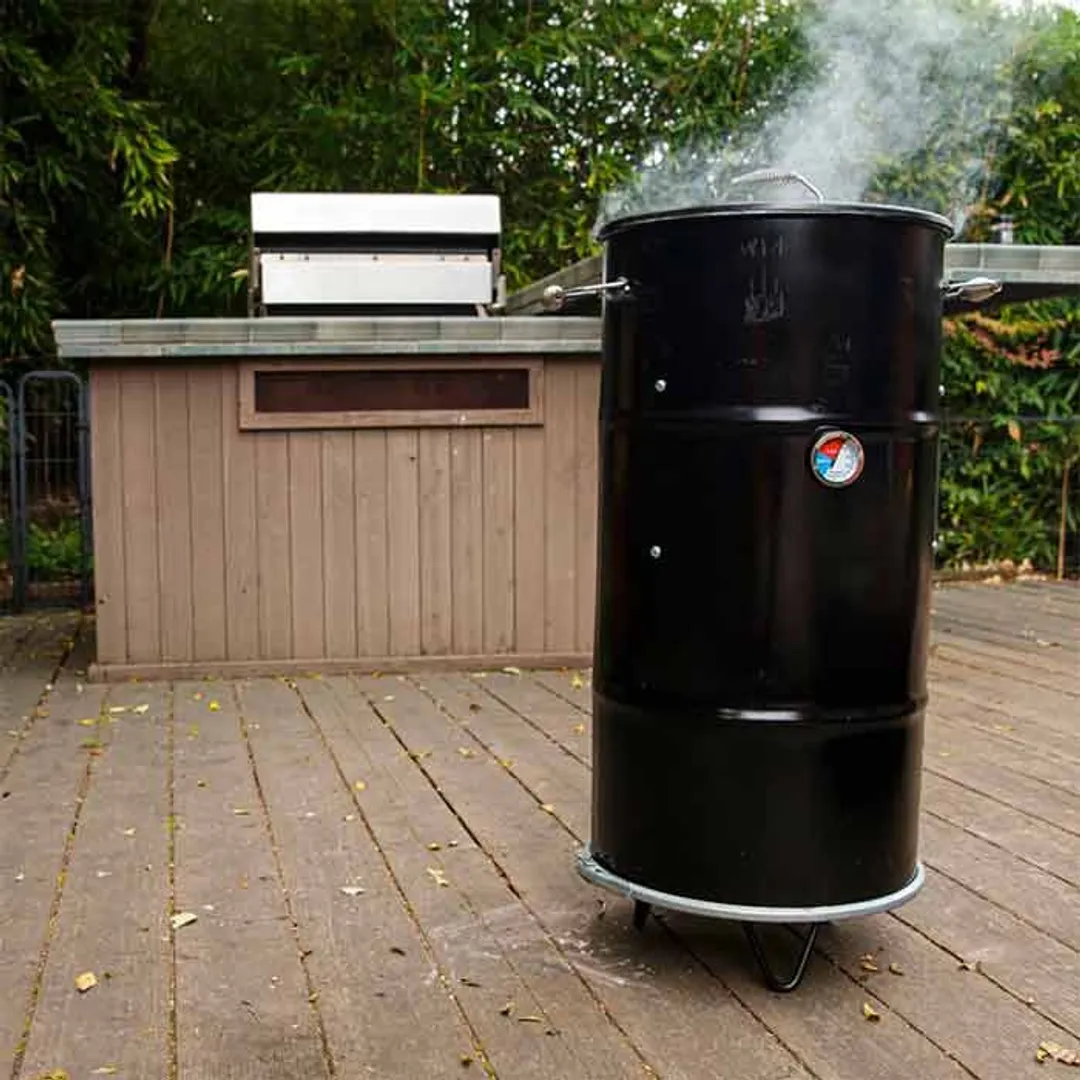
How it Works & How to Use
Barrel smokers aren’t all too different from your average charcoal smoker. What’s special about them is that they typically don’t have any vents or exhausts. Due to the substantial vertical length of the barrel design, the body of the smoker can act as a chimney on its own. Air can move freely in and out of the barrel via the top lid, effectively keeping the fire burning.
Food is suspended over the fire near the top, either by suspending rods and hooks or hinged grates.
To smoke with a barrel smoker, light up some briquettes (refer to the earlier guide on how to do that) and add them to the bottom of the barrel. Add some wood chips for extra flavor, as well.
Install either the suspending rods or grates, depending on the recipe you’re trying to prepare, then arrange the food to your liking.
The main disadvantage to using a barrel smoker is that there’s no effective way to control the temperature. Because there are no air vents or dampers, the heat is quite literally uncontrollable on a basic barrel smoker. Therefore, you have to be very careful about smoking time to avoid over-smoking.
How to Use An Offset Smoker
An offset smoker (also called “offset barrel smoker”, “stick burner”, and “horizontal smoker”) is considered by many to be the “traditional” style of smoker, as it has been around for a very long time.
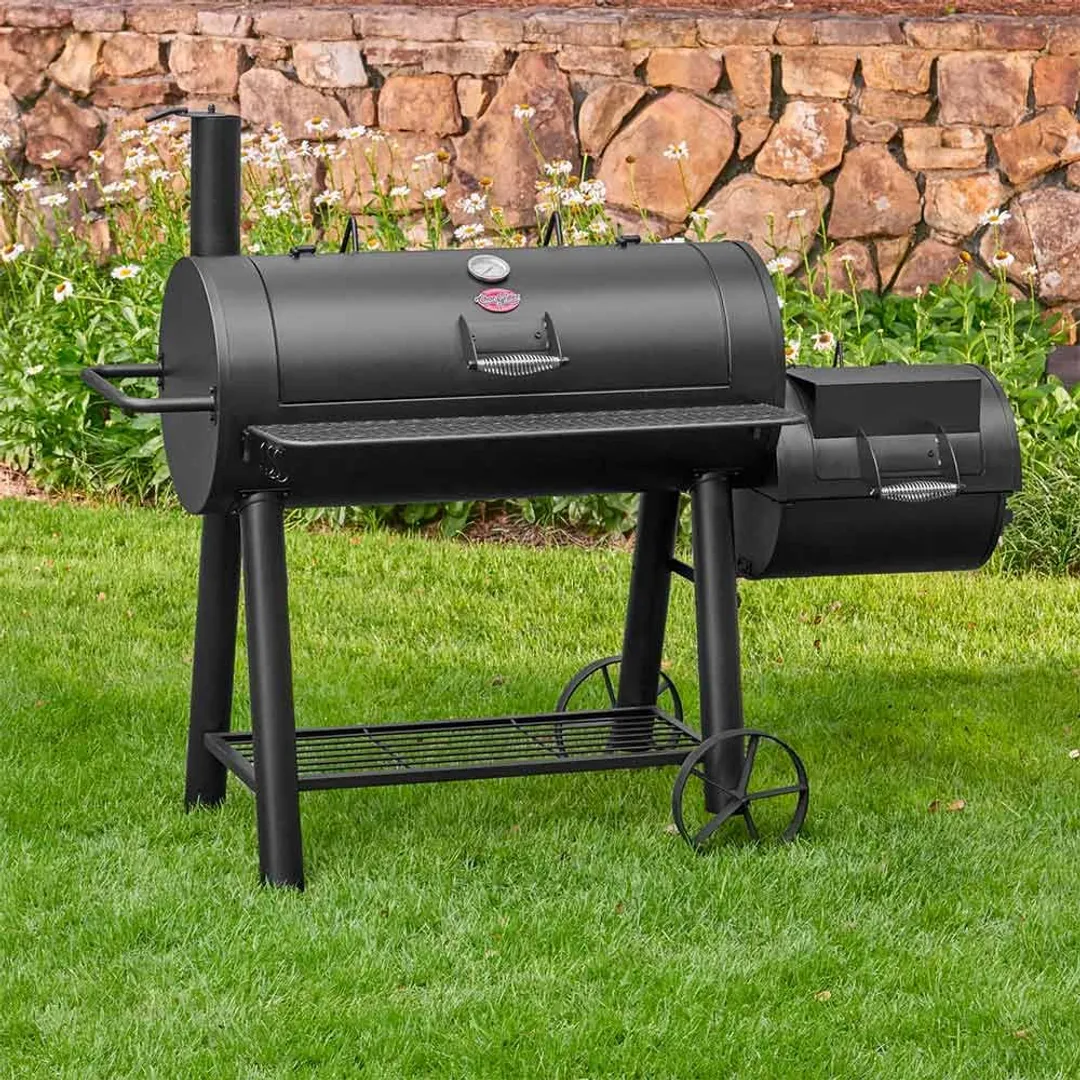
How It Works & How to Use It
The unique characteristic of an offset smoker is that the heat source (either a charcoal firebox or a propane/gas burner) is located to the side of the cooking chamber rather than underneath. Heat flows horizontally into the cooking chamber and smokes the food. Exhaust gases and smoke will be vented through a chimney on the far side of the chamber.
There’s an air damper on the heat source that you can adjust to control the temperature. The exhaust chimney can also be closed and opened at will.
As for operation, using an offset smoker isn’t all that different from using a standard vertical charcoal smoker.
First, kickstart the heat source by either lighting up some briquettes or turning on the propane/gas burner in the smoker. Once you get a fire ready, start adding your chosen type of smoked wood into the fire. If you have a charcoal offset smoker, you can add the wood directly into the firebox. And if it has a propane/gas burner, there will be a wood pan right over the burner.
Check your thermometer or heat probe and adjust the temperature using the air dampers until the grate temperature is satisfactory. When the heat is adequate, re-adjust the air damper and the exhaust cap so that they’re opened only by ½.
You can start cooking once the temperature has reached a good threshold and has stabilized.
It’s important to avoid cooking before the grate temperature reaches this point. Offset smokers are notorious for releasing far more smoke at the beginning stages than other types. You will risk your food being covered in a layer of creosote, which is an oily and bitter substance that can ruin your appetite.
When you have finally begun to place food on the grate and commence cooking, keep a close eye on the thermometer and adjust the heat as you see fit.
The process of shutting down an offset smoker is similar to that of a standard charcoal smoker or a propane/gas smoker. You can refer to earlier entries to know more.
How to Use A Smoker Box On A Gas Grill
What Is A Smoker Box?
A smoker box is an accessory that you can use to quickly and cheaply convert your gas grill into a smoker. If you already own a gas grill, this will be a far more affordable option than buying a full-fledged smoker.
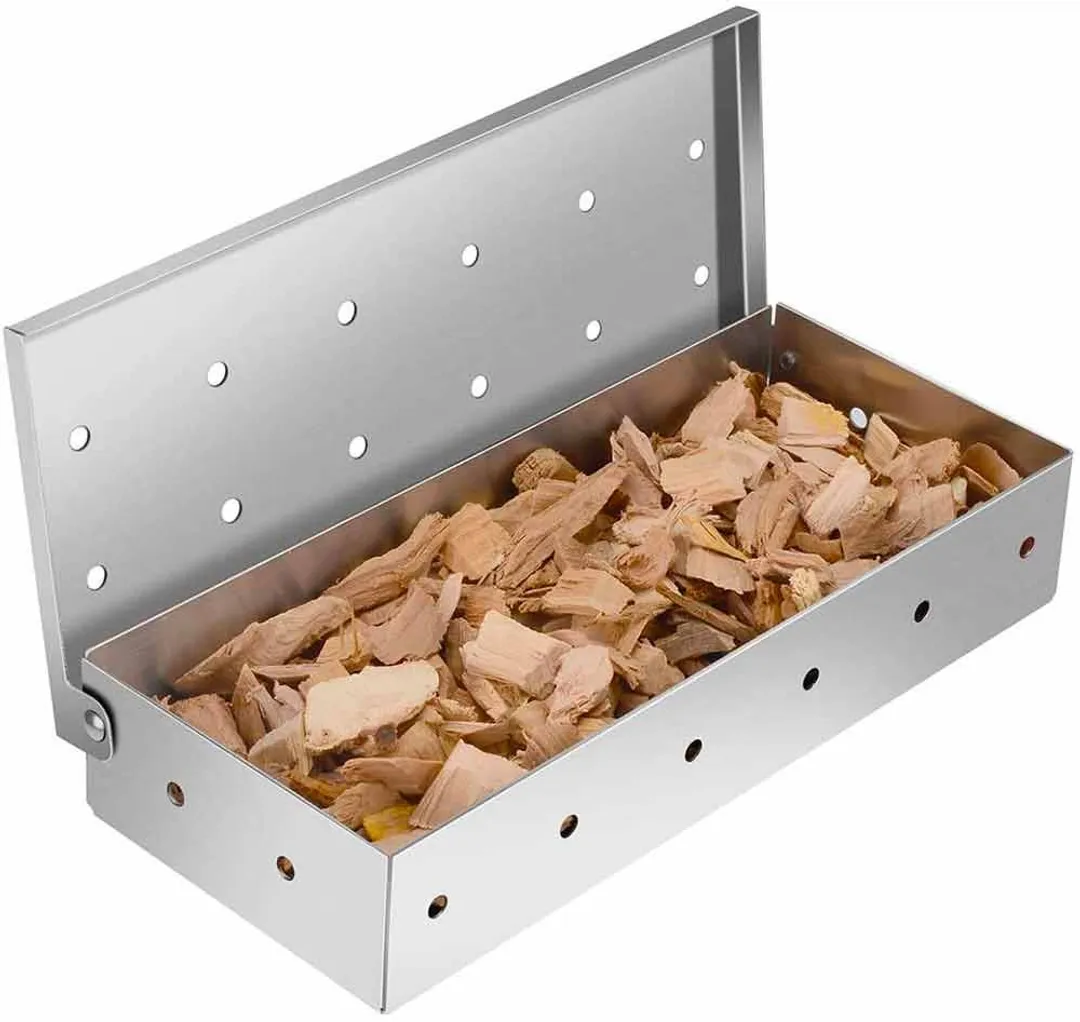
Smoker boxes are typically only used for gas grills since, unlike charcoal grills, they do not produce smoke on their own. If you have a charcoal grill, you can straightforwardly smoke food without using any extra accessories by leveraging the charcoal smoke.
It has the same design and function as a wood pan found in specialized smokers. Put some wood chips into the box, place it onto the grill and the heat from the grill will burn up the wood inside. The resulting fragranced smoke will go on to cook your food.
You can either buy a purpose-built smoker box online or, if you need a smoker box immediately, you can also build one on your own:
- Take a sheet of aluminum foil and place wood chips on top of it.
- Ball the sheet up with the wood inside.
- Use a sharp object to punch a couple of holes at the top to let the smoke escape.
How To Use
Preheat your grill and stabilize the temperature to a “smoke-able” temperature between 225°F and 250°F. After that, set up your grill for indirect cooking.
If your grill has 2 burners, turn on one burner and place the smoker box on top of the inactive burner. For those with larger 3-burner grills, it’s best to put the smoker box on either the furthermost left or furthermost right burner while switching off the rest.
During no stage of the smoking process should the smoker box or the food come in contact with direct heat from the burner.
Conclusion
A cookout, no matter if it’s in the backyard or at a large picnic site, is an excellent way to spend time with your family. Having a well-smoked feast on the table would surely improve the experience by orders of magnitude.We hope this guide on how to use a smoker has given you a clearer idea of how to use your brand-new smoker.
Authors

Luna Regina is an accomplished writer and author who dedicates her career to empowering home cooks and making cooking effortless for everyone. She is the founder of HealthyKitchen101.com and HealthyRecipes101.com, where she works with her team to develop easy, nutritious recipes and help aspiring cooks choose the right kitchen appliances.