Our recommendations are made independently through Research & Testing. We may receive commissions from purchases made via our links.
How To Use a Bread Machine
Thinking of buying a bread machine? Dusting off some old gadgets? Either way, how to use a bread machine is something you will need to know.
Baking bread can be kind of finicky. Anyone who is thinking about buying a bread machine, or who has gotten hold of one in some way, may want to know how to use a bread machine. The user manual of the machine will have specific instructions, and it may also include some custom recipes. But, manuals often get themselves lost or maybe you’re just not a ‘read the manual kind of person’.
Knowing how a bread machine works will help you decide if it’s really a thing for you, and will give you the upper hand in getting the most out of these useful additions to your home.
See our guide and reviews of the best bread machines on the market today.
Basic Steps on How to Use a Bread Machine
Here are some basic steps to follow when using any kind of bread machine. Some things may differ slightly between different brands, but most people prefer to find the best way to get their machine to work for them. If you need to double check instructions and don’t have a manual, these can usually be downloaded from the manufacturer’s homepage.
- Check the pan and paddle
- Measure the ingredients carefully
- Add ingredients in the correct order
- Select the baking course
- Note any actions needed before the bake cycle starts
- Take the loaf out when it’s done
Getting Ready to Use Your Bread Machine
If you’re using a second hand bread machine, then make sure the bread pan and paddle are in good condition. The paddle is basically the dough kneading blade and this tends to wear down after about two years of regular use. If your dough is not mixing properly, it could be that the paddle needs to be replaced.
Manufacturers are not legally required to provide wearable parts to discontinued machines, but many of them do—so you may be able to purchase a new paddle or pan from the product’s homepage. There are also universal paddles you can get, which may or may nor fit your second hand machine.
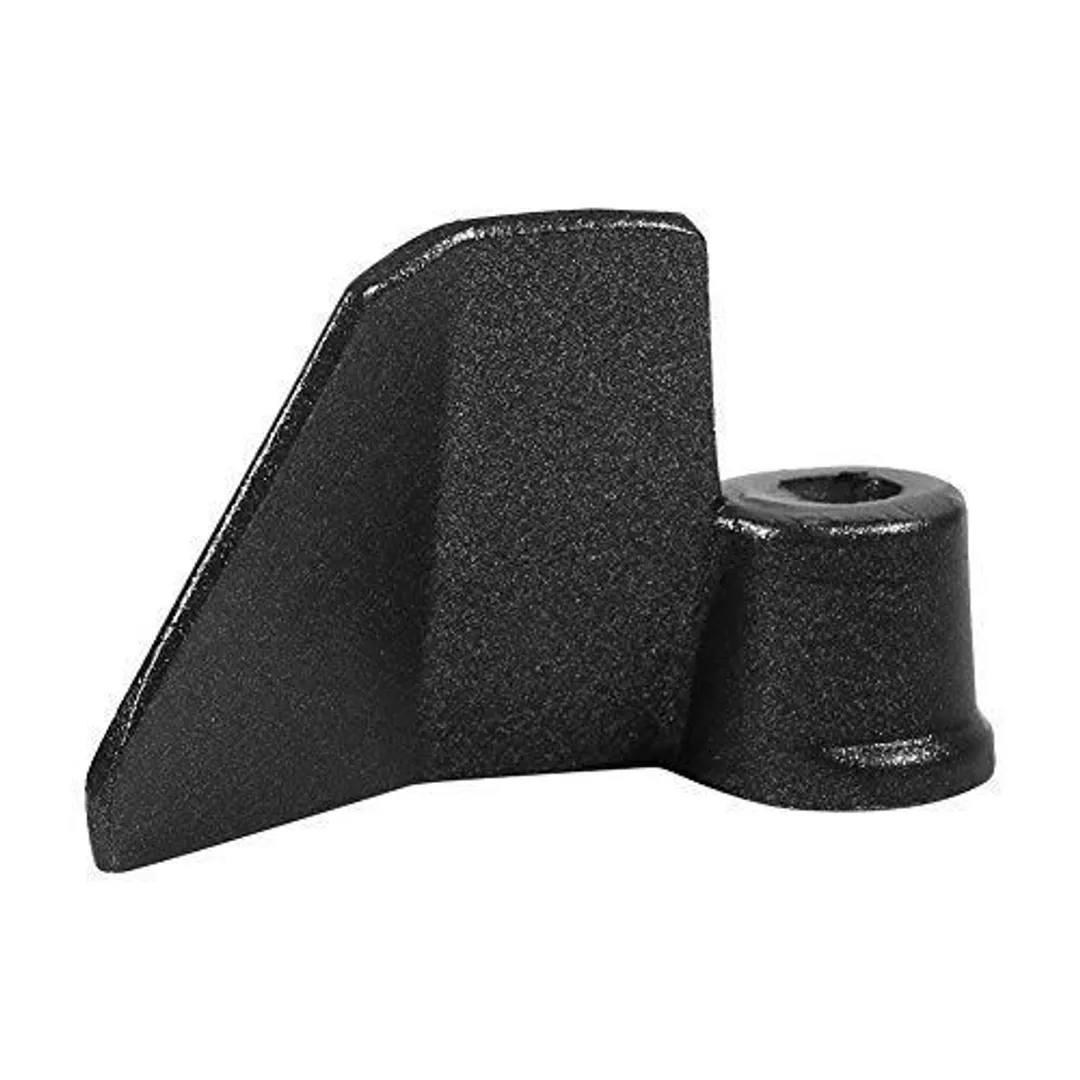
Universal paddle for a bread machine
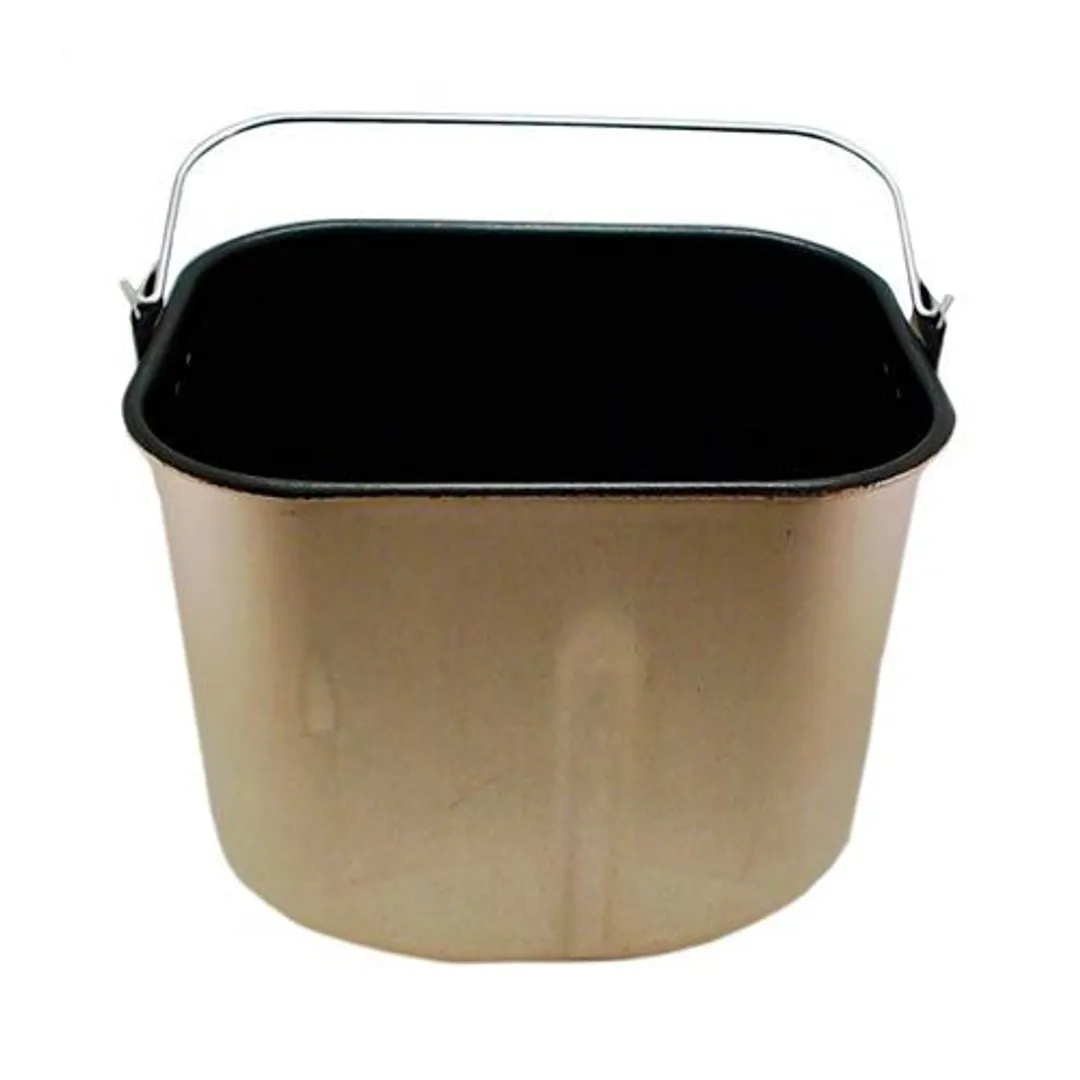
Typical bread pan: Sunbean Oster
Ingredients and Measuring
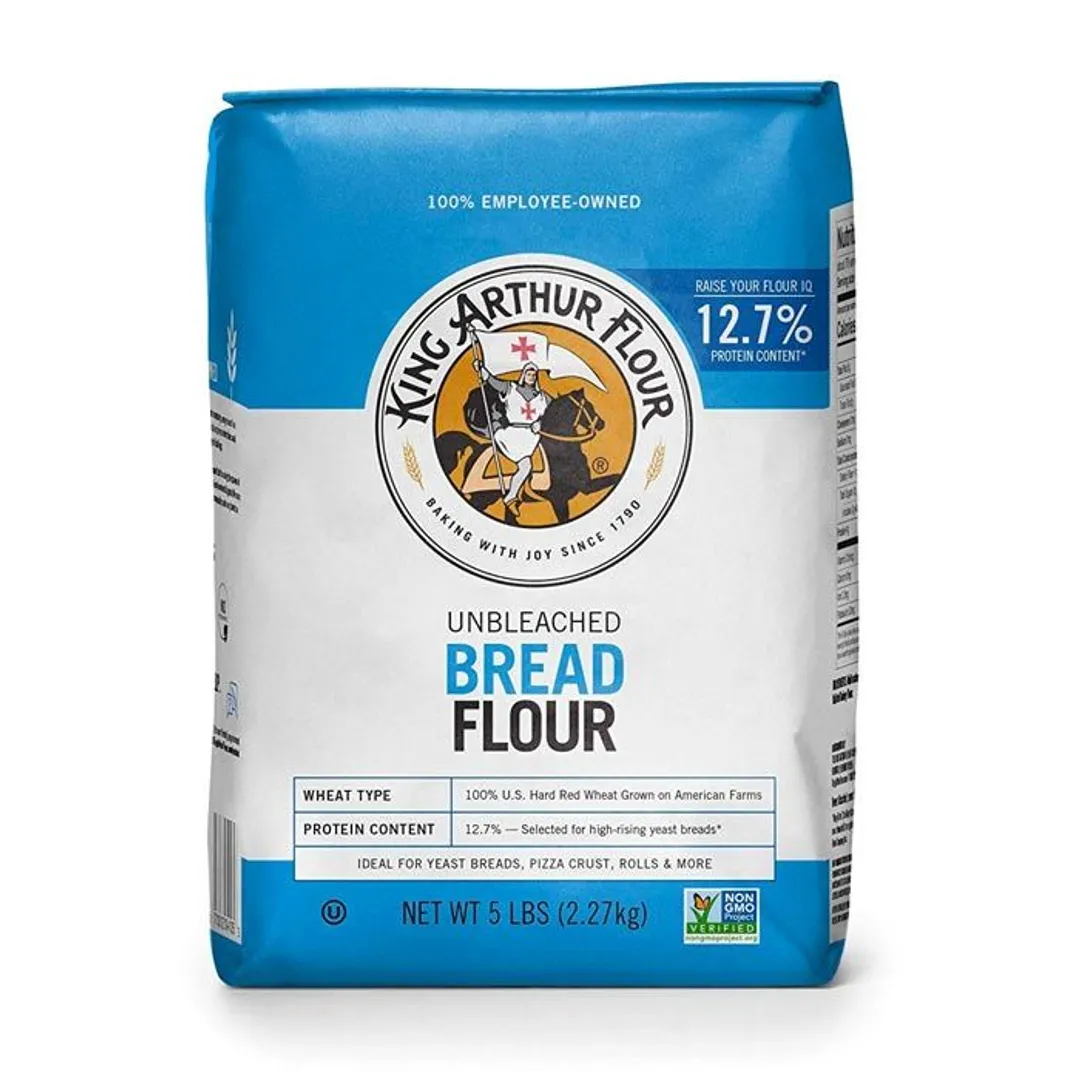
- Bread can be temperamental, and bread machines too. For a bread machine, you should use bread flour and not all-purpose flour. You should also use active dry yeast and not rapid rise yeast. Liquids added should always be at room temperature in order to activate the yeast.
- Some machines with a fast bake or express bake option will require you to use rapid rise yeast for that option.
- Make sure to check the capacity of your machine. Most bread machines allow you to choose between a 1 lb loaf and a 2 lb loaf. Look on the display for information on loaf size, or scroll through the LCD menu options.
- If your machine bakes only one size of loaf, you can workout the pan capacity by pouring in measured cups of water: 12 cups of water means the maximum size is a 2 lb loaf, 10 cups will give you a 1.5 lb loaf and less than 10 cups is a 1 lb loaf.
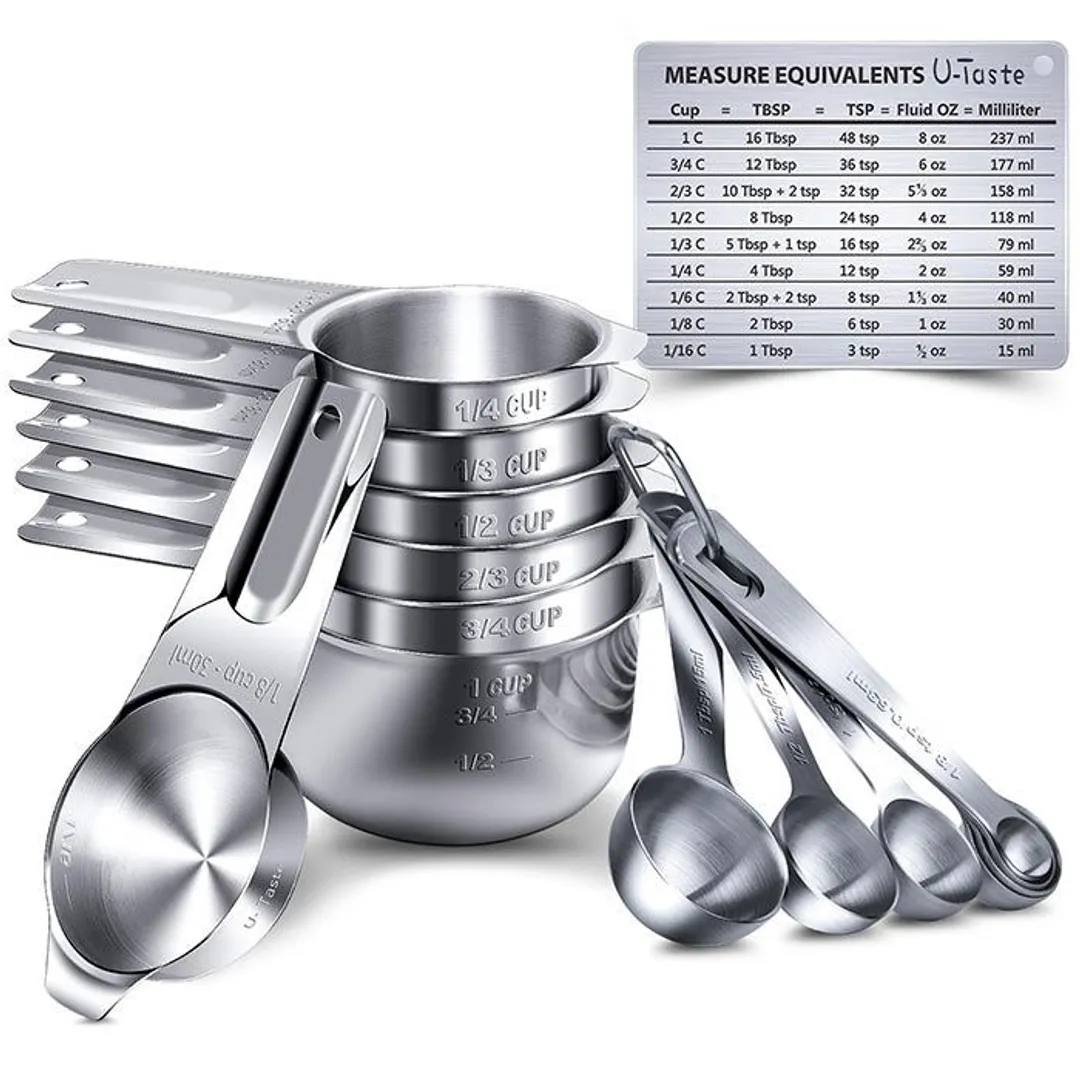
- Ingredients can easily be measured with basic measuring cups. For dry ingredients don’t press down, measure them heaped and level off the top with a flat knife. For liquids, fill to the top to eye height on a flat surface.
Adding Ingredients
There are two types of ingredients used in bread making: dry ingredients and wet ingredients.
Wet ingredients may include water, milk, eggs and butter or oils—and these should always be added first. Water should be at room temperature or tepid, and it’s better if you can melt the butter too.
Next, you should add the flour, then other dry ingredients such as sugar, salt, milk powder, or seasoning. The yeast should be added last of all, by making a small hole and filling it in. This method of adding ingredients is specifically recommended if you choose a delay bake cycle, so that the yeast will not be accidently activated before the kneading process starts.
- Add liquids, egg, melted butter or oils at room temperature
- Add carefully measured flour
- Add any salt, sugar or seasoning required
- Add active dry yeast
Selecting the Bake Course
Once you have placed all the ingredients into the pan, you have to select the baking course. Most bread machine user interfaces are simple and intuitive enough.
- The usual process is to first select the type of bread you want to make. Most machines have a numbered guide on the lid, and you scroll through the LCD options to select the corresponding number.
- The next step is to select the type of crust—the usual choice is light, medium and dark, but most bread machines tend to overdo things on the dark crust setting.
- The last thing to do is to select the loaf size that you measured the ingredients to and then press start, or activate the delay start timer.
The cycle your machine is in, will usually be indicated on the control panel. The typical cycles are: preheat, knead, rest, rise and bake. There are usually two kneading and rising cycles. Extras like fruits and nuts are usually added half way through the second kneading.

Additional Actions
Usually, once you’ve set the machine to start, there’s no need to do anything else because after all it’s an automatic bread machine. Some people prefer, however, to check on things between kneading cycles. Sometimes there might be some flour that hasn’t mixed in and you can use a spatula to gently work it into the dough ball.
If your machine has the option of adding things in like fruits, seeds or nuts, the machine will pause and a specific beep will let you know it’s time—and this is usually half way through the second kneading cycle.
Most machines will also pause and beep before the bake cycle starts, and at this point you can also open the machine and work designs into your dough. Because the paddle will make a hole in the bottom of the loaf, some people prefer to take the paddle out when the kneading cycle is over, before the final rising cycle.
Removing the Baked Loaf
When your bread has finished baking, the machine will beep and switch off. Some machines will have an automatic keep warm function, or you will need to select this before you press start. When the bread is finished, you can open up the machine and let it cool a little before tipping the bread out of the pan. A few strong taps on the pan will usually do the trick, and you can gently wiggle the wing nut on the bottom too.
If you didn’t remove the paddle before the bake cycle, then it may be stuck into the bottom of the loaf. Gently pry it loose with a spatula, and then rinse and dry it straight after. You can also use non-stick cooking spray on the paddle before you get started, and this makes removing it a lot easier.
Bread Machine Recipes
As a safe starting point, many people like to follow the recipes in the manual for their specific machine. Sometimes these work well, sometimes not because bread results can be affected by many things such as the type and brand of flour as well as temperature, elevation and humidity.
Standard recipes are formulated for low altitudes and low humidity. If you live in a more humid place, try adding an extra spoon of flour. For high altitudes, decrease yeast by about half a teaspoon, and put in slightly less sugar.
If you don’t have a manual for recipes, you can easily download one from the product home page or a distributor’s website. If your manual doesn’t have many recipes, try recipes from other makers manuals. The Zojirushi, for example, has a really nice selection of recipes (only 2lb loaves), which you can learn to adapt. There are many other websites that have bread machine recipes.
Getting The Most Out of Your Machine:
Experimenting with recipe parameters will help you master the specifics of how your bread machine works. Also, bread machines these days are quite versatile. They can be used to knead any kind of dough for baking bread in your oven. In addition, they can be used to make jams, casseroles and even meatloaf. If you are interested in getting your hands on a new bread machine, then feel free to peruse our selection of the best bread machines.
Authors

Luna Regina is an accomplished writer and author who dedicates her career to empowering home cooks and making cooking effortless for everyone. She is the founder of HealthyKitchen101.com and HealthyRecipes101.com, where she works with her team to develop easy, nutritious recipes and help aspiring cooks choose the right kitchen appliances.