Our recommendations are made independently through Research & Testing. We may receive commissions from purchases made via our links.
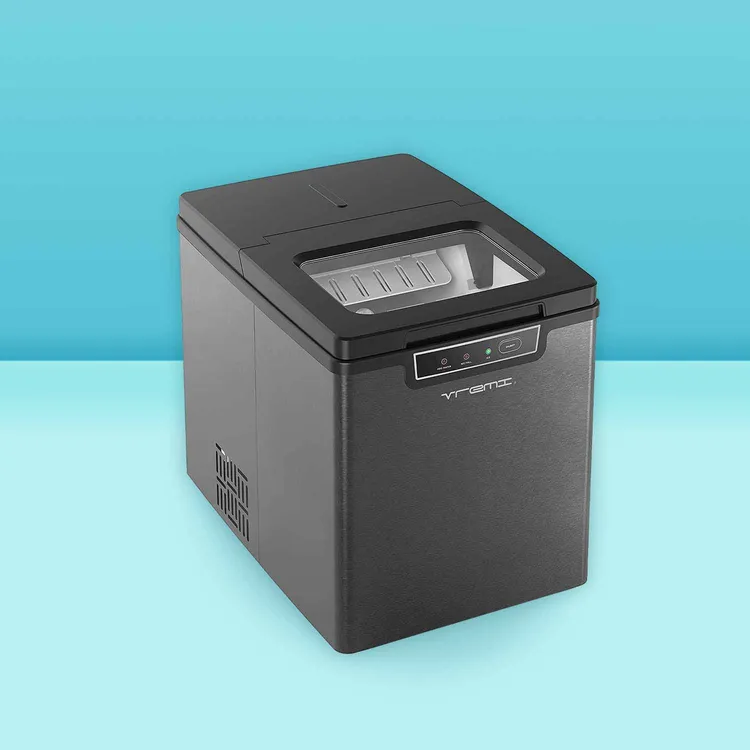
How To Clean An Ice Maker: Important Things To Remember
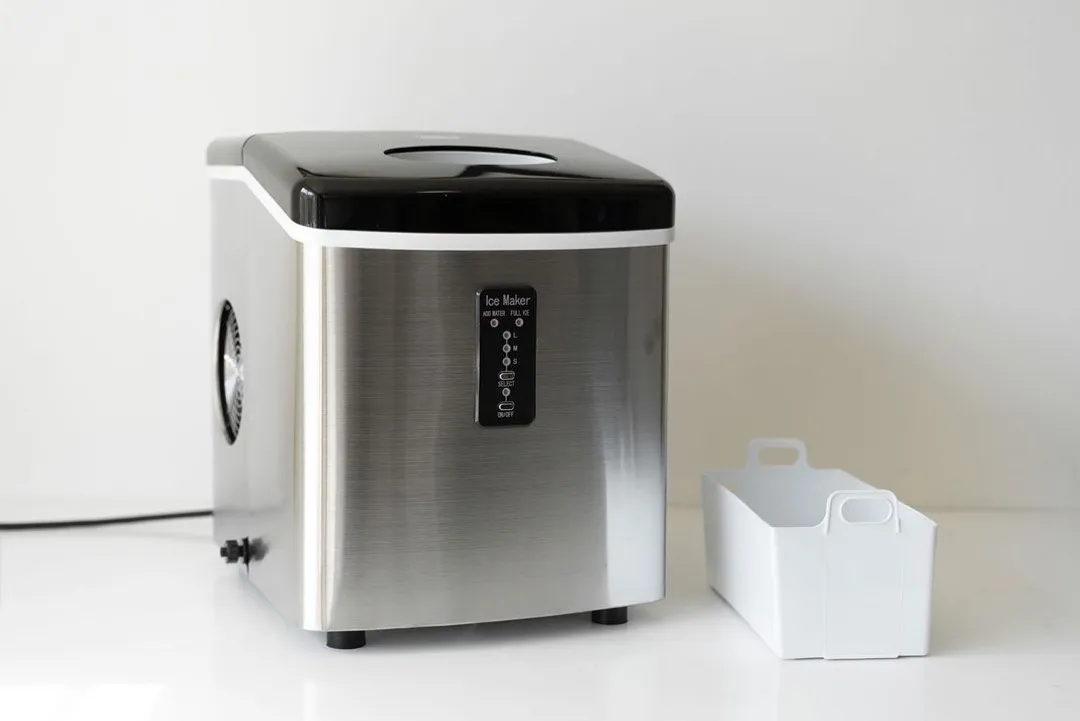
As cleanliness is crucial to the overall flavor and quality of ice, it’s significantly important for homeowners to know how to clean an ice maker properly.
As we all know, any part of the electronic unit in contact with water can unpredictably develop scale, slime and mold, which then might dirty your ice and probably harm your family members’ health. Of course, it certainly ruins your moment when some little scaly bits or anything else apart from ice cubes are floating in your beverage.
More seriously, during the freezing cycle, hard deposits in the ice maker can break down the nonstick coating. And ice production will be restricted, as a consequence. This means you may need to pay more attention to regular maintenance as well as understand exactly how to clean an ice maker so as to ensure your useful tool is now working at its best.
Like any other appliances, this device has its unique requirements in maintaining.
Fortunately, it’s not that hard doing this task. Especially after you follow this post which will take you through a detailed explanation of the maintenance chore.
Why Cleaning Your Ice Maker Is Highly Recommended
Understanding how important a clean ice maker is will be the first step for you in this case. Below are explanations of reason why a clean ice machine is a healthy one:
Pure ice: keeping your system clean can make sure that your ice cubes are free of debris and minerals, the two main causes of musty taste and healthy problems. Apparently, it is not so pretty when some unidentified things in your water can become clear under your naked eyes.
Longer working life: An ice maker that isn’t maintained on a regular schedule can begin to be clogged up by dirt and rust. Even worse, limescale and mold will be built up, which then definitely makes the ice production become more difficult. Therefore, it would be helpful in prolonging the overall life of this kitchen equipment if you take care of it much more regularly.
How To Clean An Ice Maker: The Step-By-Step Cleaning Instruction
To go on this task, you’ll need the following process.
1. Prepare Necessary Supplies
Some materials may be required, including:
- Warm water
- Used soft and dry cloth (more than two)
- Medium spoon
- Dishwashing detergent
- Q-tip or toothbrush
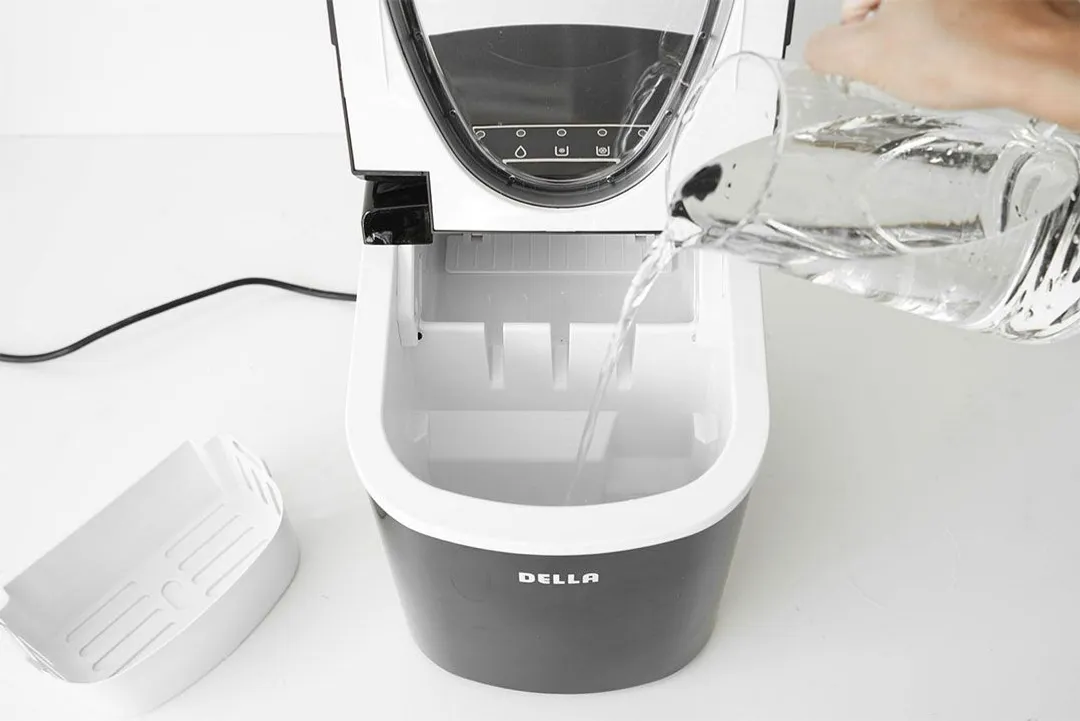
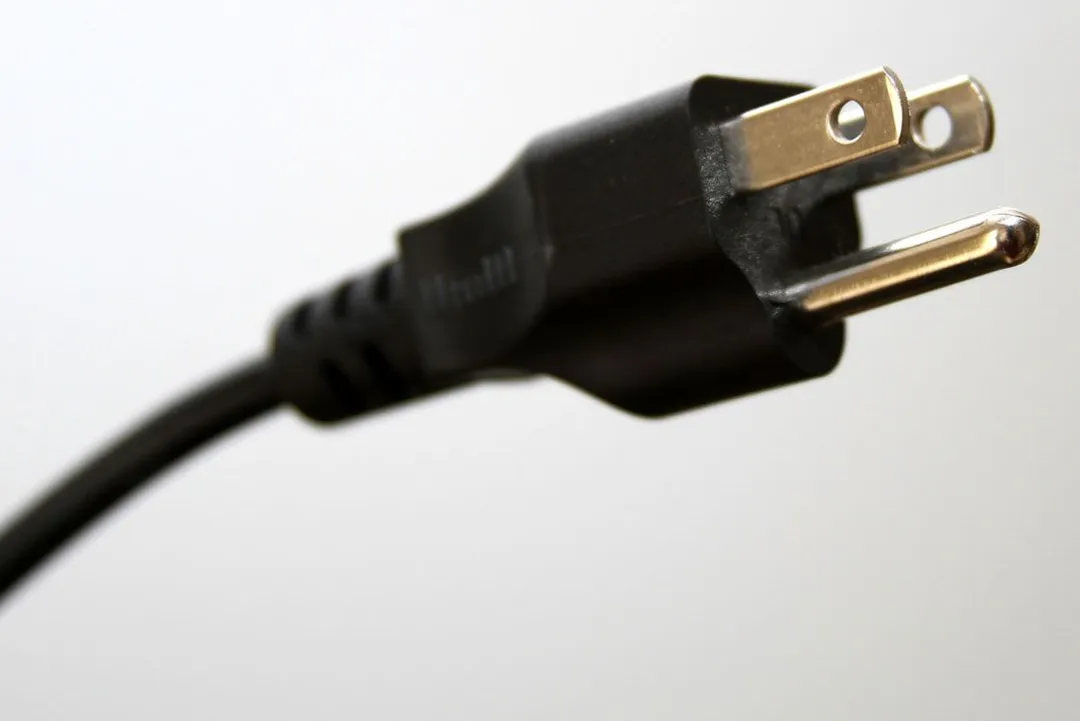
2. Unplug the Whole System
Don’t forget to turn off the appliance before doing anything else, for your own safety, obviously! You also want to make sure that water and electricity are not mixing together. In case any fluid from your ice maker remains in the water reservoir, try to drain it by pouring the fluids out into your sink, after unplugging.
Not only does this step protect you against electric shock, it may ensure that your machine has already stopped making ice as well.
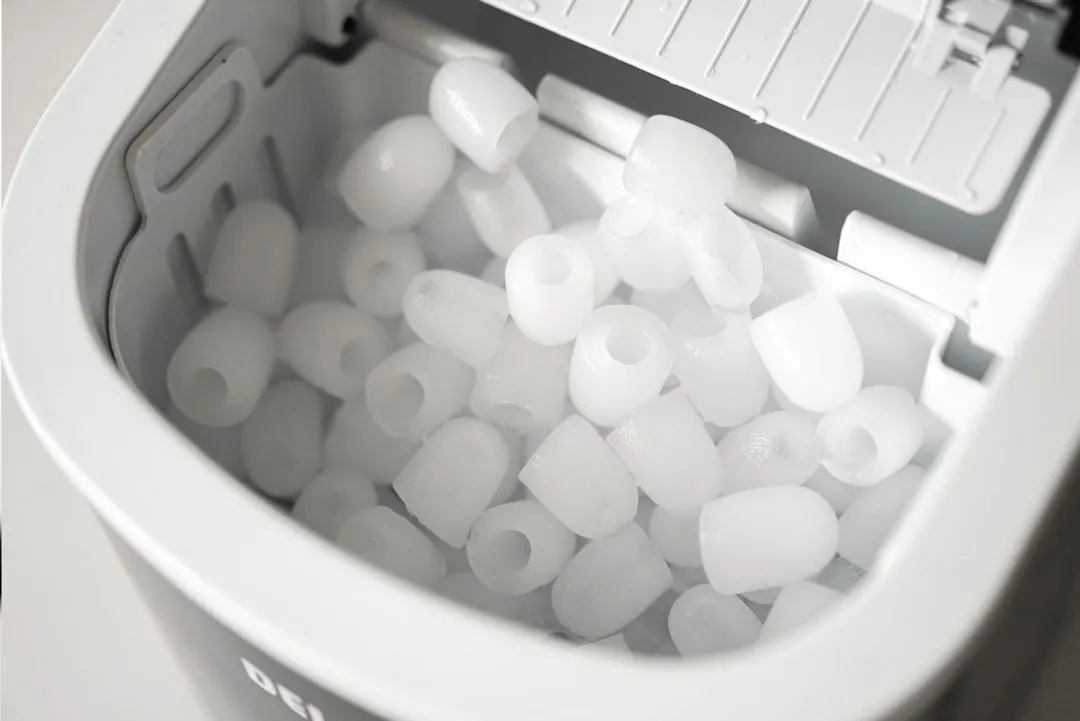
3. Remove Interior Parts From The Ice Storage Bin
If you have used your tool recently and there are still old sticky ice cubes remaining, allow warm water to melt and dislodge them by spoon. It’s also more convenient when the unit is empty from scoops, ice tray, or maybe filter, which all need to be cleaned carefully, after that.
4. Clean These Removable Parts
Fill your sink with warm water and cleaning solution liquid, then dip a soft rag into this mixture. Wipe down your accessories thoroughly, remembering to scrub it well to buff away rough spots or scale buildup. For proper cleaning, a small bit of vinegar or baking soda is highly recommended.
If your model is equipped with a filter, use a Q-tip or toothbrush to descale stubborn stains.
5. Clean The Interior
Again, use a soft cloth and a toothbrush absorbed in dishwashing detergent to reach inside the ice mold and drive away scaly water deposits. Some additional diluted bleach may be needed if it has been a long time since your ice maker was last sanitized.
Doubtlessly, you do not want to restart the system with some uncleaned pieces; so, recheck everything, especially the ice bucket and interior parts of the machine.
During the process, the ice pick or any sharp object is unacceptable, as it could cause damage to the dispenser mechanism.
6. Do a Trick
This step sounds so funny but does make success. First of all, we need to rebuild the system by simply putting all the removable items back to their places. Plug in your ice maker and check whether it’s ready to go or not.
Next, we will run a few trial ice making cycles to guarantee that every working part is totally disinfected. At this point, a round of ice, using the remainder of cleaning solution, is operated.
Then wait until the water reservoir is empty and the ice pin is full of sour ice which you may wish to discard later.
As part of the rest of the cleaning process, a normal cycle with clean, warm water should be done, as surely, no one wants vinegar-flavored ice to ruin a refreshment.
It means this step can make sure any bit of bleach or dish washing solution is already gone out of your appliance. Don’t try to drink those ice cubes also! While the machine is performing, how about drying the interior and exterior with clean soft cloth, once again?
Helpful Tips
There are some important reminders that you should keep in mind when doing cleaning.
Make sure everything is dry before being replaced: any undried piece can cause an electric leak so allow the ice bin and all the other parts you took out to become moisture-free.
Read the user’s manual thoroughly: Different types of ice makers have different ways to be approached. Therefore, how to maintain your system highly depends on its type and function. Some units may require manual cleaning while others do have an automated structure, which is why you should adhere to the manual’s instructions.
Do not use chemicals: choose a cleaning solution that is really safe for your equipment, instead of using random chemicals. As these components not only cause damage to your system but also threaten your family’s health.
Clean on a regular basis. If the maintenance is not kept up frequently, it may then lead to the formation of dangerous slime and mold that could affect operation. Hence, it’s a chore worth doing at least once every four to six weeks to ensure an efficient machine.
Authors

Luna Regina is an accomplished writer and author who dedicates her career to empowering home cooks and making cooking effortless for everyone. She is the founder of HealthyKitchen101.com and HealthyRecipes101.com, where she works with her team to develop easy, nutritious recipes and help aspiring cooks choose the right kitchen appliances.